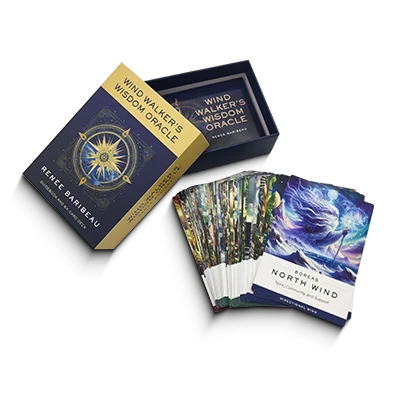
Custom Card Decks
 Custom Holographic Cards
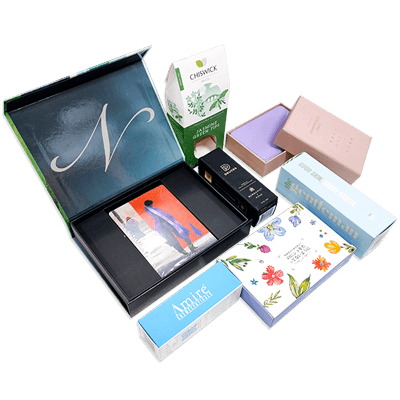
 Folding Cartons
 Rigid Boxes
 Corrugated Boxes
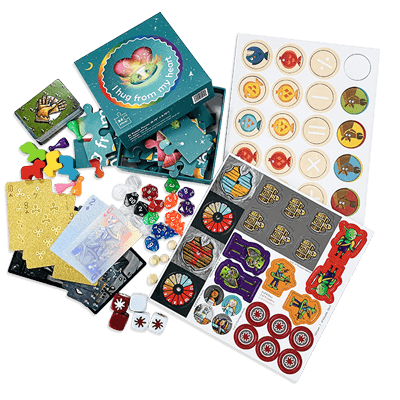
 Custom Board Game
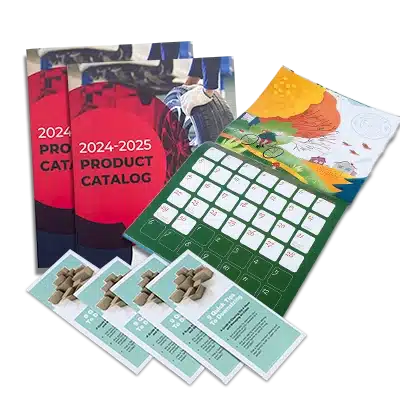
 Kickstarter Print Solutions
How to Choose the Best Software for Print Design
We walk you through the pros and cons of the best software to prepare your artwork and layouts for offset printing.
Which Software Is Best for Print Design?
Every designer working with text and images to create files ready for offset printing will have their personal favorites. The decision may be based on what they’re used to using, the designs they’re working on, and on the print technology that will be used to print the finished product. At QinPrinting, we combine our technical expertise with over 25 years of success in the offset printing industry to bring you our picks of the best design software to use when doing prepress artwork for offset.
Software for Book Cover Design
When it comes to cover designs—whether for a paperback, a hardcover book, a catalog, or anything else—the standout software is undoubtedly Adobe Illustrator (AI).
We love Illustrator. Why? Besides the relatively intuitive user interface and helpful support files, this is pro-level software which creates images using vectors. The great advantage of vectors in offset printing is that the images can be resized and manipulated with no loss to resolution or accuracy. This makes it super easy to work with and you can export the images directly as vectors in your print-ready files. It’s also great on the technical side. So, for example, with Illustrator, it’s straightforward to set up your bleeds, trim lines, and safe zones. If there’s a downside, vectors aren’t always ideal for working with photographs and for that, you may prefer Adobe Photoshop, which we’ll look at next.

Photoshop is widely recognized as the go-to software for professional photographic manipulation and design work. It works with raster images based on pixels rather than vectors. If you use Photoshop for your images, make sure that you export them with a resolution of at least 300 dpi for offset printing. While you can create vectors in the latest versions of Photoshop, it’s not good for editing them. Also, it’s as good as useless for text. So, for most cover design, it’s not ideal. And you can’t set up the bleed in Photoshop. Of course, you can manipulate your photo in Photoshop and then import it into Illustrator to complete and export the final design.
Software for Interior Design
As we recommend Illustrator for cover design—and you can also use it for the inside pages—when it comes to designing the interior layout of your book, the standout software is undoubtedly Adobe InDesign (ID).


QuarkXPress is an excellent solution for the newbie designer and the professional alike. It integrates graphics, image, and photo manipulation capabilities with text, typography, and layout features. For the complete beginner, you’ll find a handy “drag-and-drop” user interface which means anyone can get started with design right away. It’s proved especially useful for larger organizations working on projects to scale with several different editors and designers involved in an ongoing collaborative workflow. There’s really only one downside to QuarkXPress from our point of view—and yours if you’re preparing files for offset printing—but it’s a big one. It doesn’t integrate at all with any other software. So, importing and exporting files with and from, say, Illustrator, InDesign, and Photoshop is a no-go. As you can imagine, that can lead to a fairly restrictive environment when you’re preparing work for offset.

Affinity Publisher is the latest iteration of the now defunct PagePlus/Serif applications. It’s a good, functional design software which should be within the budget of almost anyone, including first time self-publishers and independent creatives. On the positive side, it can do a lot of work and produce neat books, brochures, flyers, and poster layouts. It also has built-in master templates for the most common print projects and integrates well with a wide range of other software. The downsides are that the interface is far from intuitive and the menu and operational design are dissimilar to more familiar user interfaces. So, it can be a frustrating and rather steep learning curve. That said, it has a reputation for fairly comprehensive and reliable customer support which may counterbalance those difficulties to some degree.
You May Also Like