Embossing
What Is Embossing?
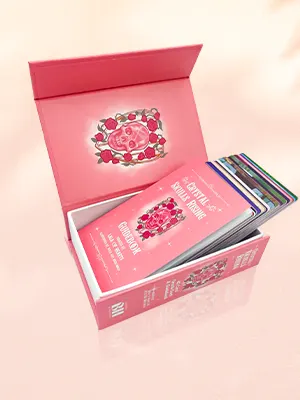
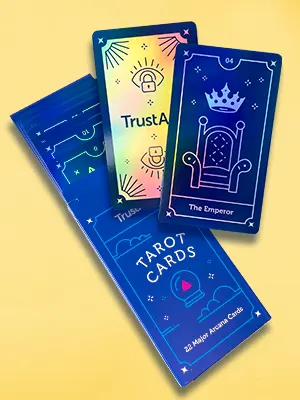
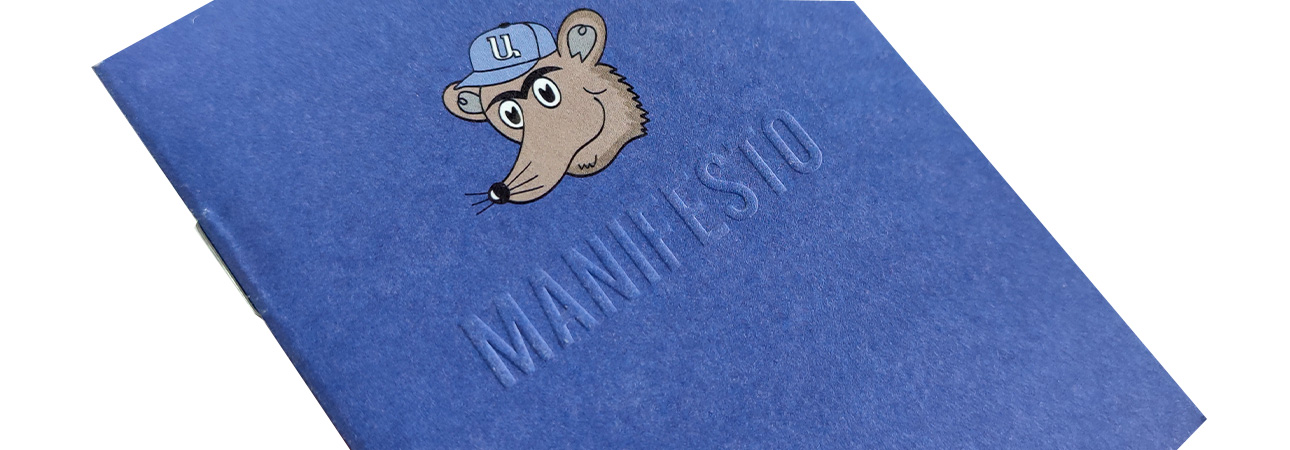
Embossing is a mechanical process by which we “lift” a design—either lettering, graphics, or both—out from the surface of a printed sheet. First, we make a metal and a resin mold of your design called “dies”. We use two dies to press a sheet of paper using a special machine. The result is a powerful three-dimensional effect of a perfect elevation, in the shape of your design, lifted up from the paper surface. The process works best on smoother surfaces and so we don’t recommend it for textured paper, but we can apply it successfully to most printed substrates. You can also combine it with other finishing techniques—such as foil stamping and spot UV—for a truly superlative effect.
The Advantages of Embossing
Embossing has the potential to impress your customers and elevate your products, but whether it’s the best option for your design will be influenced by the product style, the market for which it’s intended, and your available budget. With that in mind, let’s list the principal advantages of embossing to help you come to the best decision for your project.
- Embossing is an eye-catching design feature which distinguishes your print product from the run-of-the-mill, communicating artistic flair and high quality.
- While instantly effective in its own right, embossing combines well with inking, foil stamping, spot UV coating and other special features.
- Embossing on its own is a relatively economical effect compared to, say, foil stamping, although it has a high impact.
- It adds significant perceived value to your product, making it more likely to be kept, treasured, enjoyed, and shared.
- Embossing gives your printed materials a sophisticated look and helps draw attention to your brand identity.
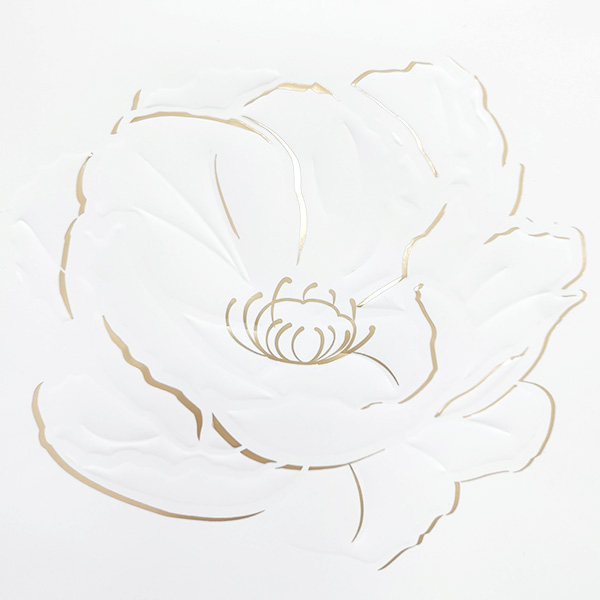

These are just a few of the advantages of embossing, which make it a desirable choice for products aimed at the upper end of the market, from books and catalogs to deluxe board games, custom paper boxes, and more.
Popular Applications for Embossing
We can apply embossing successfully to many print products. It lends class and style to those products and positions them at the higher end of the market. So, let’s see what impact it has on the appearance of several popular printed products.
- Art books—art books are works of art in their own right and are all about a display of artistic merit and individual flair. The current trend is for a kind of minimalism in cover design, such as a pearl white matte cover paper with an embossed title. Combining embossing with foil stamping is another popular option and creates an outstanding effect. Well-designed embossing on the cover seduces the viewer’s eyes and suggests a sophisticated appeal, setting the book apart from the competition.
- Luxury product catalogs—embossing is a popular choice for catalogs in the luxury markets—diamond and gold jewelry, high fashion, and high-end accessories, for example —designed to appeal to an affluent demographic whose sense of taste and style demands a unique flourish and fine details. Combining embossing with spot UV coating is a superlative way to make your cover really stand out.
- Custom printed boxes—another popular way to use embossing is on the outer surface of luxury custom printed boxes. Special touches such as embossing lift your box beyond a mere packaging solution and align it with the aspirations of your customers and the quality of your products. For an especially eye-catching result, you can combine embossing with foil stamping and spot UV coating, too. All these options lend both grace and authority to your brand name and logo.
- Deluxe board games—At the luxury end of the market are deluxe board games made with the finest materials and created to appeal to the wealthiest consumers. For a deluxe edition of any game, adding embossing to the box creates the sophisticated presentation the market demands.
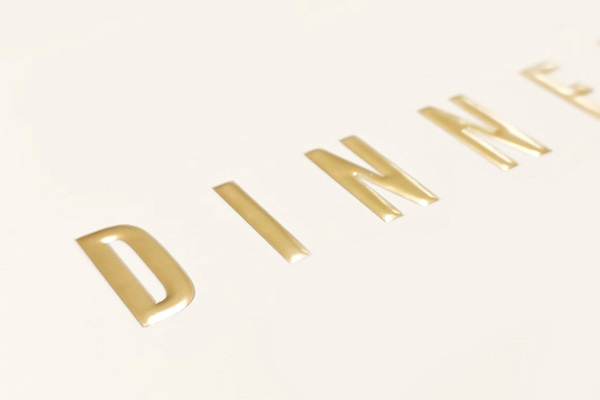
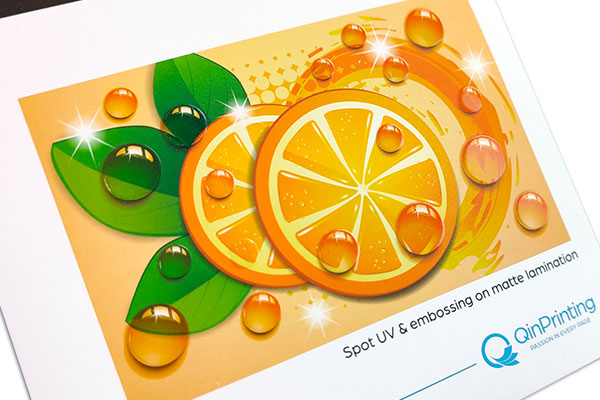
We hope the above examples will help you appreciate the special qualities of embossing and its appeal. It’s a powerful but relatively cost-effective option, and if you focus on the luxury market, it will probably give you an excellent return on your investment.
Embossing Artwork Tips
To get the best results from embossing, it’s important to understand how to prepare the finished digital files for correct printing. You must account for bleed, for example, and make sure that you’ve set the resolution and the color space correctly. So, here are a few helpful tips to guide you when you’re preparing your digital files for embossing.
- Setting up your artwork for any special finishes that only affect specific areas, like embossing, requires a separate file called a mask. This type of file allows you to specify exactly where you want the finish, using black to signify which areas should be embossed and white to specify which areas should be left. The mask file and your embossing artwork file make up your overall project.
- The easiest way to create a mask file involves using a copy of your artwork file. Once you make a copy of your artwork file, remove all elements from the file that you do not want to be embossed. Then, change the color of all other elements to black. In a CMYK color layout, you generate black using the following formula: C0, M0, Y0, K100. Finally, you need to make sure the emboss printing file is a vectorial file and not a raster.
- When creating your mask file, always make sure that the alignment of the mask file and artwork file are exactly the same. This includes the overall size of the files and the positioning of all shared elements.
- Set up your graphics as vectors in PDF format for the best results. Our recommended software option is Adobe Illustrator.
- Also, make sure that all text to be embossed is at least 14 pt and ideally larger if possible.
1. Open your design in vector file creation software such as Adobe Illustrator.
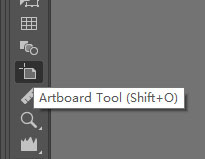
2. Use the Artboard Tool to select the current artboard, check Move/Copy Artwork with Artboard, hold down Alt, and drag to copy a new artboard. Adjust the order of the artboards on the artboard panel.

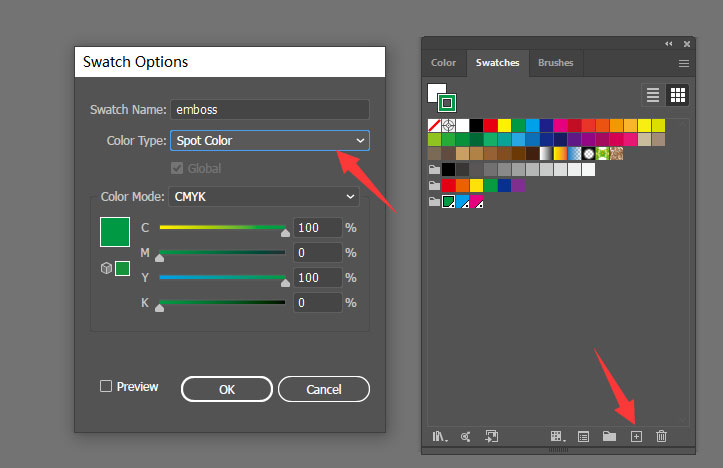
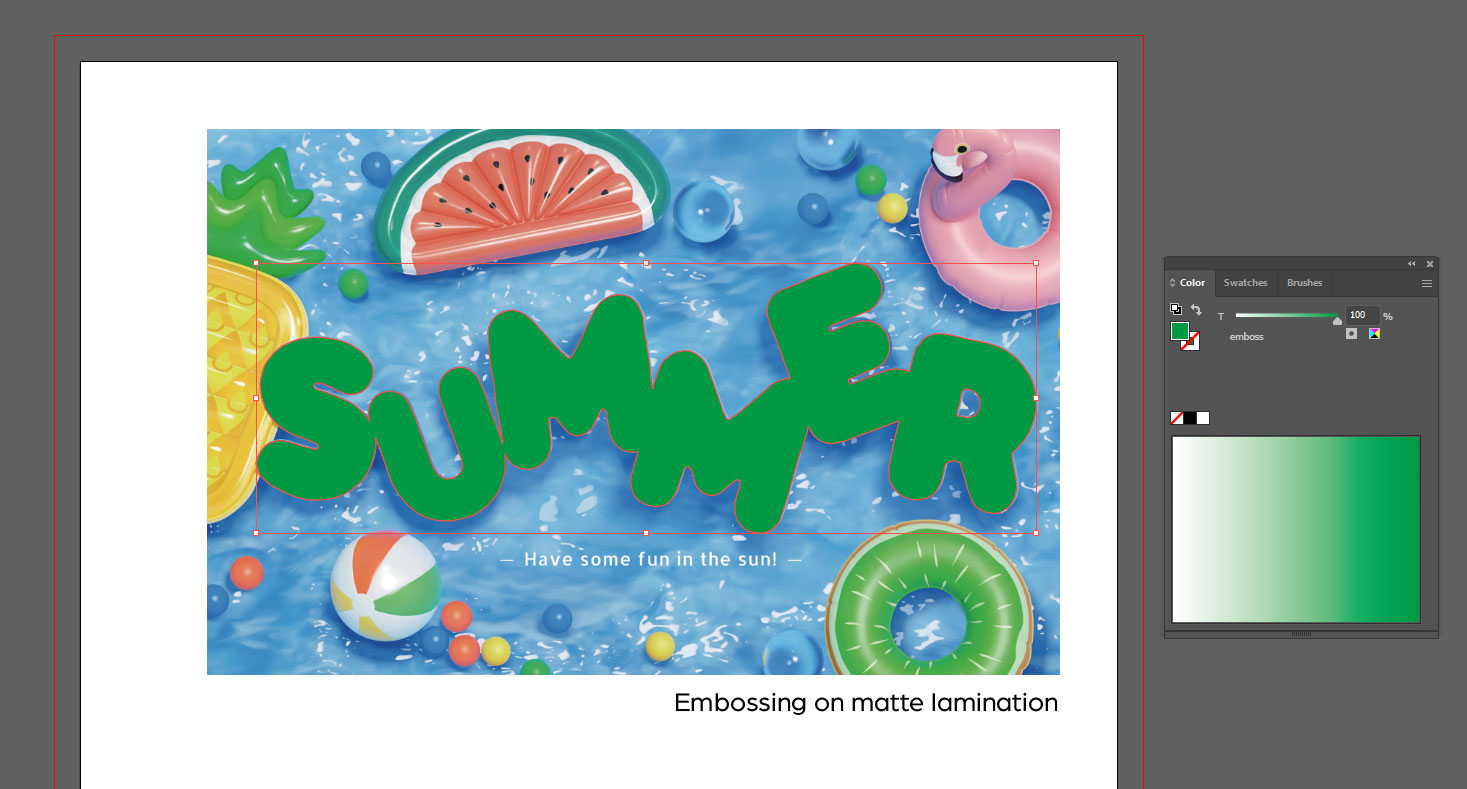
3. In the Color panel, create a new swatch and name it according to the corresponding process. Set the Color Type to Spot Color. Choose any color value, but not white.
4. On the newly copied artboard, if the design is an image, use the Pen Tool to trace the outline of the relevant parts. It is recommended to do this on a new layer. Make sure the artwork file and mask align exactly.
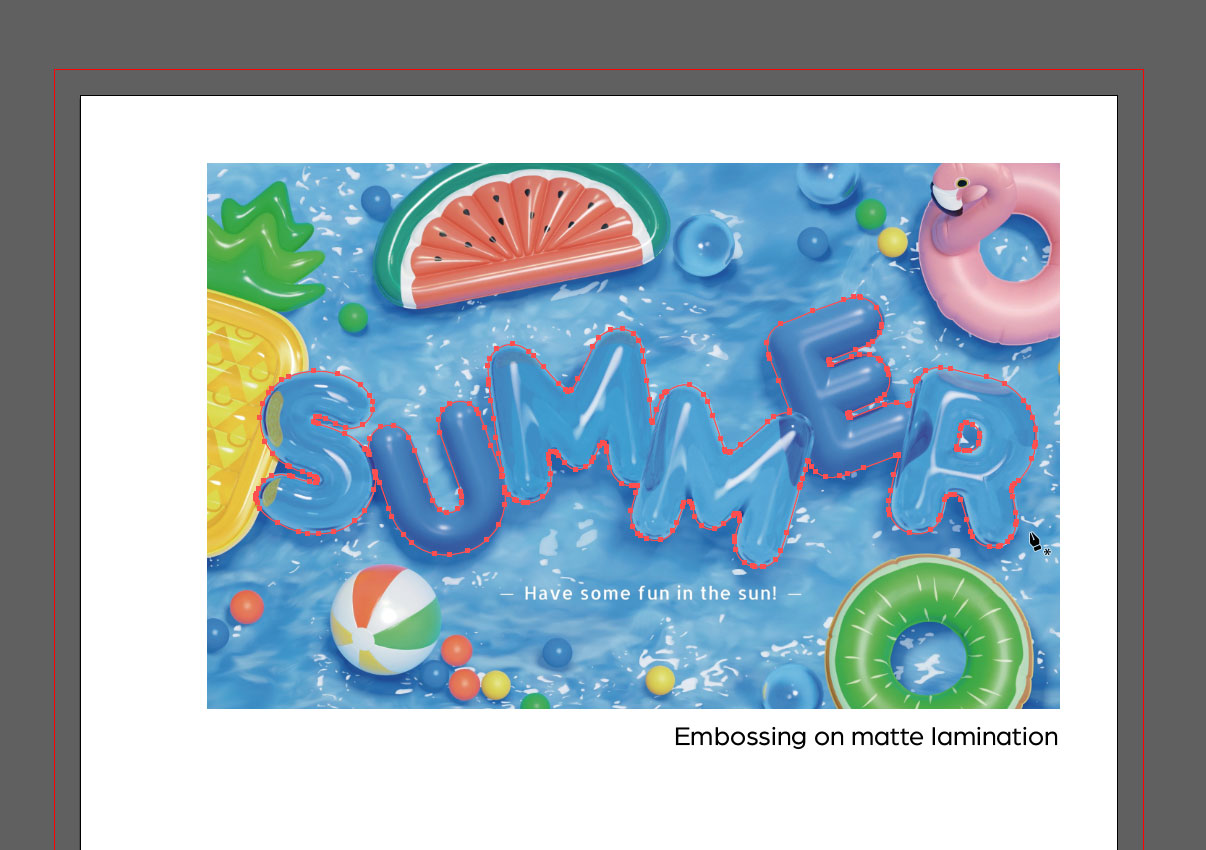
5. Fill the parts that need special processes with the corresponding spot color.
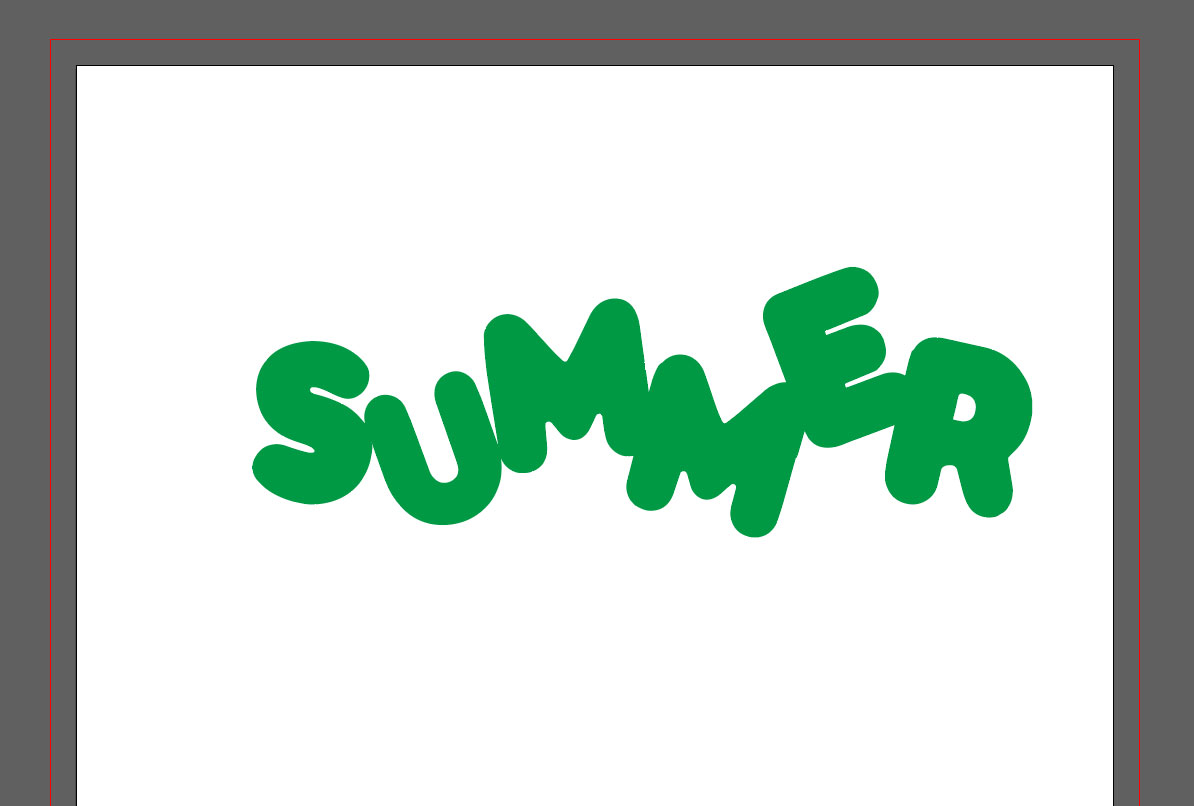
6. Delete all content on the new artboard except for the spot color.
7. If you want to apply multiple special finishes to the same design, you need to create a new artboard for each special finish.
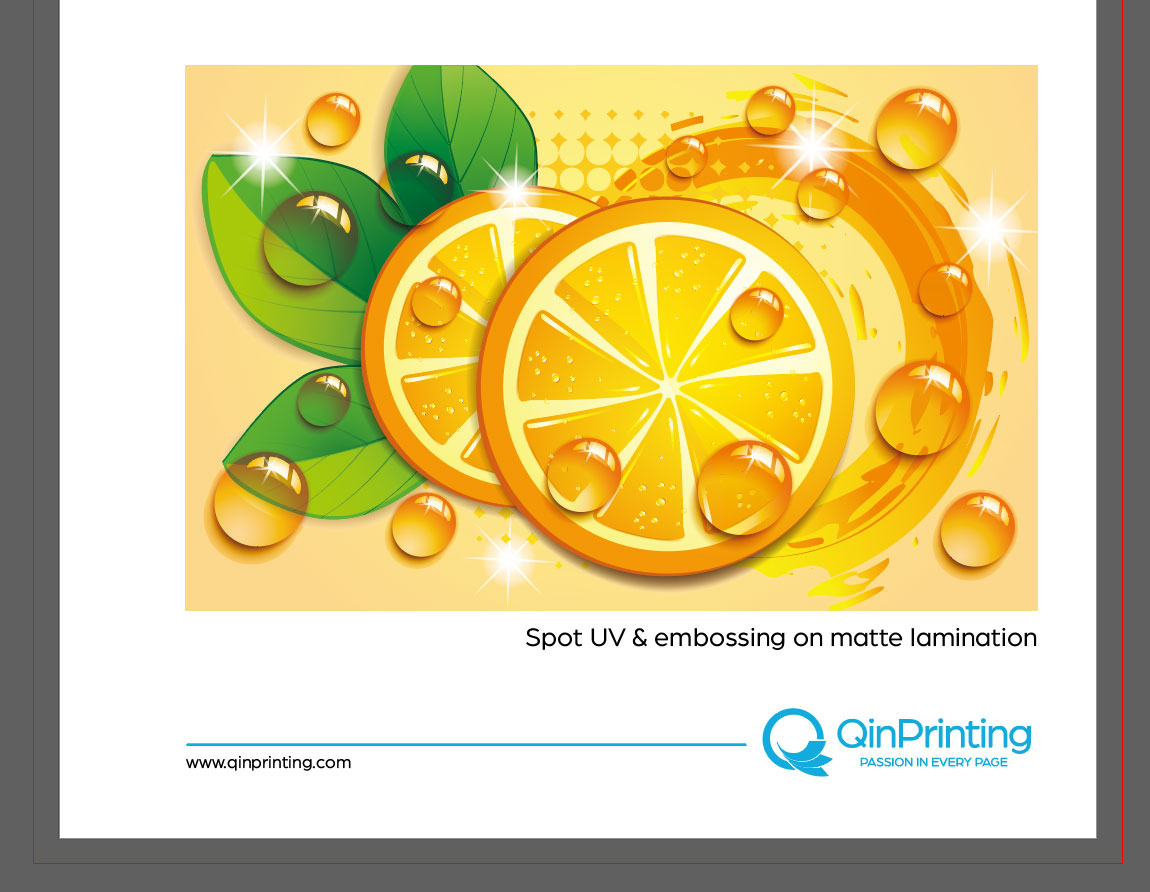
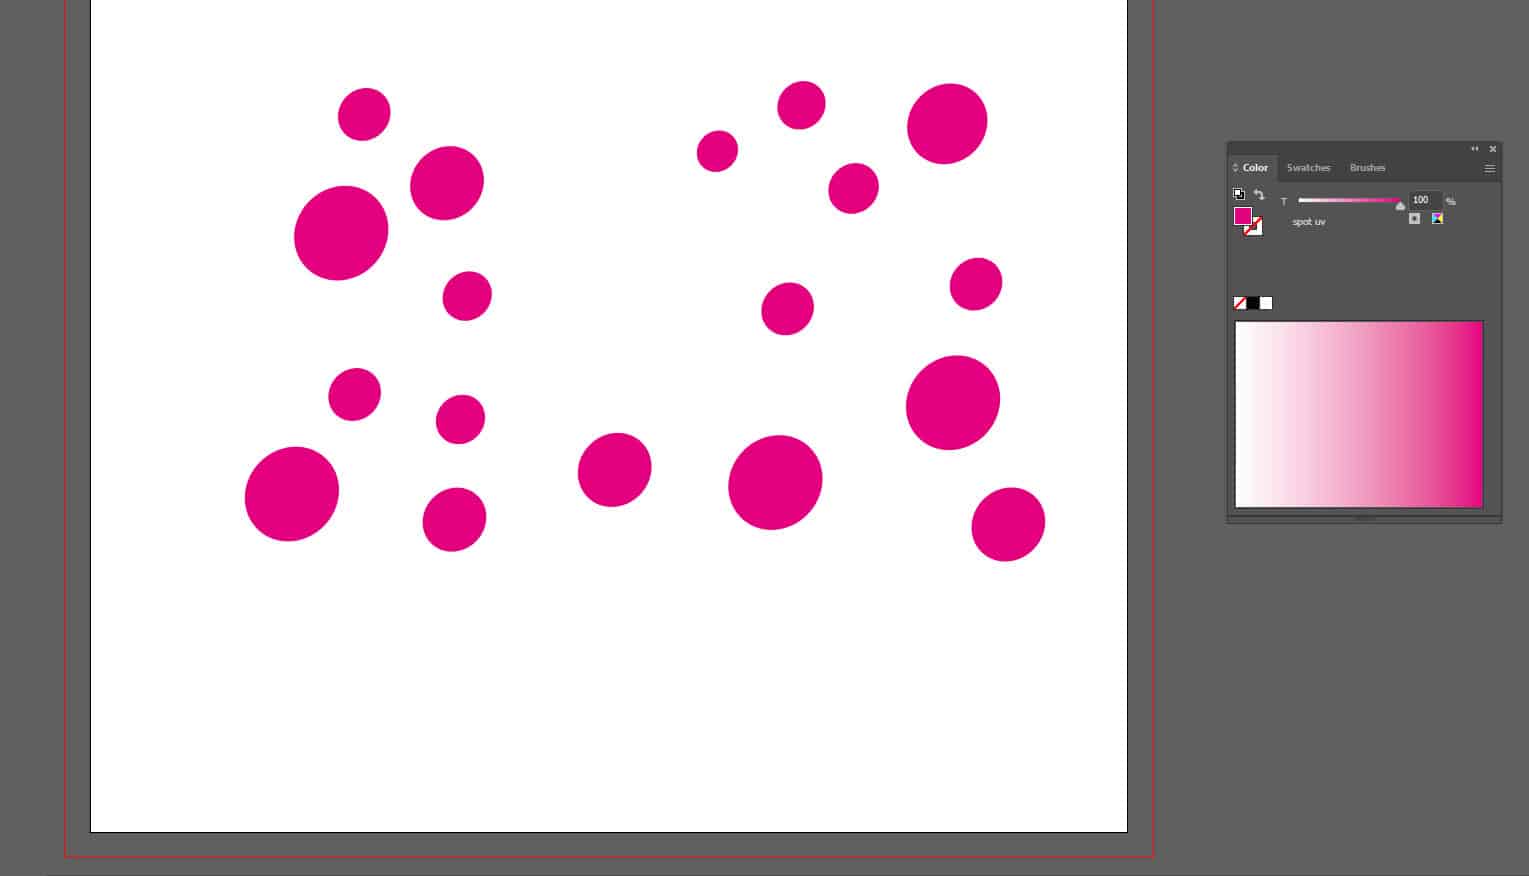
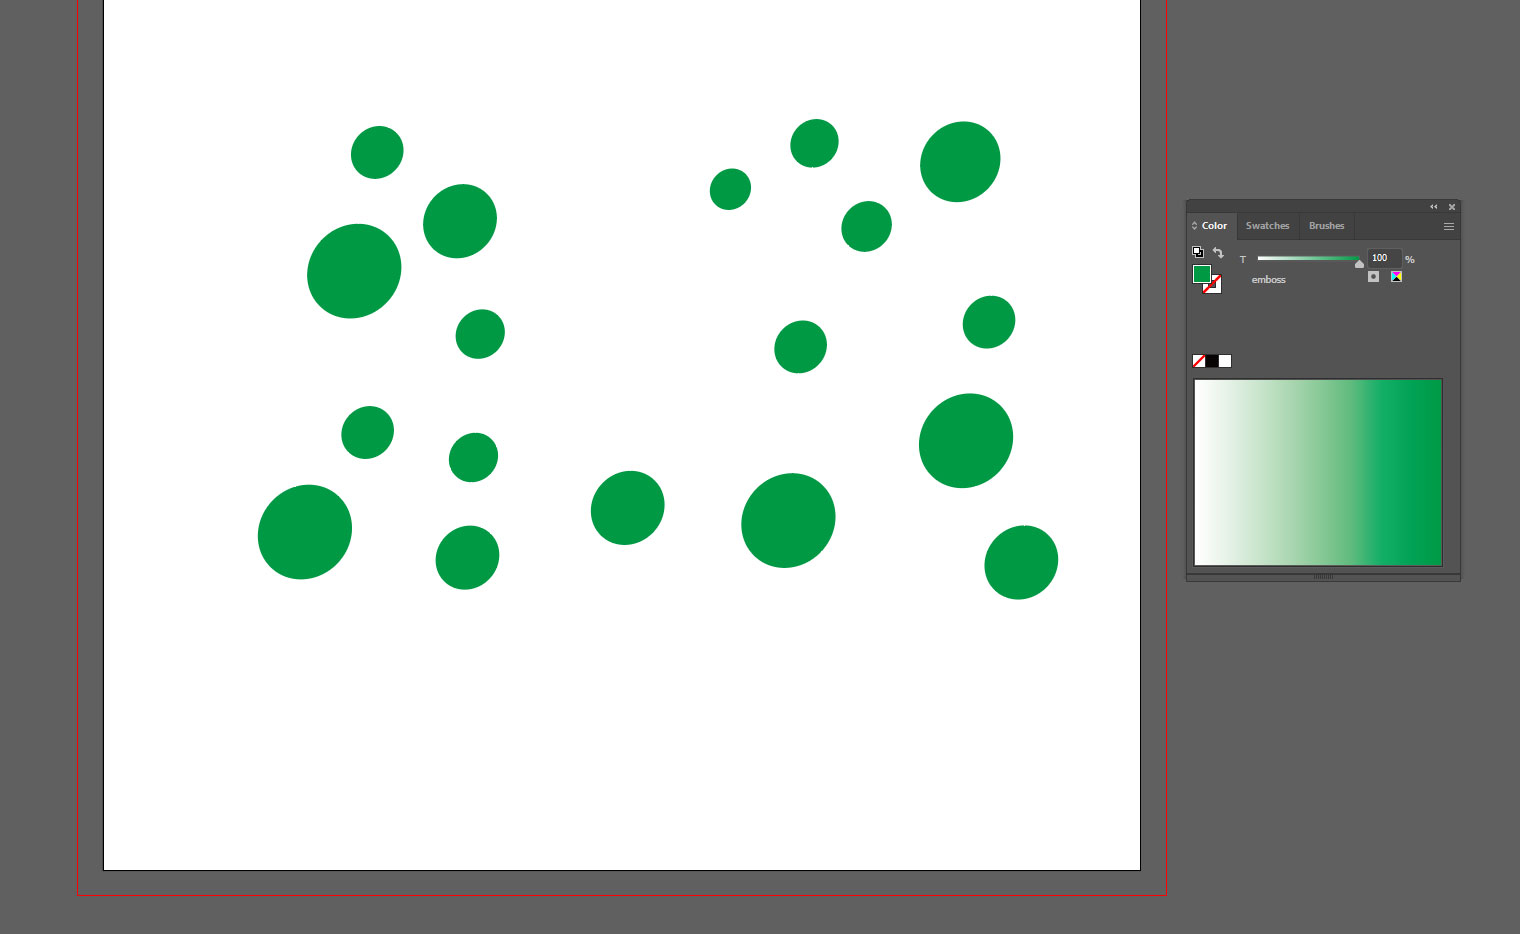
12. Select “File” – “Save As” to save the file in PDF format. Make sure to include the bleed when saving.
13. Open the PDF with Adobe Acrobat. You can use the Output Preview function under Print Production to check whether the spot color is correctly applied to the design.
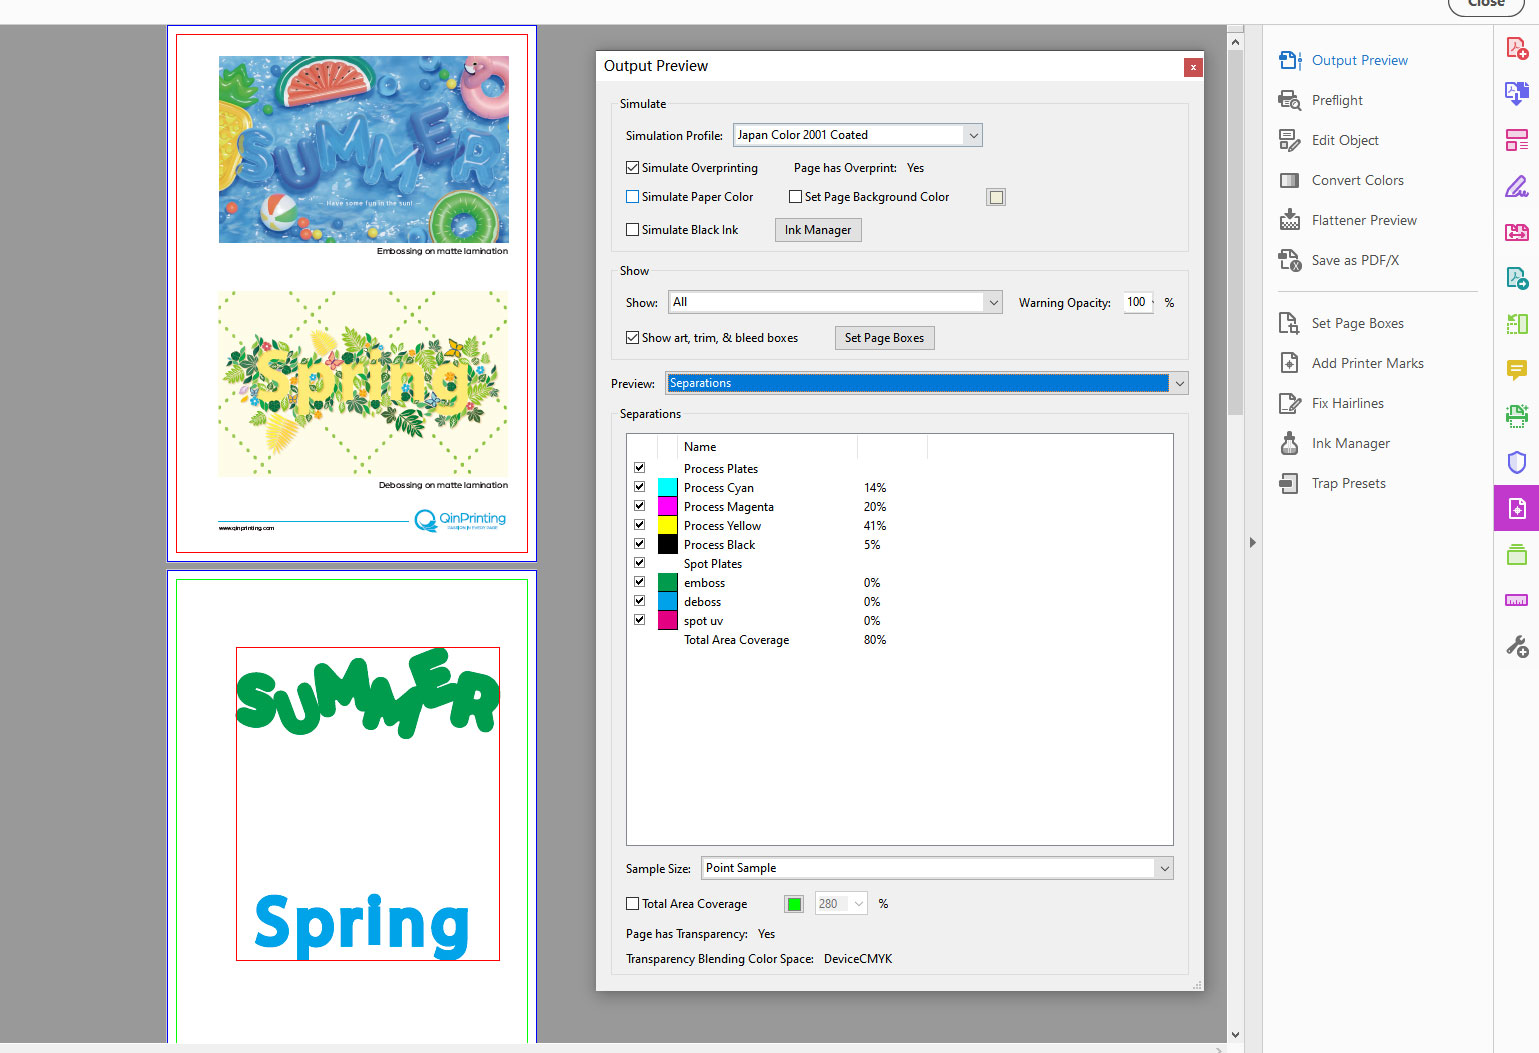
If you’re working with a professional designer to prepare your files, they should be competent to get everything ready for embossing. But if you’re unsure of anything, please talk to us. We’ll be happy to explain what’s needed step-by-step, liaise with your designer when necessary, and manually check everything ourselves to make sure it all goes smoothly and you end up with a perfect embossing effect. If we discover any errors, we’ll let you know, explain what the problems are, and help you fix them.
Need More Help? Talk to Us!
Deciding to apply embossing is an important decision which changes the appearance and quality of your finished printed product, the design process, and the cost. If you’re not sure about whether it’s right for you, the best thing to do is to talk to us. With over 25 years’ experience under our belts, the latest offset printing technology at our fingertips, a vast knowledge about paper, coatings and finishes of all kinds, and a genuine commitment to customer service, we’ll be happy to give you the best advice to help you choose the perfect solution for both your print project and your budget. Get in touch today for an informal chat or a no-obligation quote. We can’t wait to work with you!

