Custom Card Decks
 Custom Holographic Cards
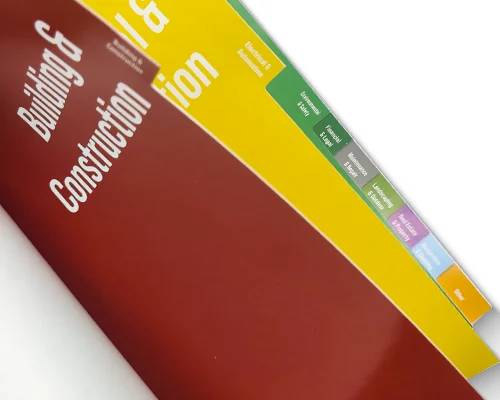
 Folding Cartons
 Rigid Boxes
 Corrugated Boxes
 Custom Board Game
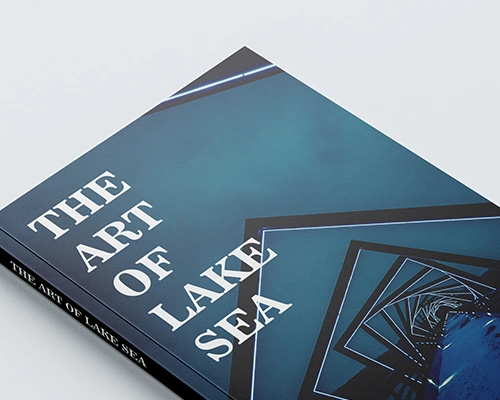
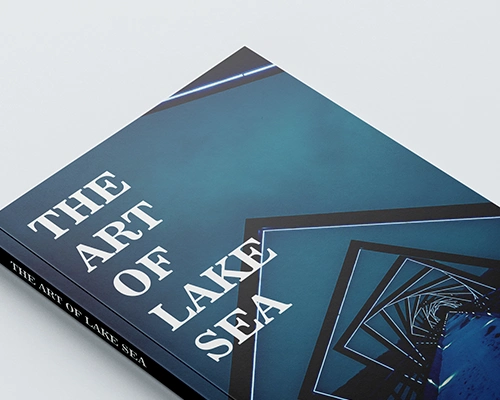
 Kickstarter Print Solutions


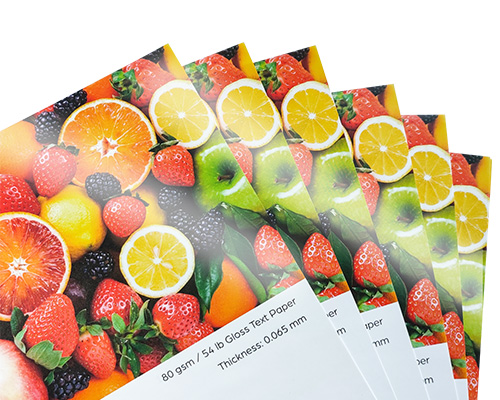
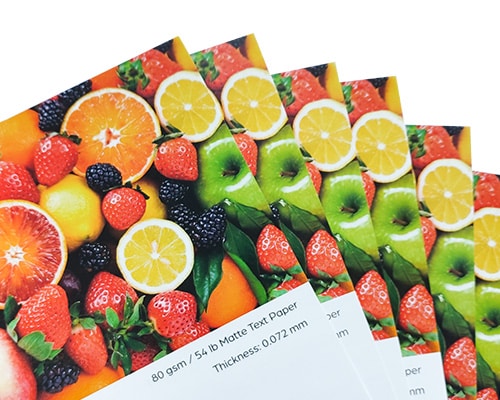

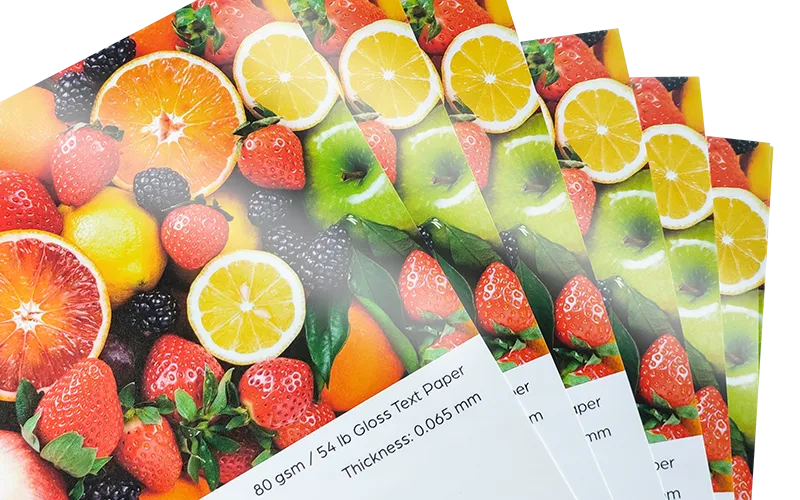
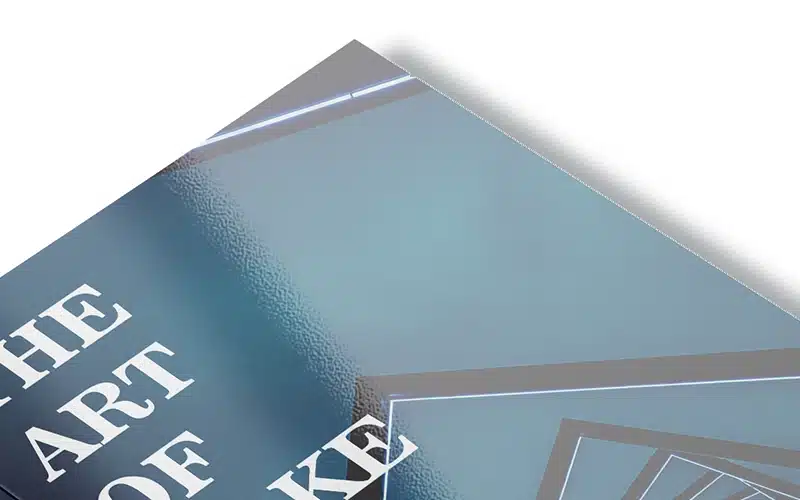
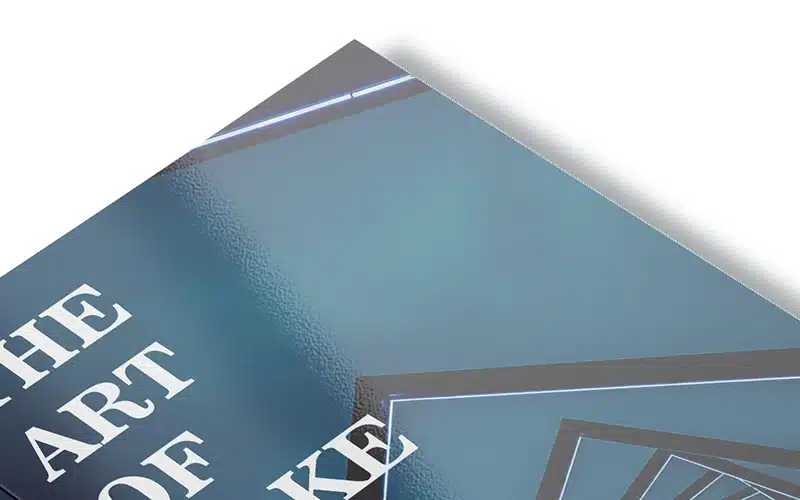
Shiny and reflective, perfect for vibrant graphics and photos.
Glossy highlights on specific areas for a striking contrast.
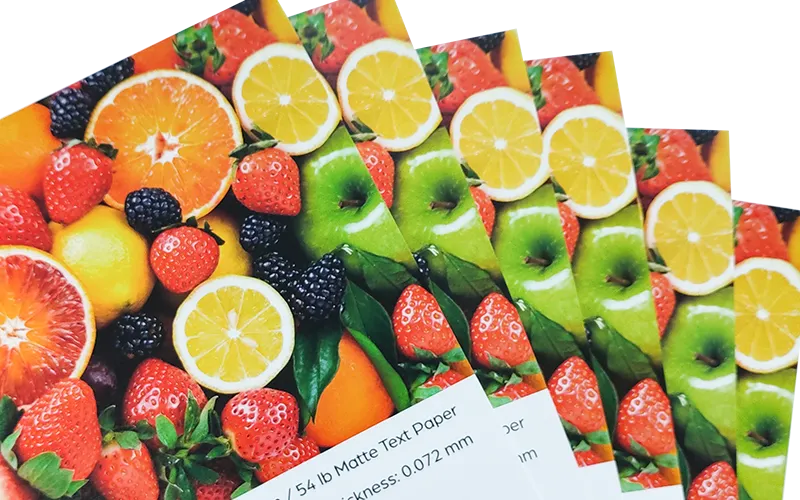
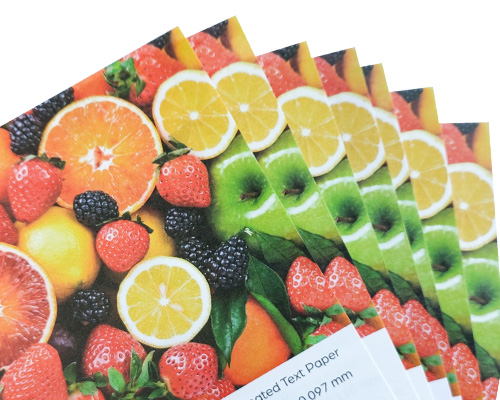
Smooth and non-reflective for a simple yet professional design.
Similar to matte lamination, but the resulting surface has a delightful, almost velvet feel.
A glossy finish applied to specific areas for a bold and distinct look.
Metallic or pigmented foil for a shiny, eye-catching effect.
Raised designs for added texture and elegance.
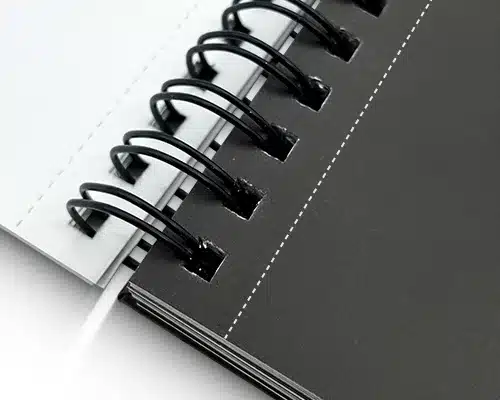
Uses a custom-made metal die to cut paper into specific shapes.
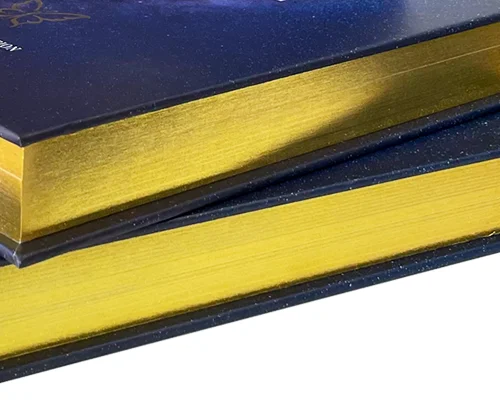
Thin metallic foil—usually gold, silver, or bronze—is applied to the trimmed edges of your book's pages.
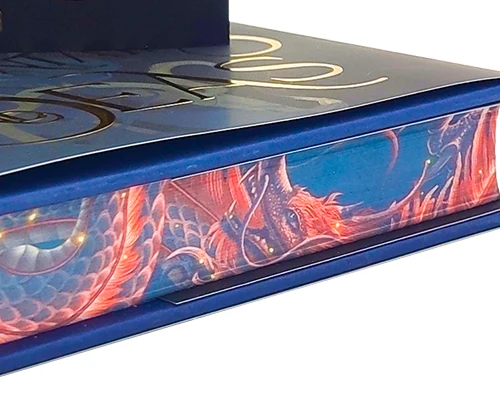
Custom patterns and images are sprayed on the edges for a truly unique appearance.

Print your design on a special paper that reflects light in a rainbow-like pattern.
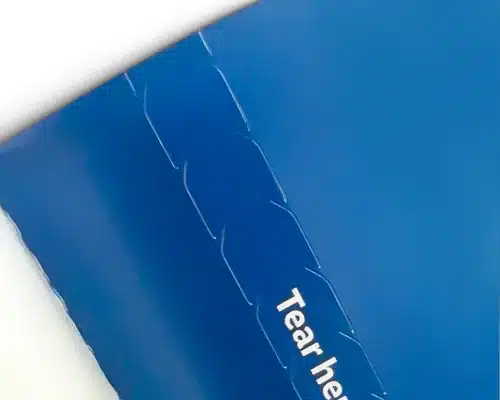
A row of small holes that makes it easy to tear off part of the paper.
A built-in tape that allows the paper to be opened easily and cleanly by pulling along the strip.


Fast turnaround and secure packaging

Offset printing expertise for sharp, color-accurate results

Free file checks and expert prepress support

Sustainable materials including FSC-certified paper and soy inks

Support for bulk magazine printing with flexible volumes and pricing
Even though we’re based in Australia, their response time was outstanding and every request was handled with ease.
We have had a fantastic experience in dealing with QinPrinting.
The quality of the catalogues is far superior than that printed locally and the pricing was a lot more attractive.
Daniel was responsive, patient, and incredibly helpful throughout the process. He answered my questions, guided me through the technical details, and made sure everything was correct before printing.
The final product exceeded my expectations. The print quality is beautiful, the colors are vibrant, and the cards and rigid box feel truly premium. As a first-time deck creator, I appreciated the attention to detail and support every step of the way.
An added bonus, my shipment came in two weeks earlier than expected.
I am extremely happy with the result and would gladly work with QinPrinting again. Highly recommended.