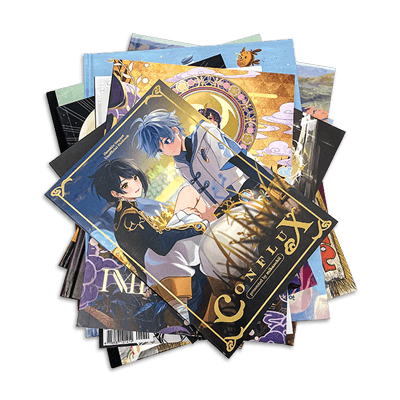
Custom Card Decks
 Custom Holographic Cards
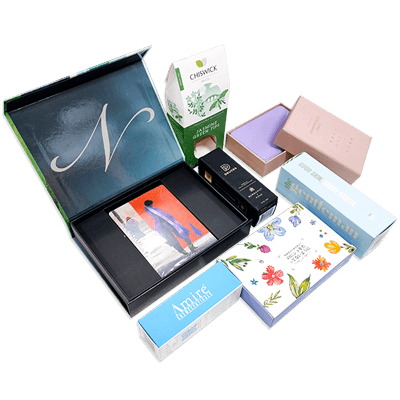
 Folding Cartons
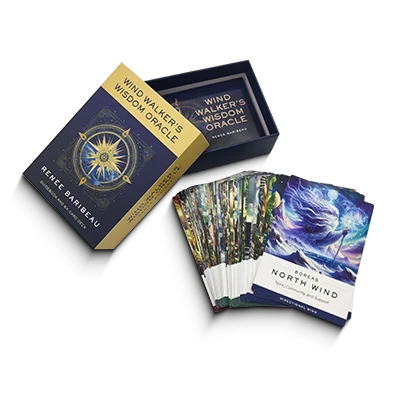
 Rigid Boxes
 Corrugated Boxes
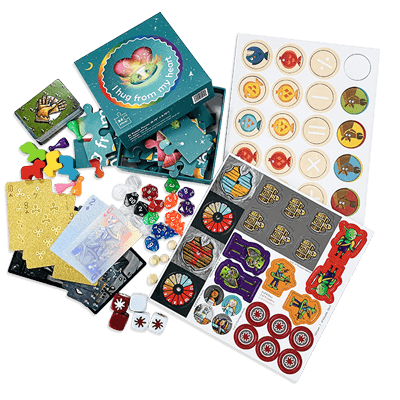
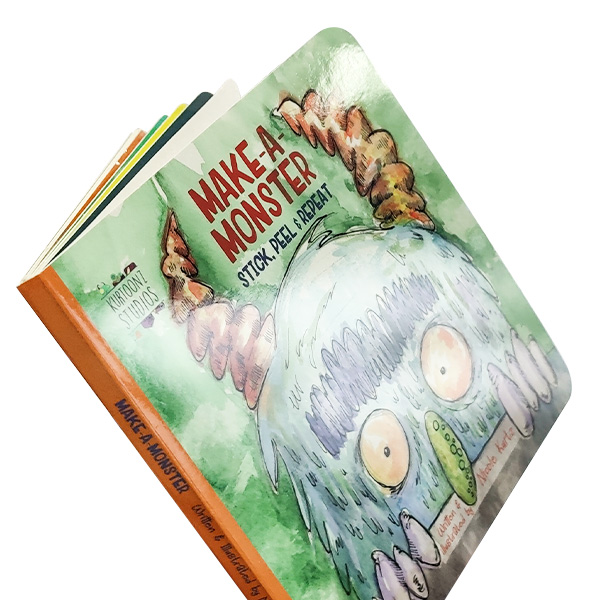
 Custom Board Game
 Kickstarter Print Solutions
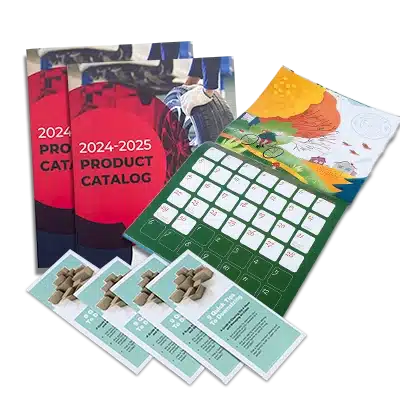
A high-shine BOPP film bonded to the printed surface, intensifying color vibrancy.
A non-reflective film finish that gives printed surfaces a smooth, sophisticated look.
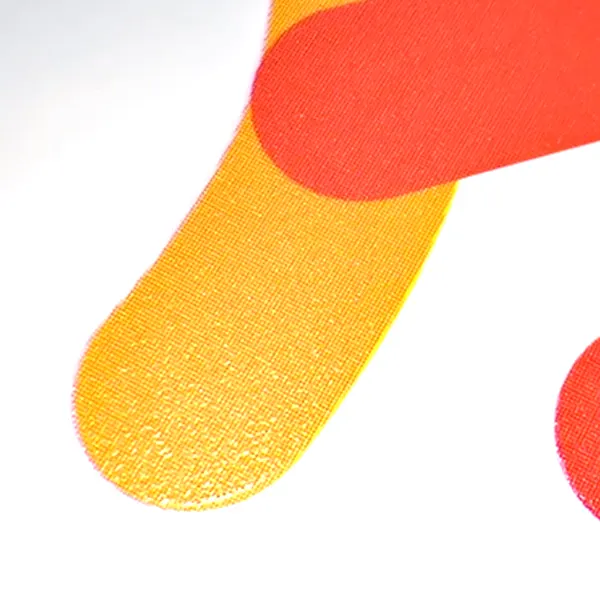
A velvety, tactile film that creates an almost suede-like surface.
Protect your printed surface from scuffs and scratches while giving it a smooth, premium feel.
A clear liquid coating applied to protect and enhance the printed surface, available in offset press and silk screen options.
A raised, high-gloss coating applied to selected areas, creating a striking contrast against matte or soft-touch surfaces.
A specialty UV coating that produces a fine, sand-like texture — perfect for designers who want a truly distinctive finish.
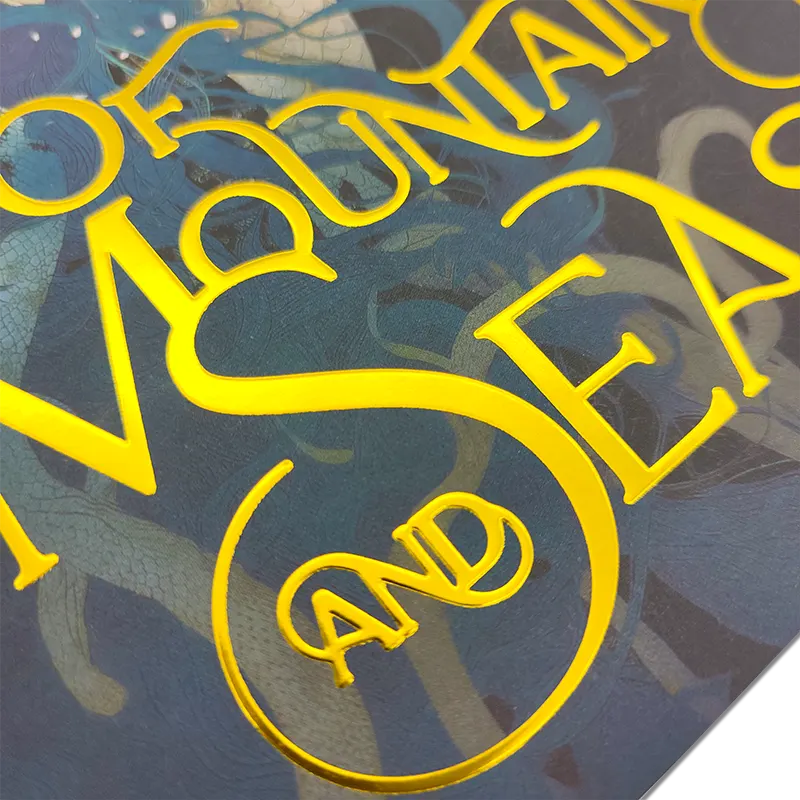
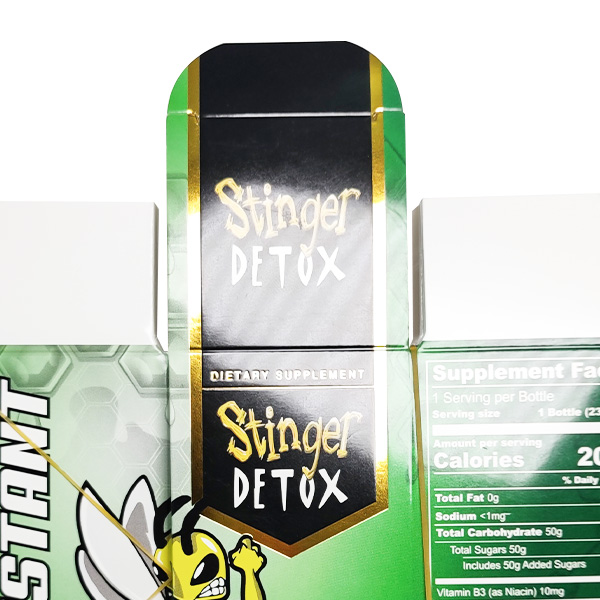
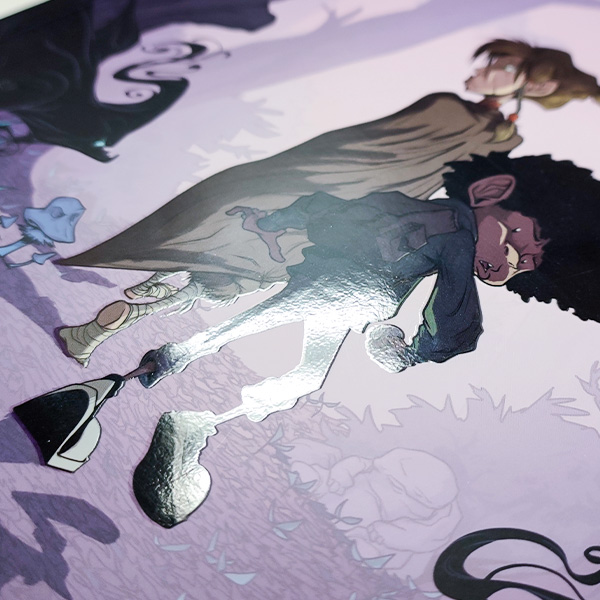
Metallic or pigmented foil bonded to the surface using heat and a custom die, available in gold, silver, copper, holographic, and more.
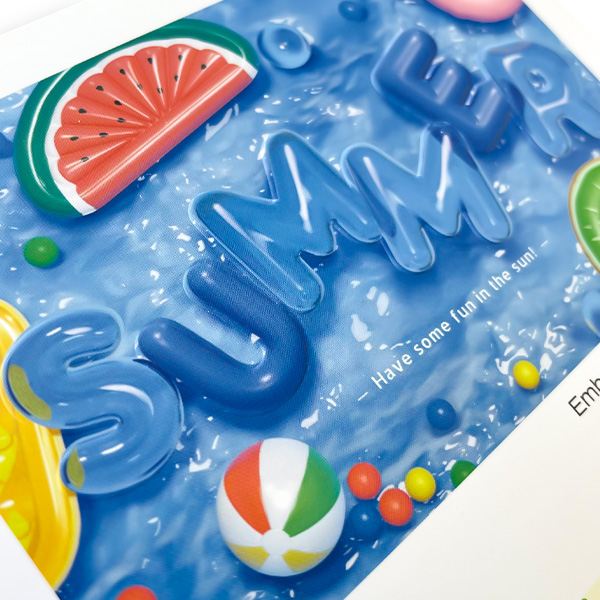
A custom die raises your chosen design into a tactile three-dimensional relief.
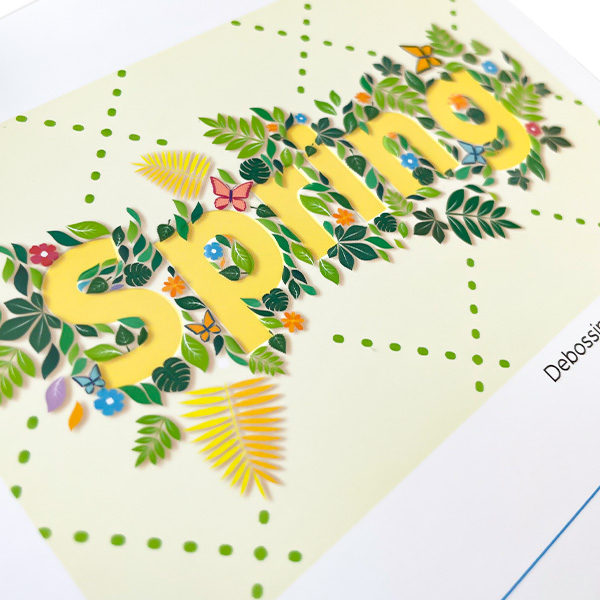
The counterpart to embossing, pressing a design into the paper for a subtle, premium indented effect.
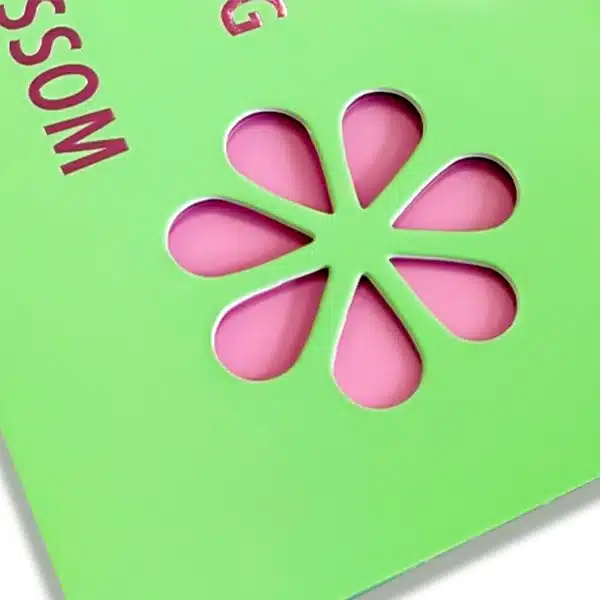
A precision metal die cuts custom shapes or windows into your cover or packaging, adding a dimensional, architectural quality to your print.
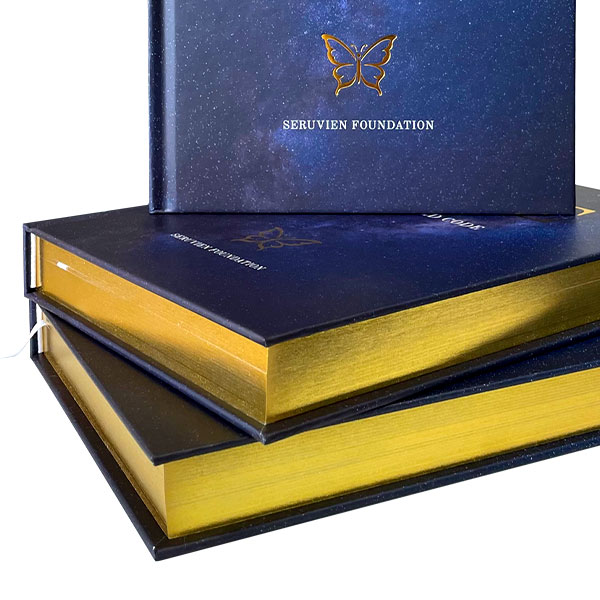
Metallic foil applied to the trimmed page edges of a book — a hallmark of luxury publishing.
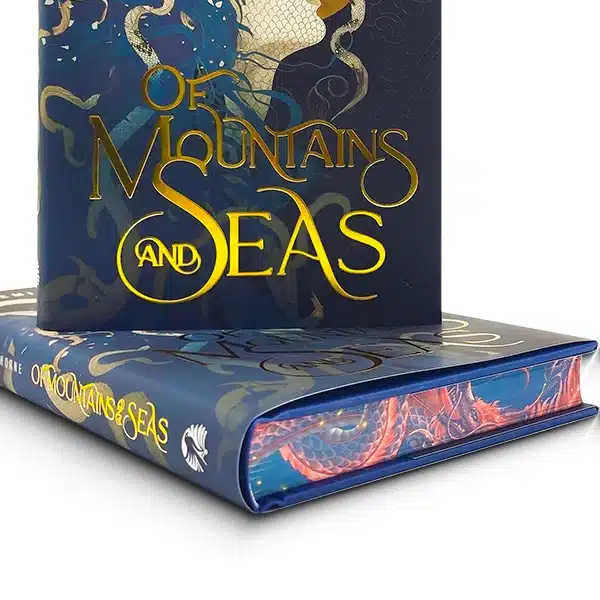
Page edges painted in colors, gradients, or patterns — a bold, modern alternative to gilding that turns a book into a collectible.
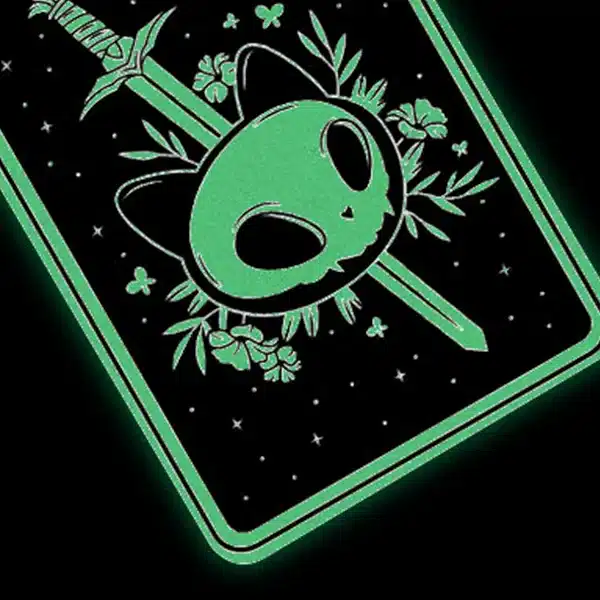
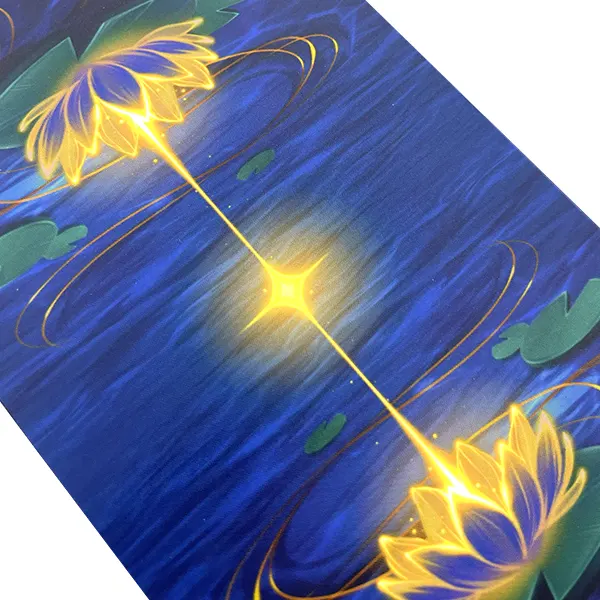
Photoluminescent ink that glows in the dark — perfect for special edition products and game components.
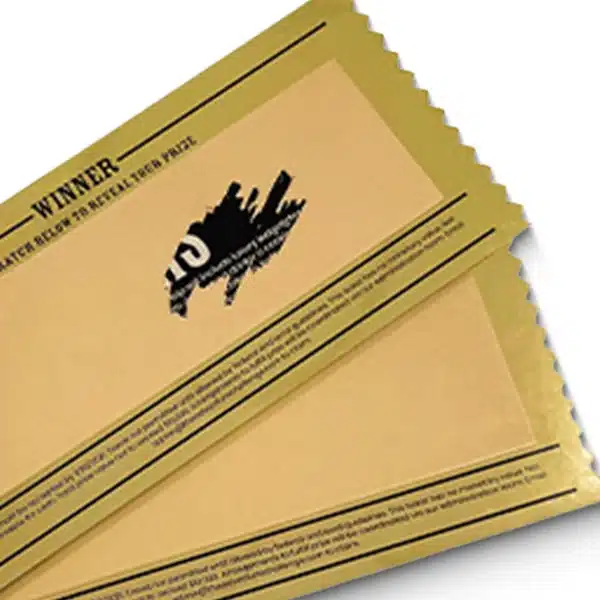
A scratchable latex coating that conceals content until scratched away — ideal for interactive books, game cards and promotional tickets.
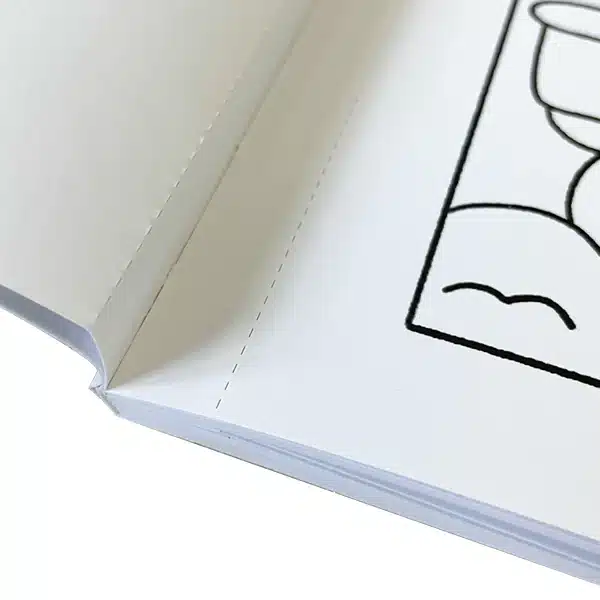
Evenly spaced holes create a clean tear line — essential for coloring books and tear-off coupons.