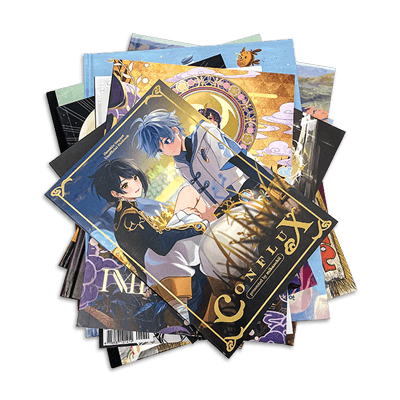
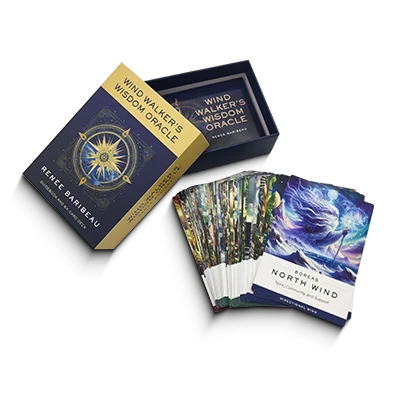
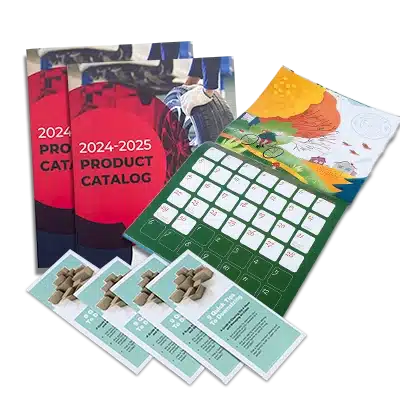
Custom Card Decks
 Custom Holographic Cards
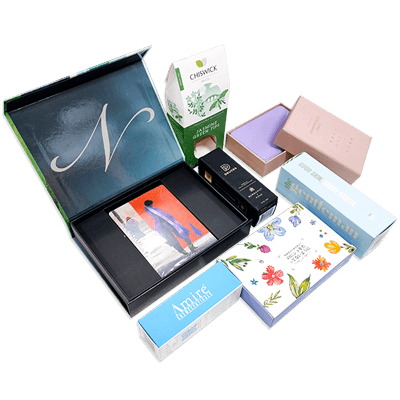
 Folding Cartons
 Rigid Boxes
 Corrugated Boxes
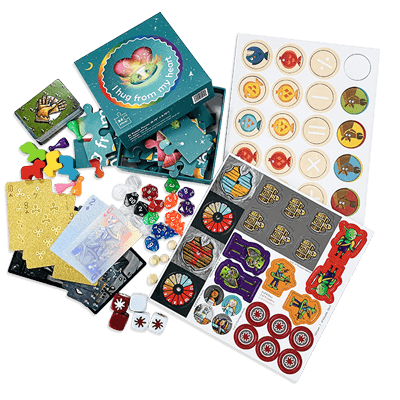
 Custom Board Game
 Kickstarter Print Solutions
Board Game Artwork Tips
Here’s our helpful guide to designing artwork for board games, card games, and jigsaws, and getting your files ready to print
The Art of Game Design
You can divide board game design into two streams. One is the process of designing the game dynamics such as the theme, mechanics, rules, and win condition; and the other is designing the physical components such as the board, cards, pieces, and the box. When it comes to the latter, preparing all the artwork and getting it ready to print can seem a daunting task. But we’re here to help. Below, you’ll find our helpful tips to guide you through the design and artwork process and to make sure that your board game turns out to be exactly as you want it.
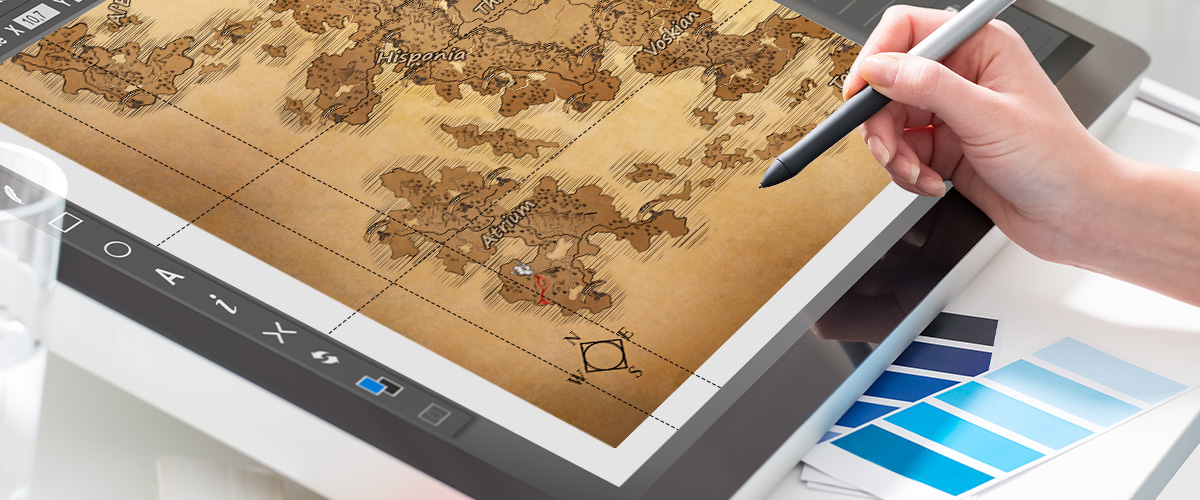
Choose the Best Software for Board Game Design
Before you start to get creative, you’ll need to make sure you have the best possible tools at your disposal. In this day and age, that rarely means the drawing board and paintbrushes! It means choosing the best software for board game design. While there are free applications out there which you might be able to use successfully — such as Canva and others like it — but if you’re taking your game and your business seriously, you’ll need to invest in professional-level design software.
And while you could go with something like CorelDraw, GIMP, or Affinity — all of which have their good points — our professional opinion, based on our own experience and that of working with independent creatives and corporate designers for over 25 years, is that the Adobe Suite remains unparalleled as a “one stop shop” for all your board game design needs. We especially recommend Illustrator, Photoshop, and InDesign.
You can mix and match the applications you need and they offer free trial options on everything, so you can be sure that you’re happy before you subscribe. Please note, that we’re not sponsored by Adobe, nor are we affiliates, and we receive no financial or other incentives for recommending their software. We just love it, that’s all!
So, now you’ve chosen your software and familiarized yourself with how it all works, let’s dive into our top tips to help you make the most of your design. We’ll start with artwork tips for board game design, then look more specifically at designing game cards, and then we’ll finish off with a guide to successful jigsaw artwork creation.
Game Board Artwork Tips
1. Custom Board Game Templates
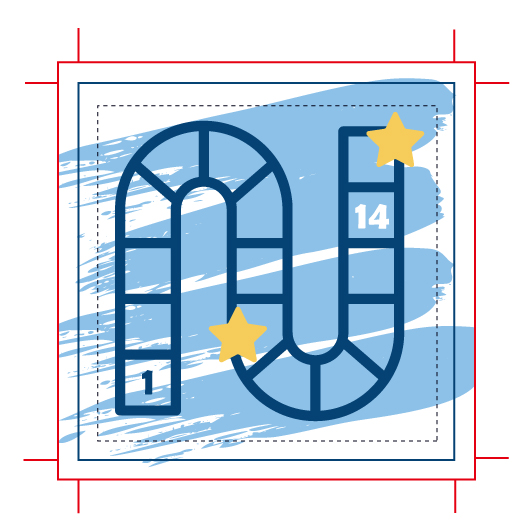
Most game boards are made from die-cut grayboard wrapped in printed coated paper. Once you’ve discussed the specifics of your design idea and artwork needs with us, ask us for a custom-made template. This will make sure that the dimensions, dielines for cuts and folds, safety zones, trim lines, and bleed needed for a successful print layout are all correct before you add your custom artwork.
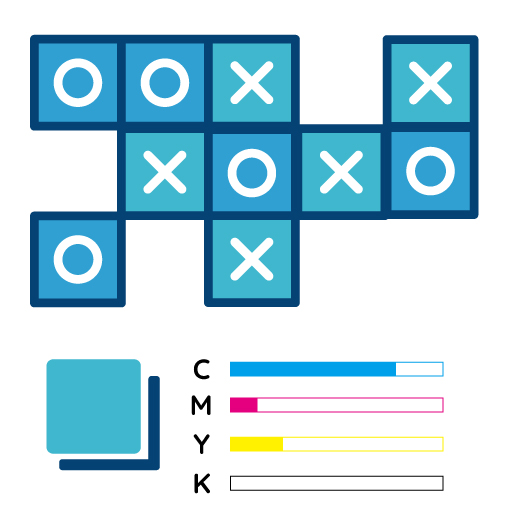
2. Use the Correct Color Space
Before you begin to create your artwork, set the software to use the CMYK color space. If you’re printing on a basic black background — which is often the case with board games, even if ultimately the area is overlaid with full-color artwork — then make sure not to use 100% black. We know it’s counterintuitive, but with CMYK a mix of C80 M80 Y80 K100 will actually look more black once it’s printed than 100% black! The exception to this rule is any black text. For that, use the mix C0 M0 Y0 K100 for the cleanest results.

3. High Resolution Images
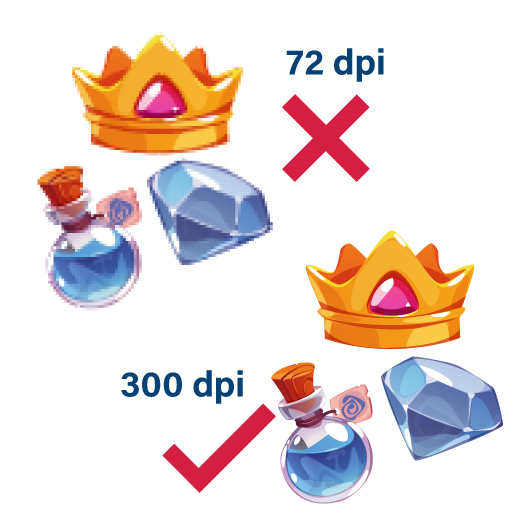
If you can make your images as vectors, that’s great. But for detailed artwork and photographic images, you’ll probably need to work with rasters. In that case, make sure that your images are high resolution. What’s high-resolution for printing? It means at least 300 ppi. If you try less, you’ll find that the images look fuzzy or “pixelated” once they print — even if they look fine on your computer screen.
4. Use Vectors Wherever Possible
While you may need to use rasters for more complex artwork, use vectors wherever possible. So, any design element of your artwork that can be built up from geometric shapes — such as decorative elements, logos, titles, and text — will always come out better if you create it as a vector.
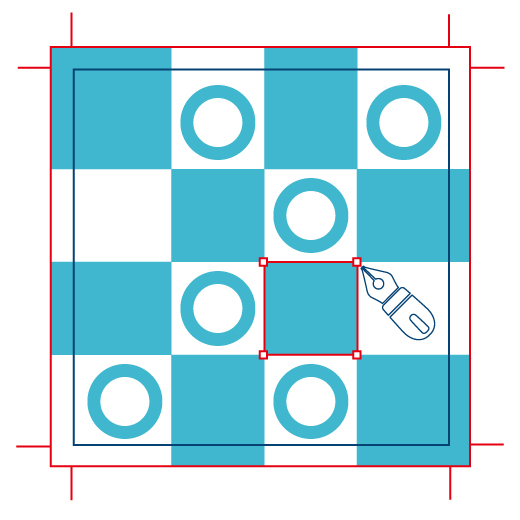
5. Set Generous Margins
There are two reasons why it’s important to set generous margins. One is so that we have room to trim and cut the printed sheets without compromising the integrity of the design or losing any of the artwork; and the other is to allow for bleed, so that there’s a degree of tolerance to allow for slight movement of the paper as it goes through the various stages of the printing process.
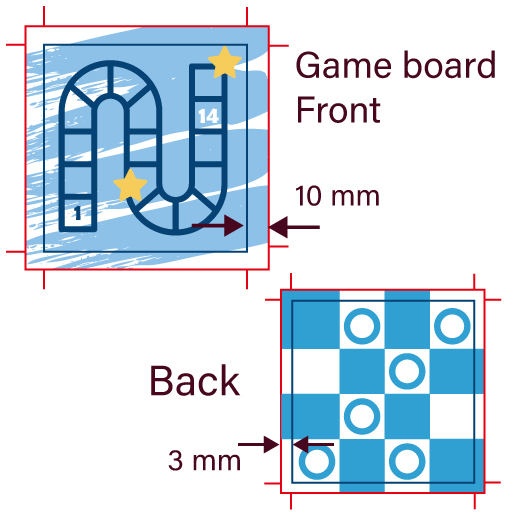
6. Allow Enough Bleed for Wrapping
Remember that your printed sheet of artwork will be glued and wrapped onto the grayboard substrate. So, make sure to leave at least a 10 mm bleed zone to account for the edges, which will be folded back and glued onto the reverse side of the board. If you’re printing on both sides, then leave a margin of 10 mm around the limits of your reverse side artwork, as that area will be covered by the wrap-over from the front.
Game Card Artwork Tips
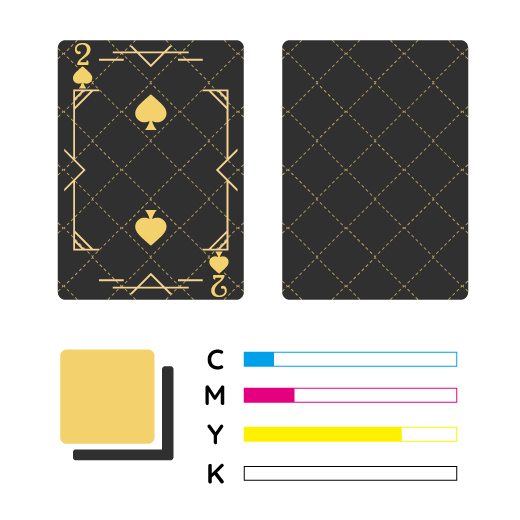
1. CMYK and Black Backgrounds
Again, always use the CMYK color space for design and export. As with the game board tips above, if your cards — playing cards, character cards, instruction cards, etc — will have a black background, then we suggest you mix the “black” as C80 M80 Y80 B100. Likewise, the exception is for text, in which case use C0 M0 Y0 K100 for the best results.
2. High Resolution Images
When designing cards, if you can work with vectors from the outset, that’s always the best option. But for detailed artwork and photographic images, as with the board, you’ll probably need to work with rasters such as JPEGs, PNGs, and BMPs. In that case, make sure that your images are high resolution; meaning at least 300 ppi (dots-per-inch). This will make sure that your artwork looks sharp and clear, rather than fuzzy or “pixelated” once they print.
3. Use Vectors for Logos and Text
While you may need to use rasters for more some artwork and photographic images, use vectors for logos, text, and anything else that can be built using geometric fundamentals.
4. Set Generous Margins
Set generous margins around all your artwork to make sure it doesn’t get trimmed and allow for a bleed zone. You’ll need that degree of tolerance to allow for any slight movement of the paper as it goes through the various stages of the printing process.
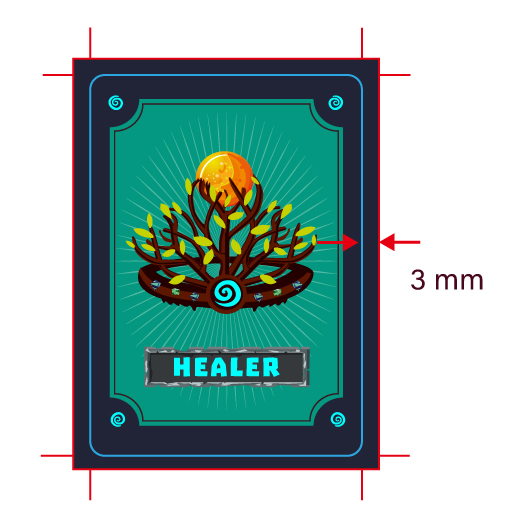
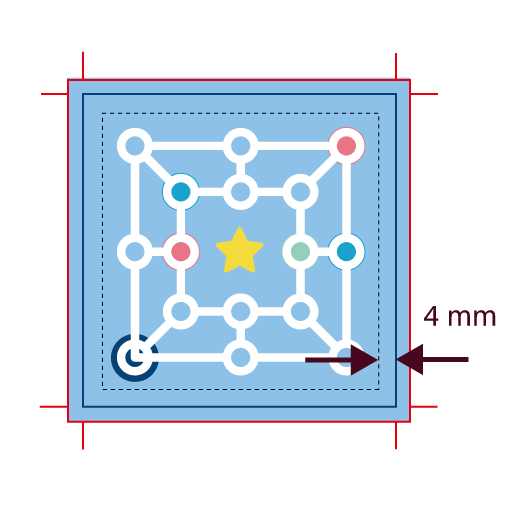
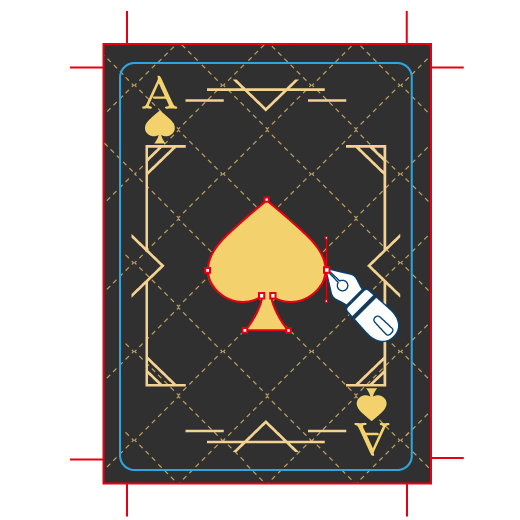
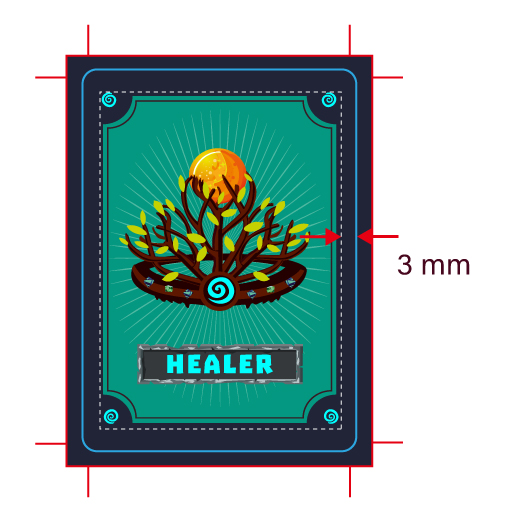
5. Set the Correct Bleed
When designing game cards, you should leave a bleed of 3 mm / 0.125″ around all your artwork. Use a template with pre-marked bleed and trim lines if you have any doubt.
Jigsaw Puzzle Artwork Tips
One of the most challenging aspects of setting up the artwork for a jigsaw puzzle — which is otherwise made in a similar way to a game board, with C1S paper wrapped over a substrate — is fitting the dielines to outline where the pieces should be cut out. If you can’t manage to work out the dielines for your puzzle, fear not, we’ll do it for you. Just tell us the dimensions for your jigsaw and how many pieces you want it to be (anything from two to 1,000+) and we’ll do the math and geometry and send you a template. Once you have your template, just add your artwork and you’re good to go! Still, a few helpful reminders of important things to remember:
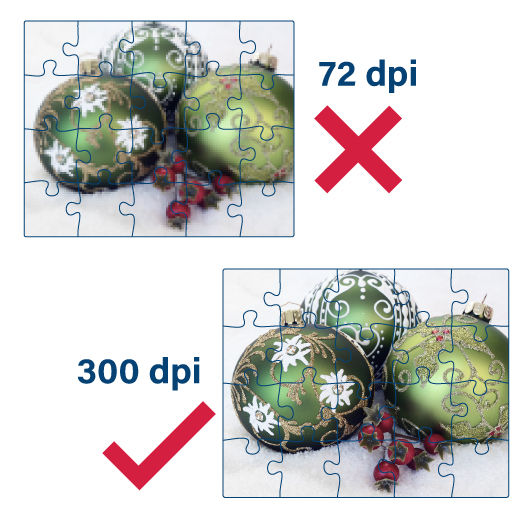
1. Image Resolution
Most jigsaw images are either high-quality works of art or photographs, so it’s unlikely you’ll be able to make them as vectors. In which case, make sure they’re high resolution; so, at least 300 ppi.
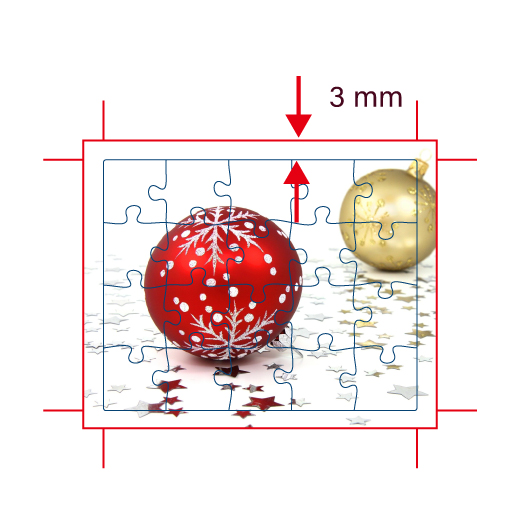
2. Set the Correct Bleed
Jigsaw images will need a bleed margin of 3 mm on all sides.
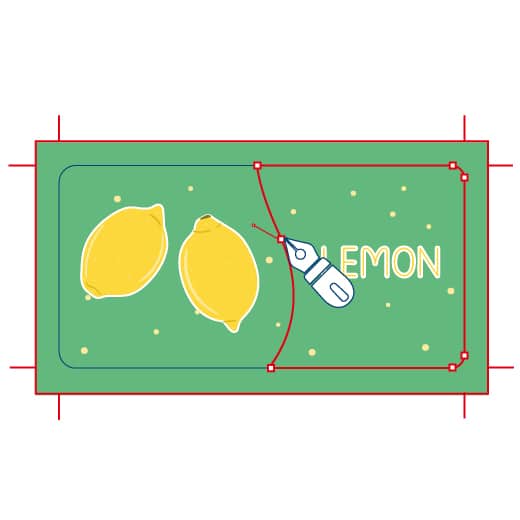
3. Vector Dielines
While your artwork may need to be a raster, if you’re drawing your own dielines, they must be created as vectors.

4. Separate to Layers
Whether making your own dielines or using a template we’ve made for you, always separate the artwork and the dielines into different layers and leave the template or your dieline layer on top.
General Tips to Get the Best Results
So, those are all helpful guides to how to design your artwork for offset printing whether you’re making a game board, game cards, or a jigsaw puzzle. And here, to wrap up, are our top tips for getting the best results with all of these projects.
- Don’t hide the outline layer
- Make sure to either embed or outline all your fonts
- When you export your files, check “high quality” and “bleed” before you output
- make sure that you have “full bleed” not with a white edge
Need More Help? Let's Talk!
If you’d like to design, print, and manufacture a custom board game, let’s talk. You can easily contact us by telephone, email, Skype, chat, or via our handy online contact form. We’re real people and always willing to answer questions, provide information, and offer our best advice. We look forward to working with you and helping you to realize your creative ambitions!
If you’re looking for help with booklet or instruction artwork, please click here.
For board game packaging artwork tips, please click here.