Custom Card Decks
 Custom Holographic Cards
 Folding Cartons
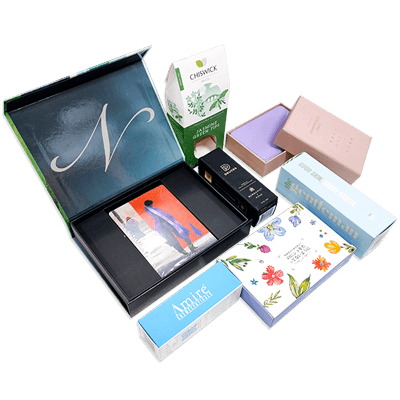
 Rigid Boxes
 Corrugated Boxes
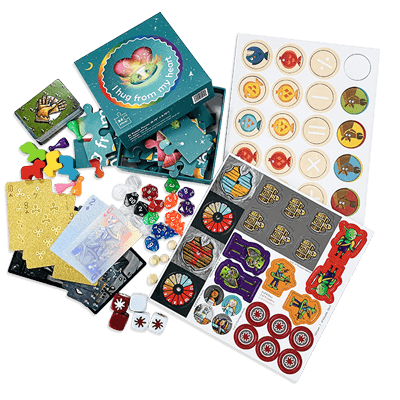
 Custom Board Game
 Kickstarter Print Solutions
Die-Cutting: A Complete Guide
Every custom box you’ve ever opened started as a flat sheet of paper or board. The flaps, the tuck ends, the window that reveals the product inside—all of those shapes were cut by a single tool called a die. Die-cutting is how printed sheets become three-dimensional products.
What Is Die-Cutting?
Die-cutting is a mechanical finishing process that uses a custom-made metal tool—called a die—to cut specific shapes, windows, or structural forms out of a printed sheet. Unlike a standard paper trim (which cuts straight lines), die-cutting can produce virtually any shape: curves, circles, custom silhouettes, pop-up elements, box flaps, and more.
The process is fundamental to packaging production (every folding carton, tuck-end box, and display box requires a die to create its structural form), but it’s also widely used for creative effects on books, cards, marketing materials, and board game components.
How Die-Cutting Works
- Die creation: A custom die is built by bending sharp steel rules into the exact shape of your design and mounting them on a flat board. The die includes cutting rules (for through-cuts), creasing rules (for fold lines), and perforation rules (for tear-off sections) as needed.
- Sheet positioning: The printed sheet is fed into a die-cutting press and precisely aligned with the die.
- Cutting: The press applies even pressure across the die, cutting through the sheet cleanly in a single stroke.
- Stripping: Waste material (the “skeleton”) is removed, leaving the finished die-cut piece.
For packaging, the die-cut sheets are then folded and glued into their final three-dimensional form. For books and cards, the die-cut elements become windows, shaped pages, or decorative edge details.
Types of Die-Cut Effects
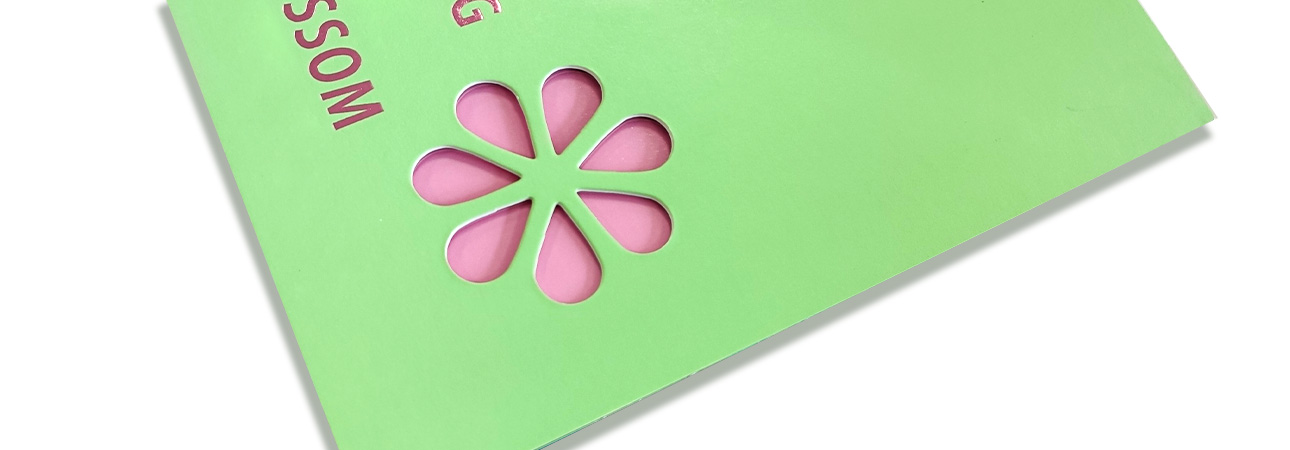
Through-cutting
The die cuts completely through the material, removing a section entirely. This is how windows, shaped covers, and custom silhouettes are created.
Kiss-cutting
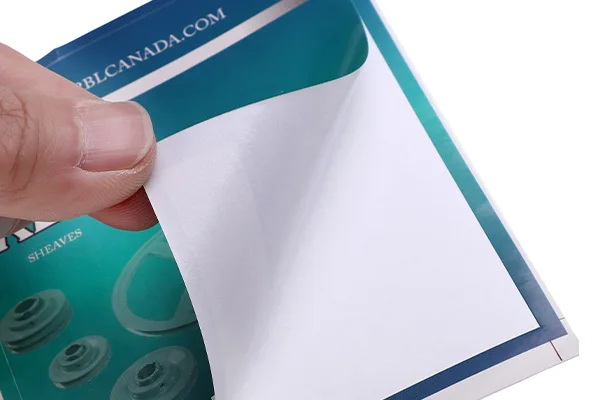
The die cuts through the top layer (such as a sticker or label) but not through the backing sheet. This allows individual pieces to be peeled off cleanly. Common in sticker sheets and label production.
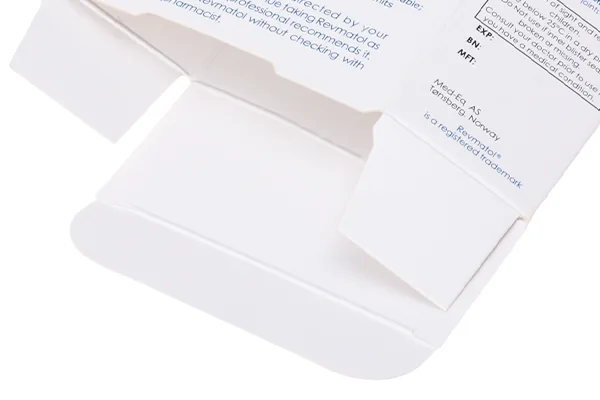
Creasing (scoring)
Rather than cutting through, the die creates a fold line by compressing the material. This is essential for packaging, where clean, precise folds are required to form boxes and cartons.
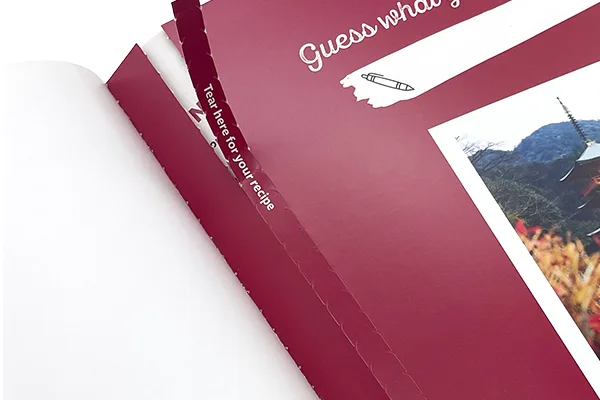
Perforating
The die creates a row of small, evenly spaced cuts that allow a section to be torn off cleanly. Used in tickets, coupons, tear-off reply cards, and calendar pages.
Technical Specifications and Tolerances
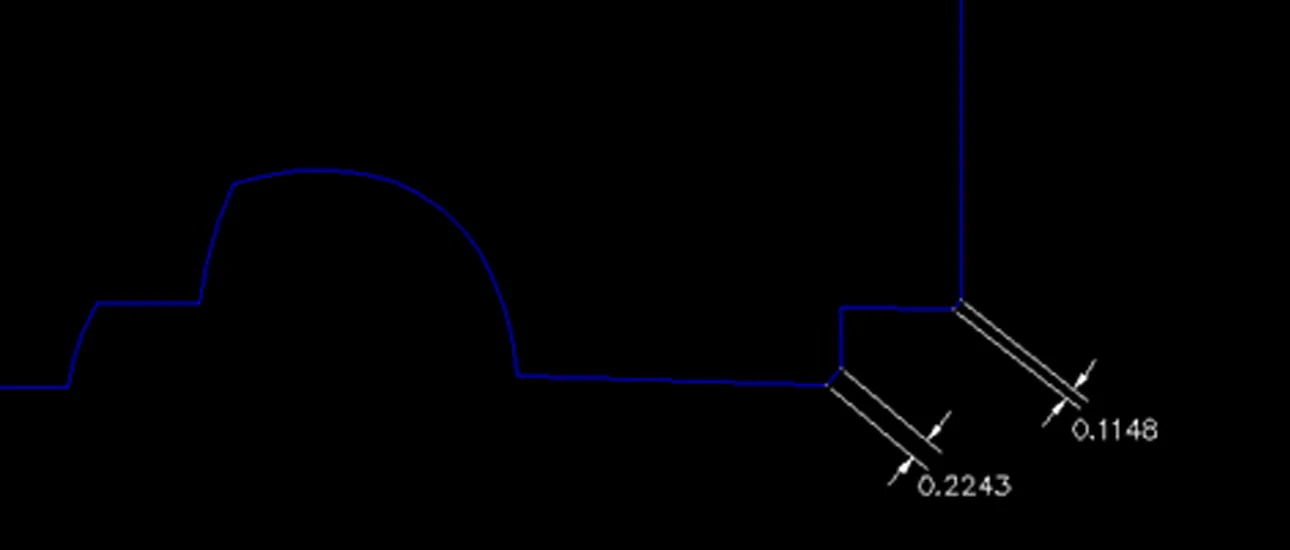
Minimum Clearance Between Die Rules
The minimum distance between two adjacent die-cutting rules is 1.5 mm. This applies to any combination of straight edges, angles, and curves. When two cutting lines converge at a sharp angle or meet at a tight radius, the combined distance between the rules at their closest point must still be at least 1.5 mm to ensure clean cutting and prevent the die from deforming or the paper from tearing.
The diagrams below illustrate two common scenarios where this rule applies:
Example 1: An acute angle meeting a curved edge. The distance between the angle vertex (0.1148″) and the arc (0.2243″) must total at least 1.5 mm.
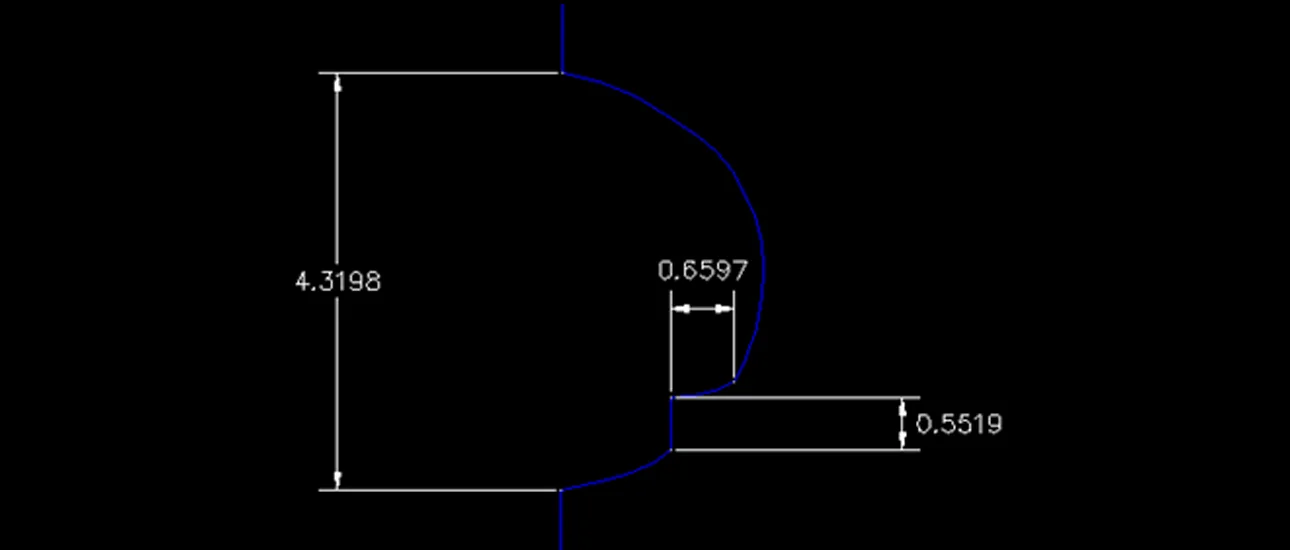
Example 2: A short straight segment meeting a curved edge. The combined length of the straight segment (0.5519″) and the arc (0.6597″) must maintain at least 1.5 mm clearance from the adjacent rule.
If your design includes details that fall below this 1.5 mm threshold, our prepress team will flag them during the file review and suggest modifications to ensure clean, reliable cuts.
Die-Cutting Tolerance
Die-cutting is a mechanical process, and like all mechanical processes, it has a tolerance—a small, inherent variation between the intended cut position and the actual cut position. This tolerance is typically in the range of ±0.5 mm, but the exact figure depends on several factors:
- Paper movement after printing: Paper can stretch or shrink slightly during and after the printing process, especially with heavy ink coverage. This dimensional change means the printed image may not align perfectly with the die position.
- Post-printing finishing: Processes applied after printing—such as lamination, spot UV, or varnishing—can also cause the paper to expand or contract slightly. Each additional process introduces a small amount of dimensional variation.
- Material type and weight: Thinner papers tend to shift more than heavier stocks, and uncoated papers are more susceptible to humidity-related movement than coated ones.
In practice, this means that your die-cut edges may not land exactly on the pixel-perfect boundary of your artwork. To account for this, we recommend building a tolerance buffer into your design: keep critical content at least 2 mm inside the die-cut line, and extend background colors or images at least 3 mm beyond it (the standard bleed). Our prepress team will advise you if any elements in your design are at risk of being affected by tolerance variation.
Popular Applications
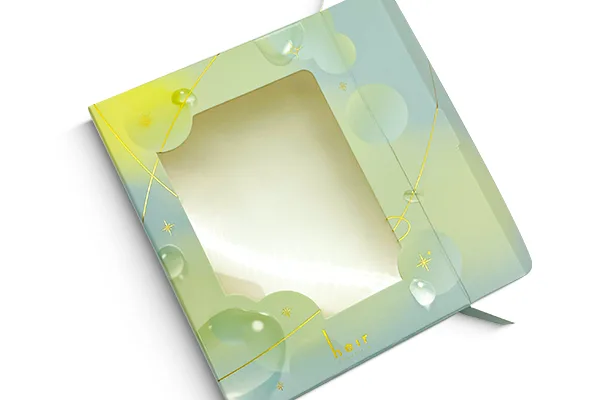
- Packaging: Die-cutting is the backbone of custom packaging. Every folding carton, rigid box wrap, and display unit starts as a flat sheet that is die-cut into shape. Windows, tuck flaps, and locking tabs are all created through the die.
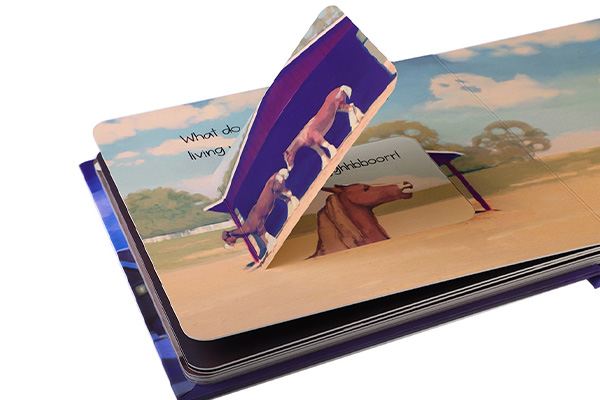
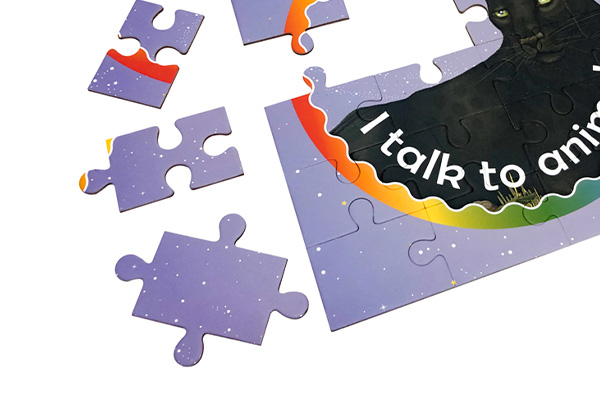
- Books: Die-cut windows on covers reveal glimpses of the interior artwork. Shaped pages (common in children’s books), pop-up elements, and custom-edged pages all rely on die-cutting.
- Cards: Custom-shaped cards and die-cut elements on card decks add a distinctive, playful quality.
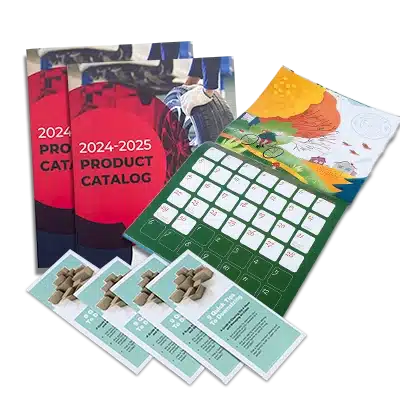
- Marketing materials: Brochures with die-cut panels, presentation folders with business card slots, and direct mail pieces with tear-off coupons all use die-cutting to add functionality and visual interest.
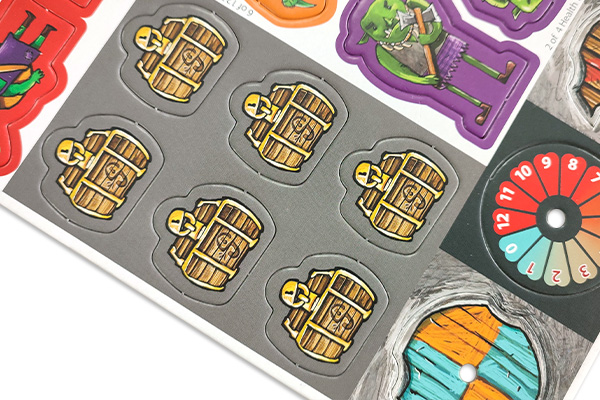
- Board games: Custom-shaped game tiles, token punch sheets, and window-front game boxes are all produced through die-cutting.
Material Considerations
Die-cutting works on virtually any paper or board stock, but the material thickness and composition affect the result:
- Thinner papers (under 150 gsm) produce clean cuts but may not hold intricate shapes well on their own.
- Medium-weight stocks (200–350 gsm) offer the best balance of clean cutting and structural integrity.
- Board and grayboard-mounted materials accept complex die-cut structures and are used for packaging and game components.
- Laminated surfaces cut cleanly, but the laminate film should be considered in the die setup to prevent peeling at cut edges.
How to Prepare Your Design Files
- Create a separate die-line layer: In Adobe Illustrator or InDesign, place all cut lines, fold lines, and perforation lines on a dedicated layer labeled “Die” or “Die Cut.”
- Use vector paths only: All die lines must be vector-based, with clean, closed paths. Avoid raster elements on the die layer.
- Assign spot colors: Use distinct spot colors for different line types (cutting, scoring, perforating) and name them clearly.
- Use consistent stroke weight: Keep the same stroke weight for all lines of the same type.
- Add 3 mm bleed: Extend your artwork 3 mm beyond the die-cut line to prevent white edges after cutting.
- Simplify complex curves: Avoid unnecessary anchor points in your die-line paths. Simpler, smoother curves produce cleaner cuts and reduce die cost.
- Export as PDF: Submit your artwork and die-line files as separate or layered high-resolution PDFs.
Die-Cutting at QinPrinting
At QinPrinting, our prepress team reviews every die-line file to ensure structural integrity, proper clearances, and accurate alignment with your artwork. Whether you need a simple window cut on a book cover or a complex multi-fold packaging die, we’re equipped to deliver.
Need help designing your die line? Our team can advise on structural feasibility and provide templates for standard packaging formats. Just get in touch.
Related Resources