Foil Stamping
Foil stamping adds a metallic sheen to printed surfaces that no ink can replicate. It’s one of the most effective ways to elevate the perceived value of any printed product — from books and card decks to packaging and board games. This guide covers how the process works, your options, design guidelines, and cost factors.
What Is Foil Stamping?
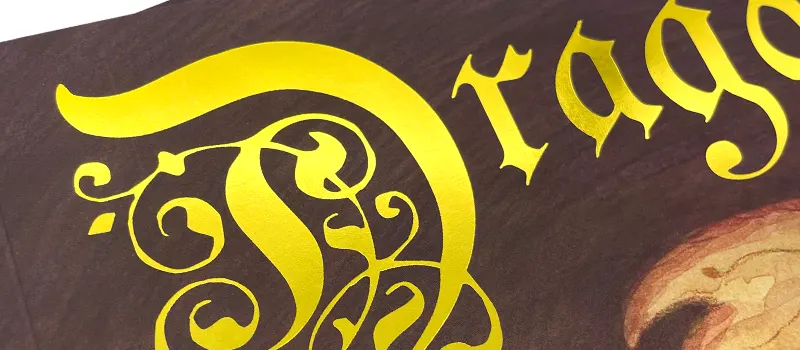
Foil stamping is a post-press finishing technique that transfers a thin layer of metallic foil onto paper, cardboard, cloth, or leather using heat and pressure. Unlike metallic ink printing, which lays down a semi-transparent layer of pigment, foil stamping applies an opaque sheet of actual metal-coated film. This is what gives foil its distinctive mirror-like reflectivity — something metallic inks simply cannot achieve.
The result is a crisp, highly reflective surface that catches the light and immediately draws the eye, making foil stamping one of the most effective ways to elevate the perceived value of any printed product.
The Advantages of Foil Stamping
Foil stamping is more expensive than standard finishes, so it’s worth understanding what you get in return. Here are the key benefits:
- Premium look and feel. The metallic surface immediately signals quality. No other print finish replicates the mirror-like reflectivity of foil.
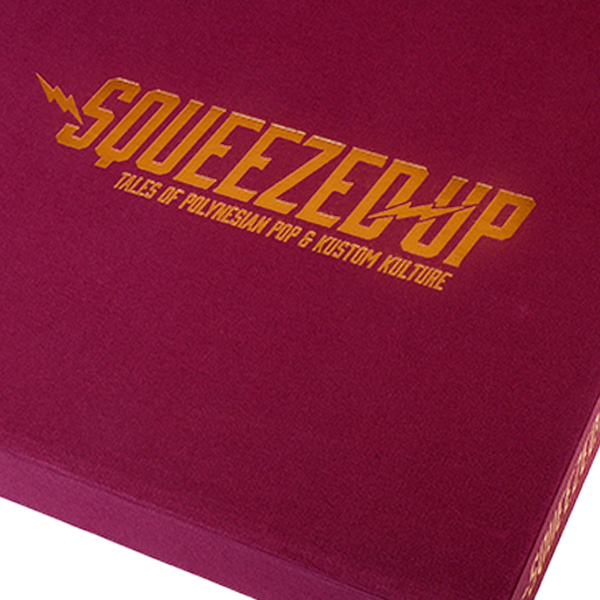
- Opaque on any surface. Because foil is a solid film rather than a translucent ink, it looks equally vivid on white paper, black cardboard, or dark cloth. Light-colored foils on dark backgrounds produce striking contrast with no loss of brightness.
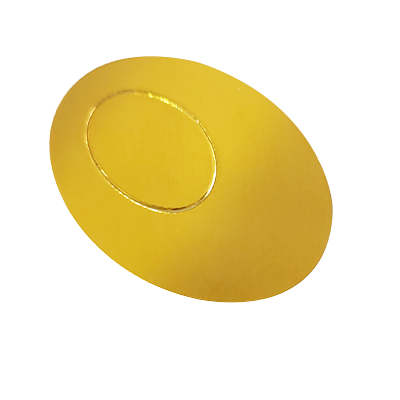
- Combines well with other finishes. Foil pairs naturally with embossing, debossing, matte lamination, and spot UV to create layered visual effects.
- Increased perceived value. Products with foil stamping are more likely to be kept, displayed, and shared — making it a smart investment for items aimed at collectors or premium markets.
- Durable finish. Hot foil bonds permanently to the surface. It won’t rub off, fade, or peel under normal handling.
How Does Foil Stamping Work?
The process involves four key elements: a metal die, metallic foil, heat, and pressure.
Step 1 — Die creation. We produce a custom metal die from your artwork, typically made from brass.
Step 2 — Setup. The die is mounted onto the foil stamping machine’s heated plate. An operator positions sheets using registration marks to ensure precise foil placement.
Step 3 — Stamping. The heated die (120–180°C depending on material) presses through the foil film onto your sheet. Heat activates an adhesive on the foil, bonding it to the surface in the exact shape of the die.
Step 4 — Inspection. Each stamped sheet is checked for adhesion, edge sharpness, and alignment.
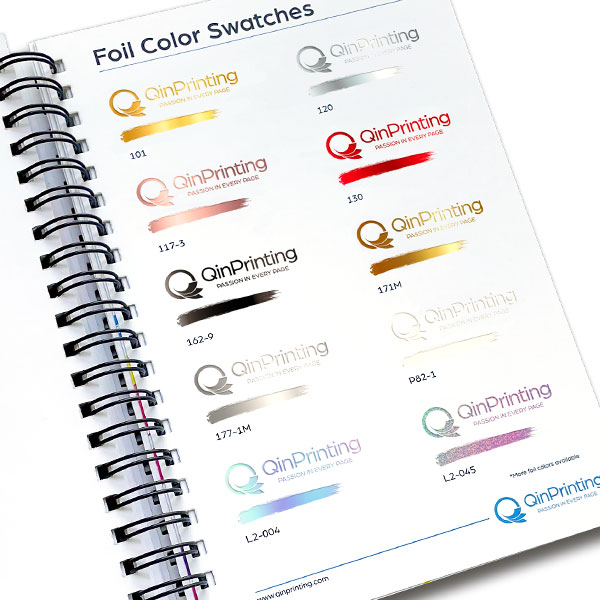
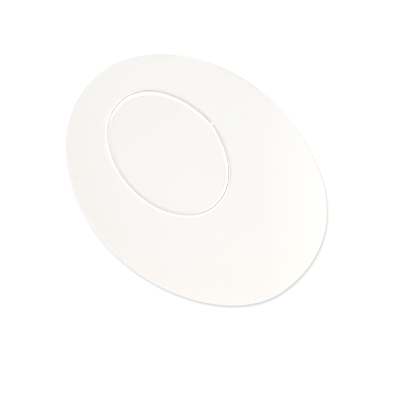
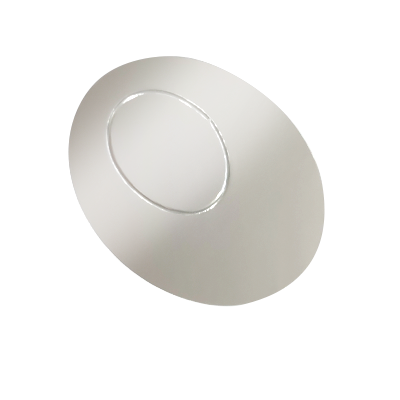
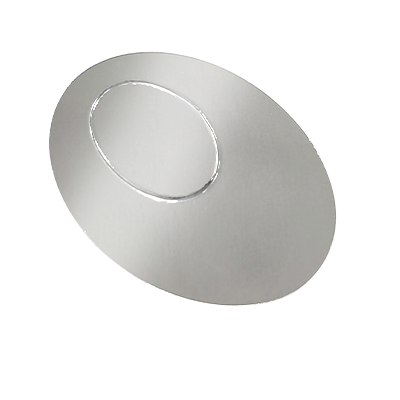
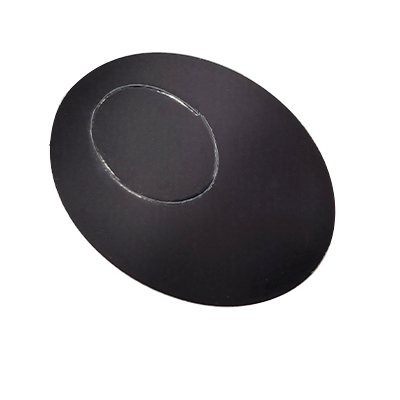
Available Foil Colors
Foil stamping is available in a wide range of finishes, including:
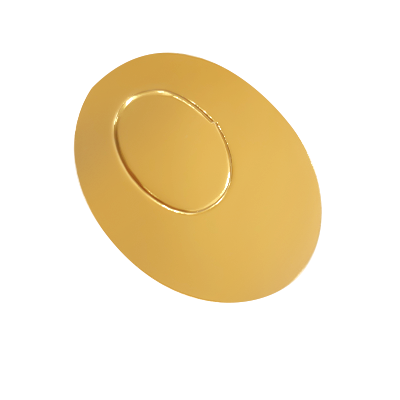
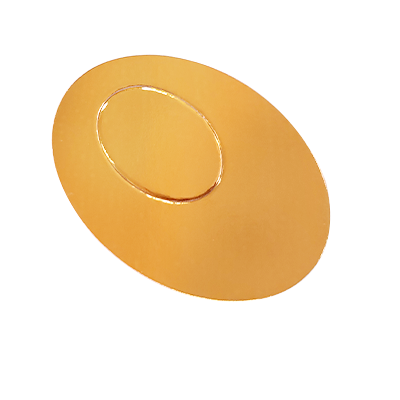
- Gold foil – classic and widely used for book covers and premium packaging
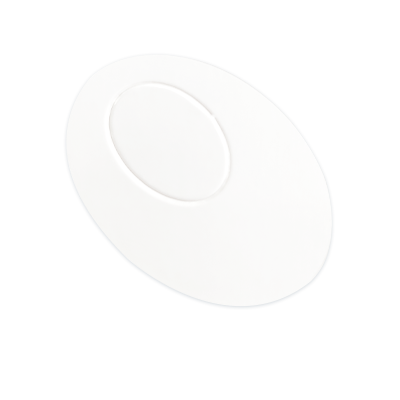
- Silver foil – modern and clean, often used in minimalist designs
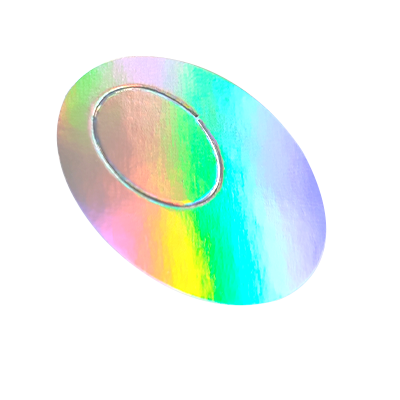
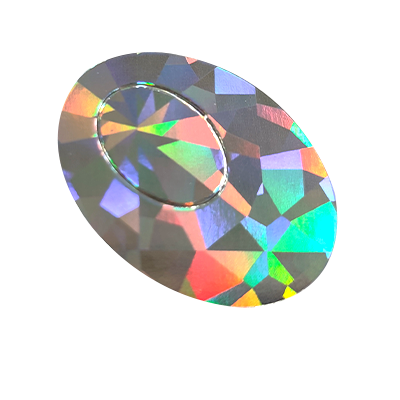
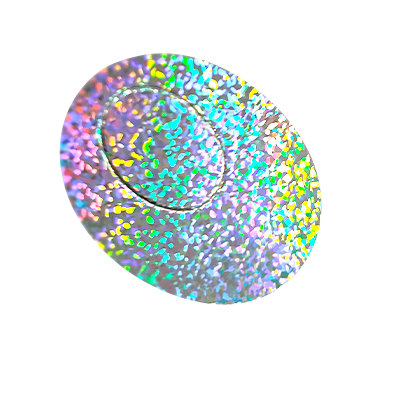
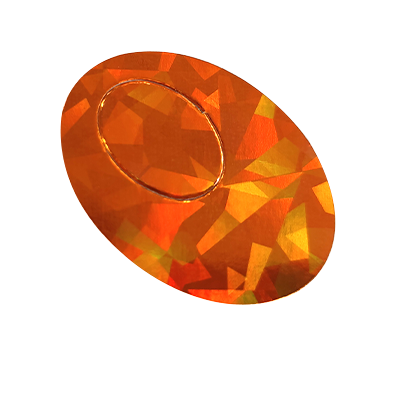
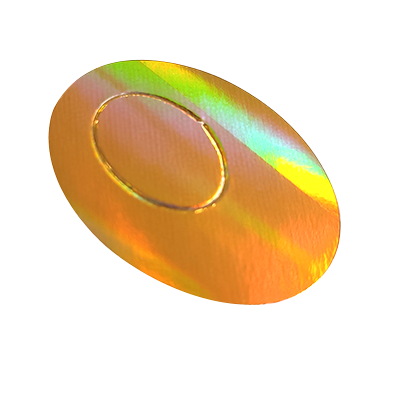
- Holographic foil – dynamic and eye-catching, popular for trading cards and special editions
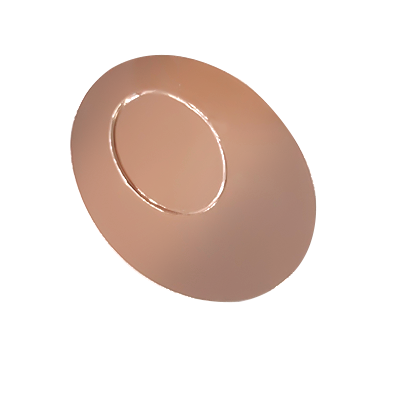
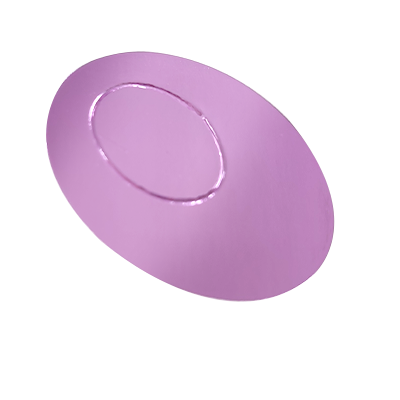
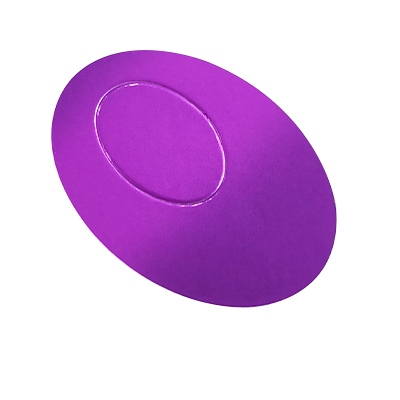
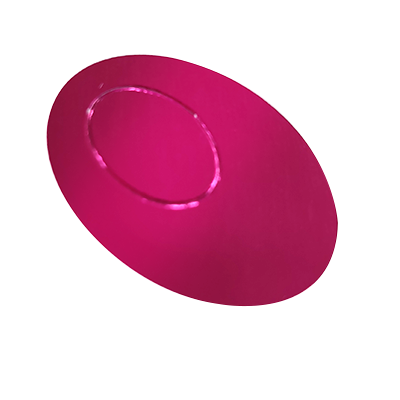
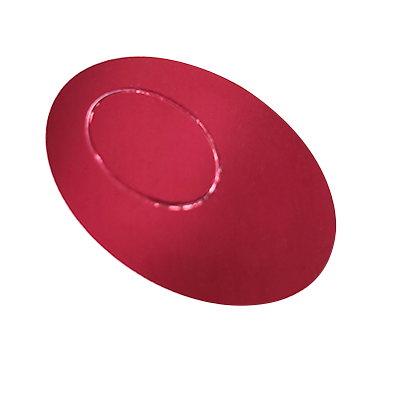
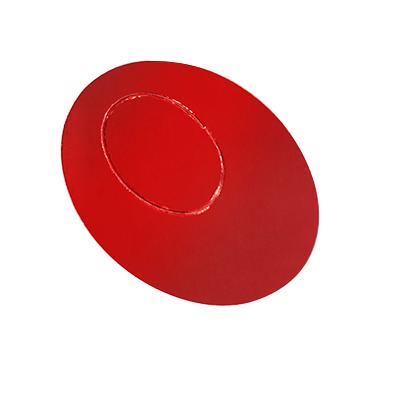
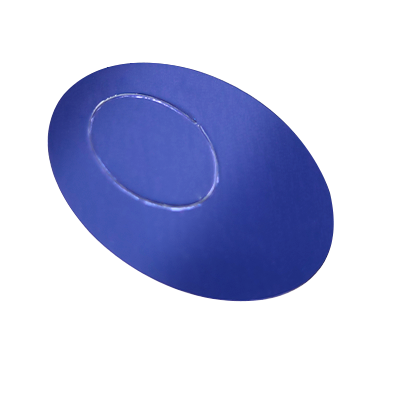
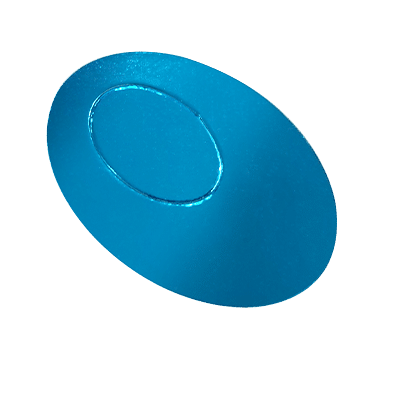
- Colored foils – including red, blue, green, and black for brand-specific designs
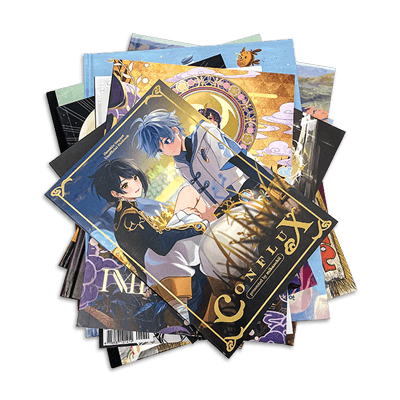
Each foil type creates a distinct visual effect depending on lighting and surface texture. Here’s a selection of the possibilities we have available:
Foil Stamping vs. Metallic Ink
Metallic ink uses metal flake particles in an ink base, printed through the standard offset process. It produces a subtle shimmer but looks muted compared to foil. The ink also interacts with the paper color — it will appear slightly different on dark substrates than on white.
Foil stamping applies a solid, opaque metallic film. Because it’s opaque, it looks identical on white paper, black cardboard, or dark cloth. This makes foil especially powerful on dark surfaces, where metallic ink would appear dull or invisible.
The trade-off is cost: foil requires a custom die and a separate machine pass. Metallic ink runs through the standard press with no extra tooling. For tight budgets at higher quantities, metallic ink can work. For premium products, foil stamping is the clear choice.
Hot Foil vs. Cold Foil
Hot foil stamping uses a heated die with pressure. It produces the sharpest edges, most reflective surface, and best adhesion across all substrates — paper, cardboard, cloth, and leather. This is the method we use at QinPrinting.
Cold foil prints adhesive onto the sheet, then laminates foil over it with UV curing. The finish has a raised texture, similar to spot UV but with a metallic sheen. However, it costs more and doesn’t work well on cloth or leather.
What Materials Can Be Foil Stamped?
Coated paper and cardboard — The most common substrate. Smooth surfaces produce the crispest edges and most consistent adhesion. Matte laminated surfaces with gold foil are one of the most popular combinations.
Uncoated paper — Suitable for foil stamping provided the surface texture is not too deep. Smoother uncoated stocks give the best results.
Cloth and linen — A classic technique for hardcover books. The contrast between metallic sheen and fabric texture is striking. Very fine lines (below 1pt) and small text (below 8pt) may not stamp cleanly.
Imitation leather (PU leather) — Accepts foil well. The smoother surface allows finer detail than cloth.
Heavily textured stock — Not recommended. Uneven surfaces cause patchy adhesion. If you want both texture and foil, stamp on smooth stock first, then apply texture — or combine foil with embossing.
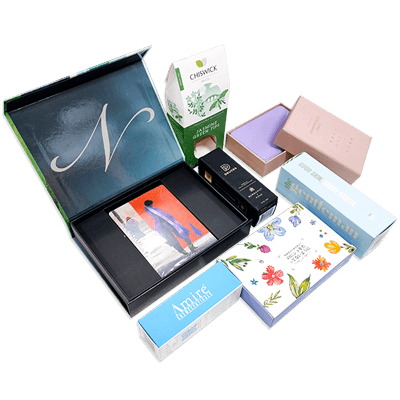
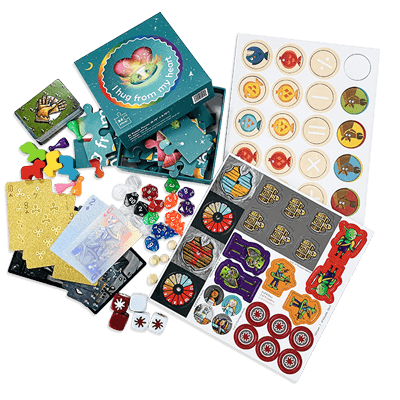
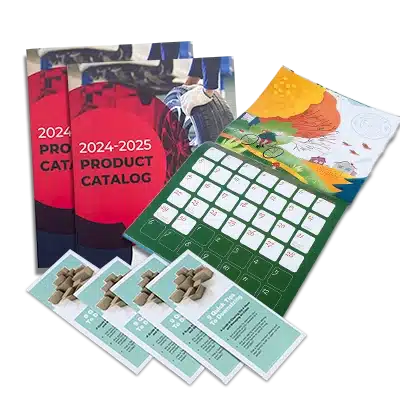
Popular Applications for Foil Stamping
Foil stamping works across a wide range of printed products. Here are some of the most common uses:
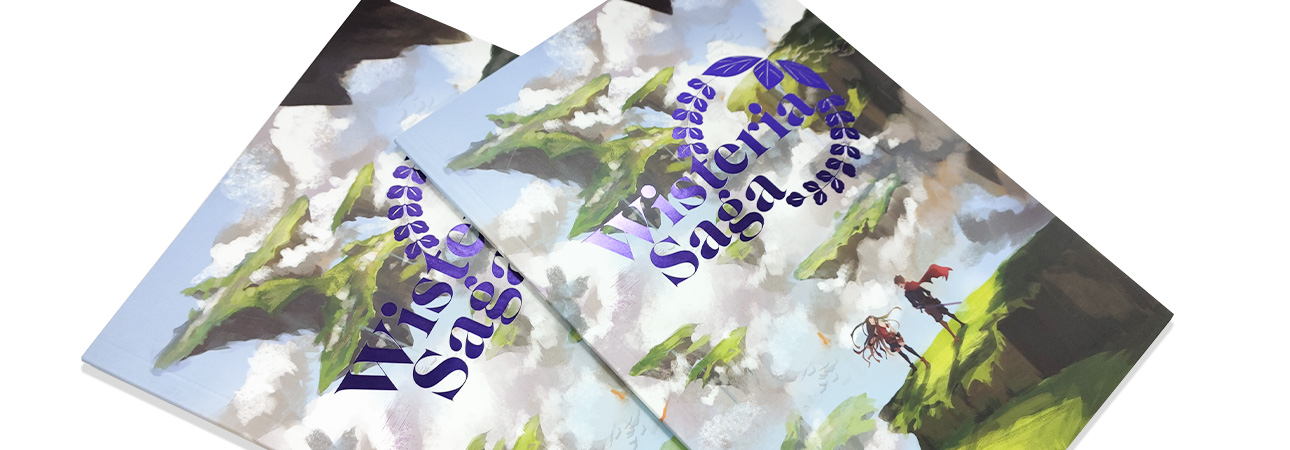
- Book covers — Foil on a hardcover or dust jacket immediately positions a book as a premium edition. Especially effective on cloth-bound covers and coffee-table books where visual impact drives purchasing decisions.
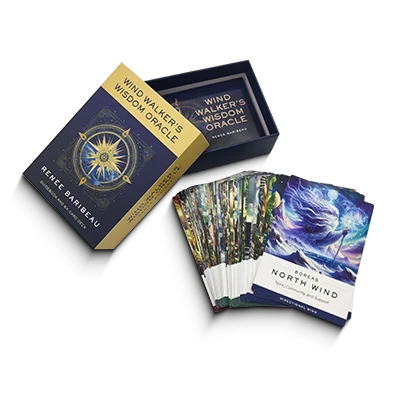
- Card decks — Trading cards, tarot decks, and game cards often use foil for special editions, holographic accents, or premium tuck boxes. Foil adds collectible appeal and shelf presence.
- Packaging — Luxury product boxes, cosmetic packaging, and retail boxes use foil to elevate brand presentation. A foil-stamped logo on a matte box is one of the most cost-effective ways to signal quality.
- Board games — Deluxe and collector’s editions use foil on the box lid, game board, or rulebook cover. It’s a popular choice for Kickstarter campaigns aiming to create a premium unboxing experience.
Design Guidelines
Minimum text size: 7.5pt on coated paper; 8.5pt on cloth or faux leather for sans-serif fonts (increase to 10pt or above for serif fonts). Avoid thin-stroked serifs (Didot, Bodoni) at small sizes — sans-serif or medium-weight serifs are safer.
Minimum line weight: 0.3mm.
Large foil areas: Areas larger than ~210 × 280 mm can be challenging — prone to air pockets or uneven adhesion. We can advise on the best approach for large-coverage designs.
Trim edge spacing: Keep foil at least 3 mm from the trim line, or add 3 mm bleed if the foil extends to the edge.
Registration tolerance: ±0.5 mm. Design foil elements that stand alone or have enough margin to absorb a slight alignment shift.
Multi-color foil: Each color requires a separate die and stamping pass. Two foil colors = two dies + two passes. We support multiple foil colors per piece.
What Affects the Cost?
Die cost — One-time tooling expense. A simple logo die (approximately 6 × 1.2 inches): $30–60. A full-coverage intricate design: $100–200+. Dies are stored for up to 2 months and can be reused on future runs.
Foil area — More surface area = more foil material per sheet.
Number of foil colors — Each color needs its own die and machine pass.
Print quantity — Die cost is fixed, so per-unit impact decreases as quantity increases.
Substrate — Cloth or PU leather may require slower speeds, adding modestly to per-unit cost.
For a specific quote, contact us or use our online price calculator.
How to Prepare Your Artwork
You’ll need to create a separate “mask” file (a spot color layer) indicating where foil should be applied. For the full step-by-step tutorial with video, see: How to Prepare Print-Ready Files for Foil Stamping.
Key requirements: vector PDF format, a clearly named spot color swatch for each foil color, minimum 7.5pt text, 3 mm bleed if foil reaches the edge, and exact alignment with your main artwork file.
 Custom Card Decks
 Custom Holographic Cards
 Folding Cartons
 Rigid Boxes
 Corrugated Boxes
 Custom Board Game
 Kickstarter Print Solutions