How to Prepare Print-Ready Files for Holographic Paper Printing
Printing on holographic paper creates eye-catching, reflective effects that add a unique shine to your design. Preparing your file properly ensures the final product looks just as stunning as you imagined.
- If you want the entire design to retain the holographic effect, no special setup is needed—just send us your file.
- If you’d like the holographic effect to appear only in certain areas, like a background pattern or large shapes, check out the video below. We’ll show you how to set it up correctly using Adobe Illustrator, with a written step-by-step guide included.
For small elements like a logo or icon, we recommend using holographic foil stamping instead. It’s more cost-effective.
Step-by-Step Guide: How to Set Up Files for Partial Holographic Effects
Holographic paper naturally reflects light to create a rainbow-like effect across the entire surface. However, when a layer of white ink is printed over it, the holographic effect gets blocked—just like putting an opaque layer over a shiny surface.
To achieve partial holographic effects, we create a separate file to tell the printer where to apply white ink. Any areas covered by this ink will lose the holographic shine, while the rest will retain it.
Here’s how to set it up in Adobe Illustrator:
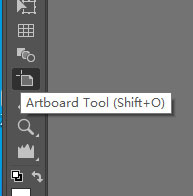
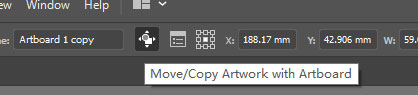
1. Duplicate your artboard
Use the Artboard Tool, select your design artboard, hold down the Alt key (or Option on Mac), and drag to create a duplicate.
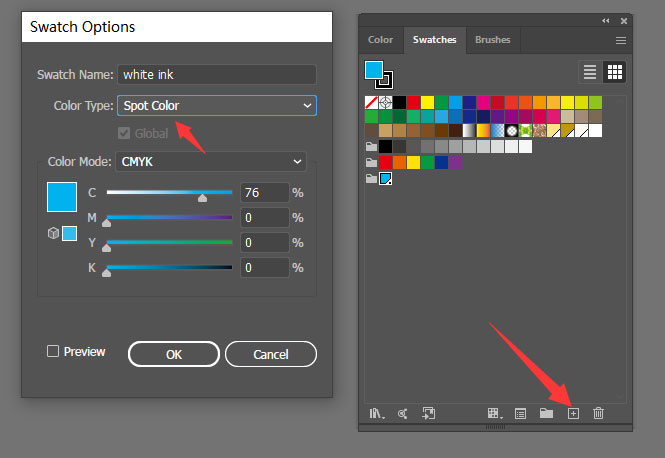
2. Create a new swatch for white ink
Open the Swatches panel, create a new swatch named “White Ink”, set the Color Type to Spot Color, and assign it any color (not white) for visibility.
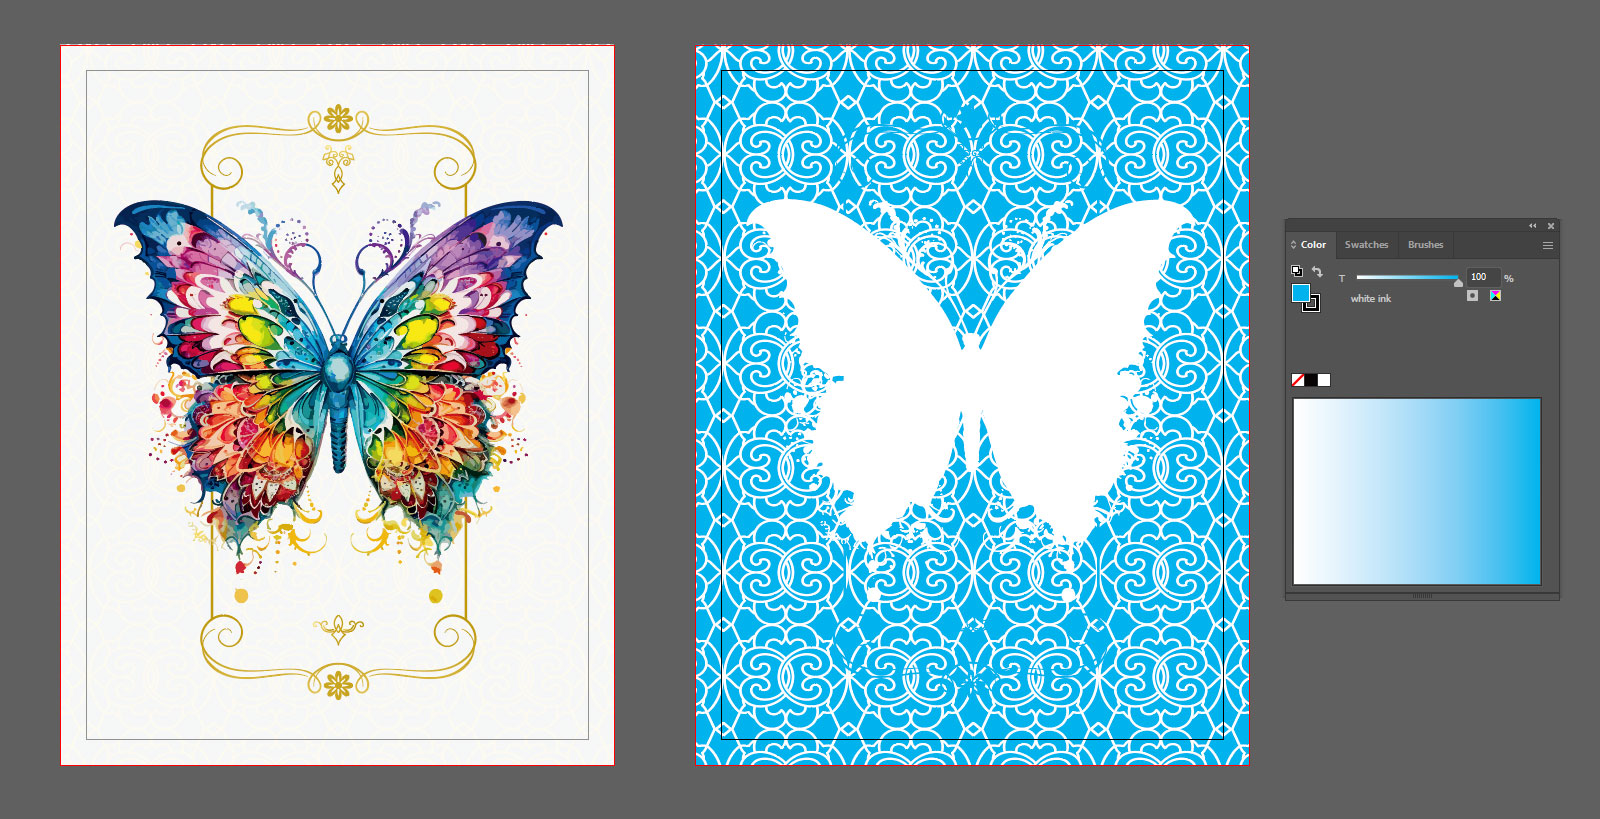
3. Define the non-holographic areas
On the new artboard, use vector shapes to cover the areas where you don’t want the holographic effect. Fill those shapes with the White Ink spot color.
Leave any area you want to remain holographic empty or transparent.
4. Export as PDF
Save your file as a PDF and make sure to include bleed settings during export.
This tutorial is mainly intended for designs created in vector-based software like Adobe Illustrator.
If you’re working with non-vector artwork, you can still achieve the same result using programs like Photoshop or other image editors. Just isolate the non-holographic areas—either by masking them out, filling them with a solid color—and save that as a separate file to show where white ink should be applied.
The key is to clearly indicate which areas should be blocked from the holographic effect so we can print it accurately.
If you have any questions or need assistance preparing your foil stamping files, feel free to contact our experts. We’re here to help ensure your project turns out perfectly!
You May Also Like