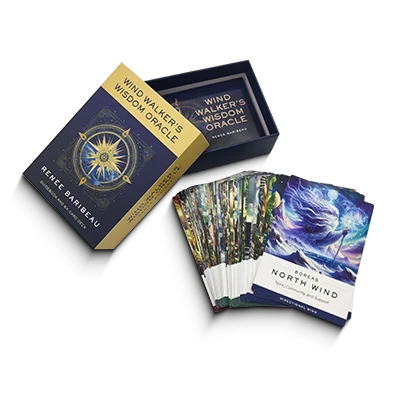
Custom Card Decks
 Custom Holographic Cards
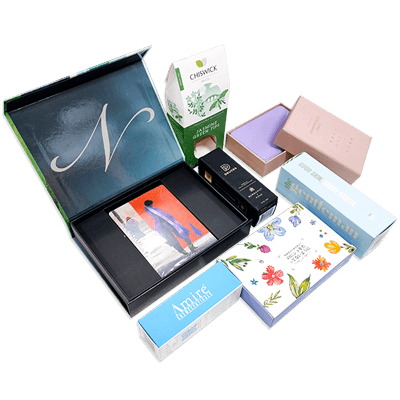
 Folding Cartons
 Rigid Boxes
 Corrugated Boxes
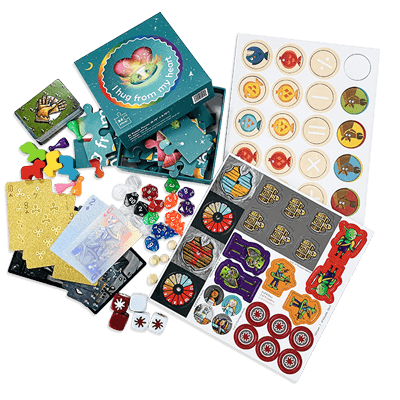
 Custom Board Game
 Kickstarter Print Solutions
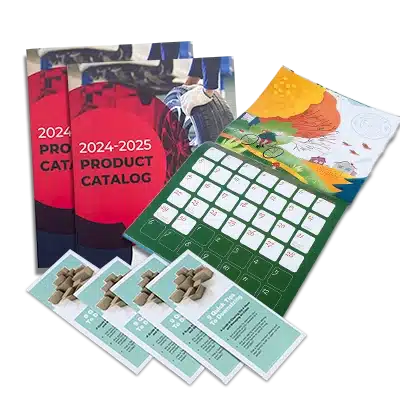
How to Prepare Print-Ready Files for Die-Cutting
Preparing accurate, print-ready files is essential for achieving clean and precise die-cut results. Whether you’re working with a designer or doing it yourself, follow this step-by-step guide to set up your die-cut files correctly using vector software like Adobe Illustrator.
1. Open your design in Adobe Illustrator.
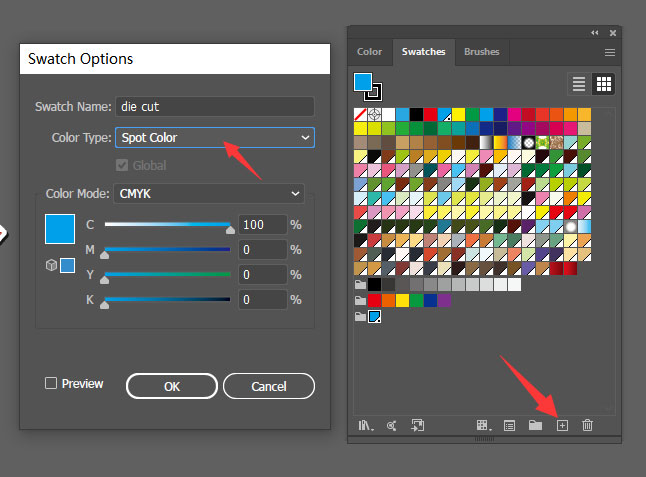
2. Create a new swatch
- Go to the Swatches panel.
- Create a new swatch named die cut.
- Set the Color Type to Spot Color.
- Choose any color except white (commonly a bright color like magenta or cyan).
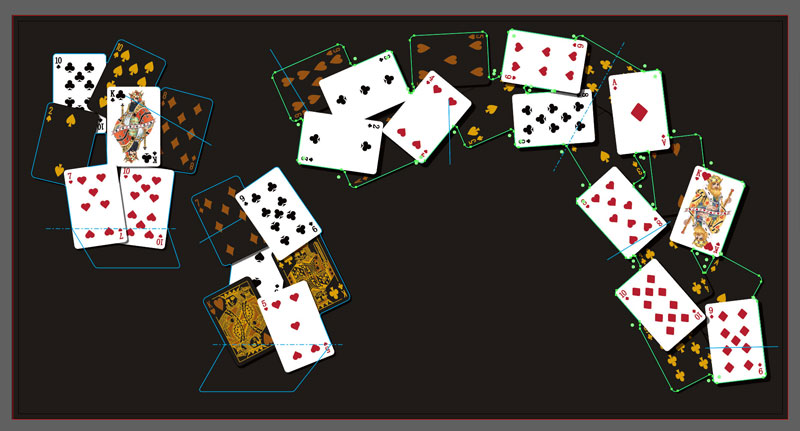
3. Draw the cut shape
- Use the Pen Tool or Line Tool to outline the shape to be die-cut.
- Use rounded corners where possible for smoother results.
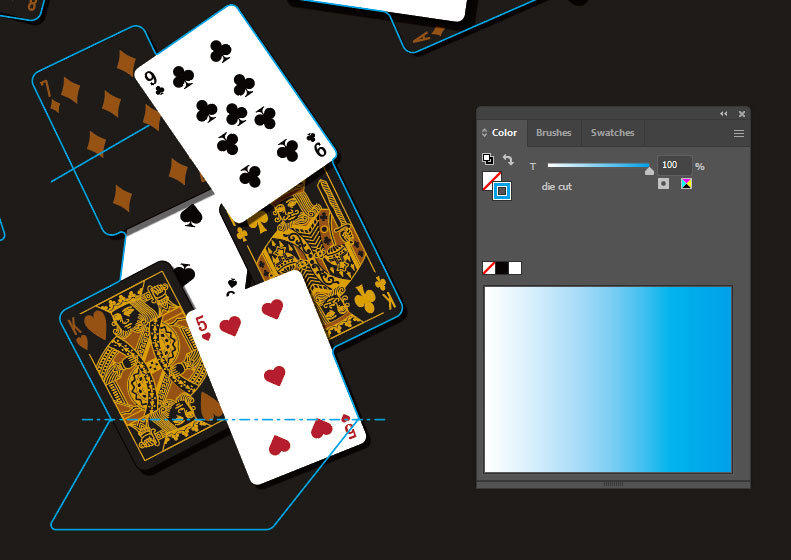
4. Apply the spot color
- Set the stroke color of the die-cut path to your new die cut spot color.
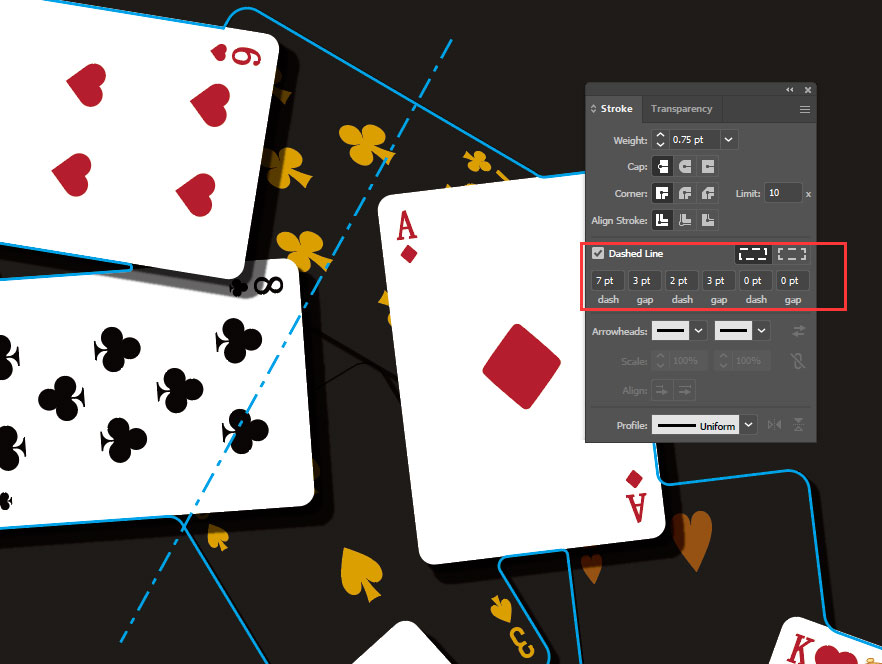
5. Assign line types
- Open the Stroke panel and choose:
- Solid line for cutting
- Dashed line for valley folds
- Dot-dash for mountain folds
6. Label clearly
- If you’re using multiple spot colors or line types, just make sure to mark them clearly.
7. Save your file
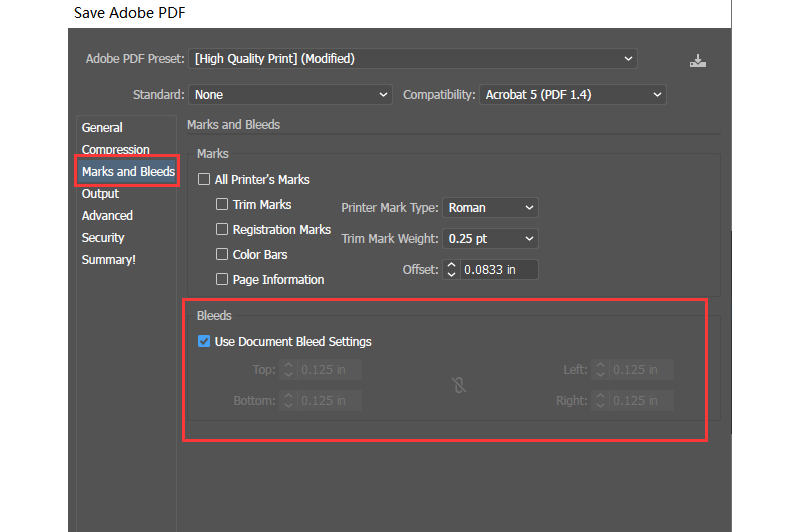
- Go to File > Save As, choose PDF format.
- Be sure to include bleed in your settings.
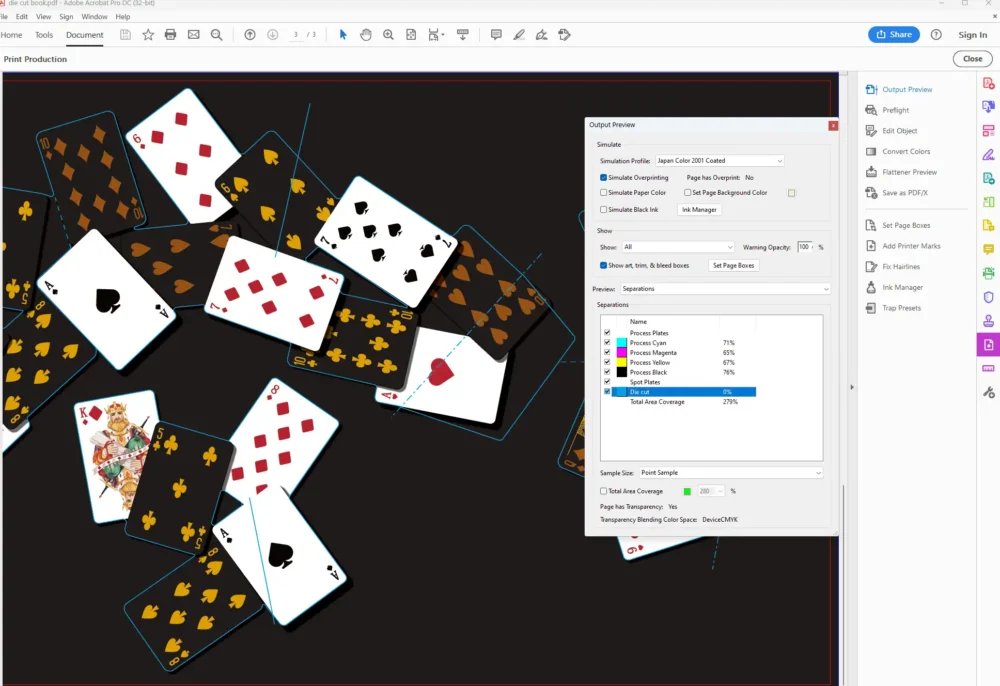
5. You can use Adobe Acrobat Pro to check whether your file was exported correctly.
- Open the PDF in Acrobat.
- Use Print Production > Output Preview to verify your spot color is properly applied.
General Tips for Die-Cutting Artwork
Use a Separate File or Layer
Always create your die-cut lines on a separate layer or file from your artwork to keep things clear and organized.
Label Lines Clearly
Use different spot colors or line styles to distinguish:
- Solid line = cutting line
- Dashed line = valley fold
- Dot-dash line = mountain fold
Align Files Precisely
Make sure the die-cut path aligns perfectly with your artwork file—same size, same layout, no shifting.
Use Vector Format
Create all die lines in vector format. PDF is preferred for accuracy and compatibility.
Ask for a 3D Sample
Since dielines are flat, request a 3D mockup or prototype from us before final production to ensure everything folds and cuts as expected.
If you have any questions or need assistance preparing your foil stamping files, feel free to contact our experts. We’re here to help ensure your project turns out perfectly!
You May Also Like