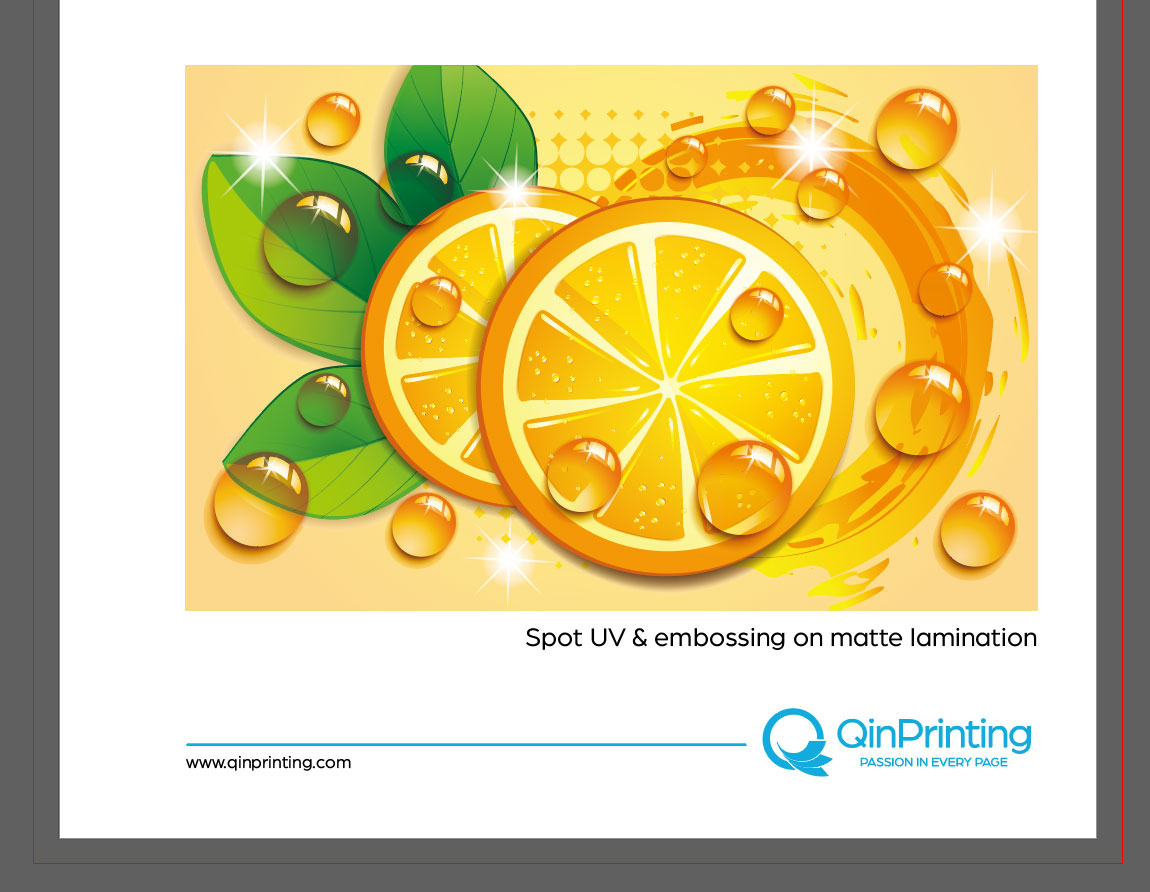
How to Prepare Print-Ready Files for Spot UV, Embossing and Debossing
Setting up your artwork for special finishes like spot UV, embossing, and debossing requires extra attention to detail. These effects are applied to specific areas of your design and need to be prepared using vector-based mask files.
Watch the video below or follow the step-by-step instructions to create professional, print-ready files using Adobe Illustrator or similar vector software.
Step-by-Step: Create Mask Files in Adobe Illustrator
Step 1: Open your finished artwork in Adobe Illustrator (or similar vector software).
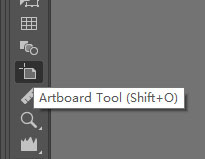
Step 2: Duplicate the Artboard.
- Select the Artboard Tool (Shift + O).
- Click on your current artboard.
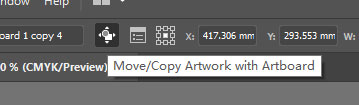
- Check “Move/Copy Artwork with Artboard”.
- Hold Alt (Option on Mac) and drag to duplicate the artboard.
- Rename and reorder the artboards if needed for clarity.
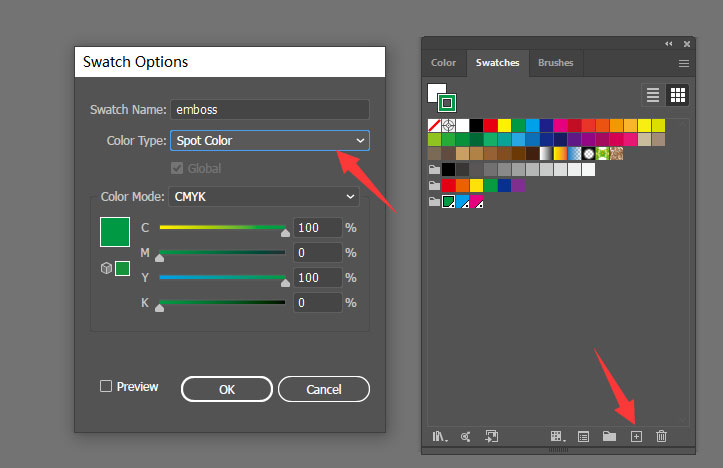
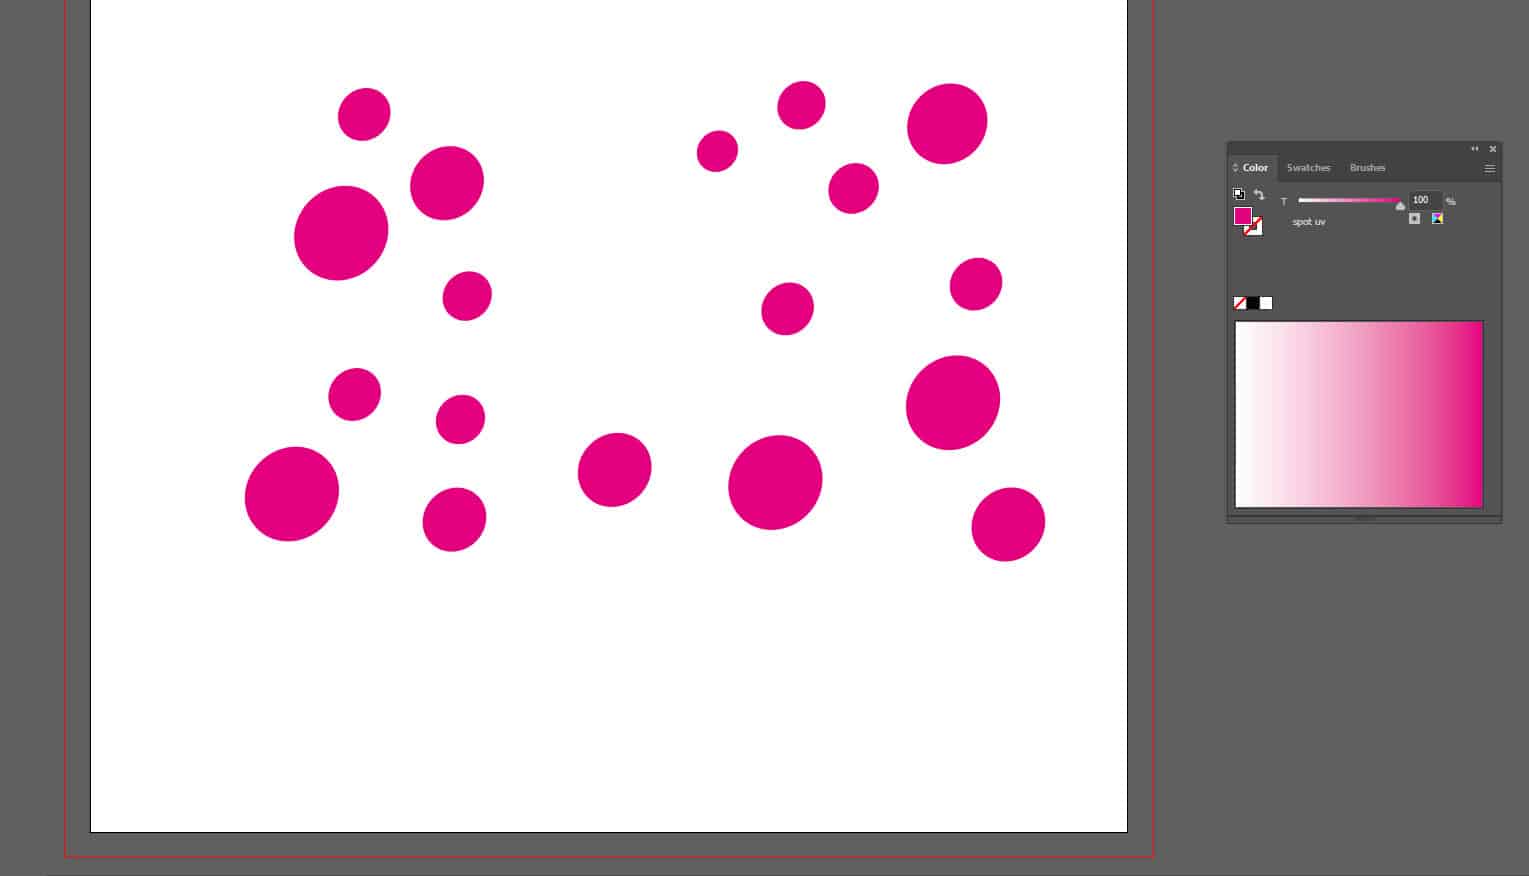
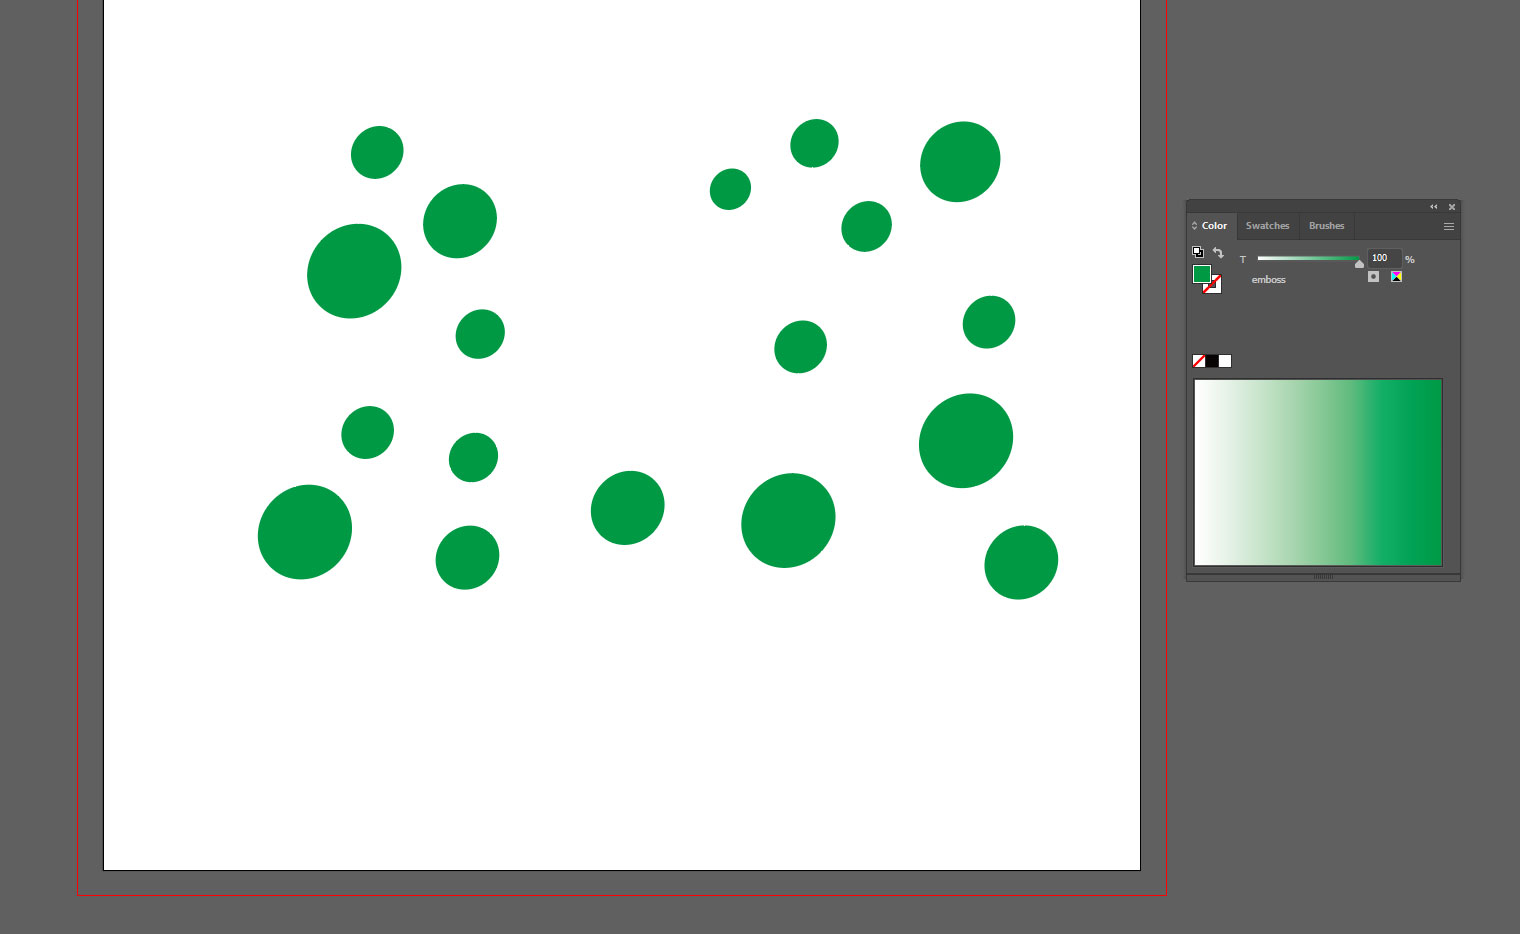
Step 3: Create a Spot Color Swatch.
- Open the Color panel.
- Create a New Swatch.
- Name it according to the finish: e.g., SpotUV, Emboss, or Deboss.
- Set Color Type to Spot Color.
- Choose any visible color except white (for visibility only—this color won’t affect printing).
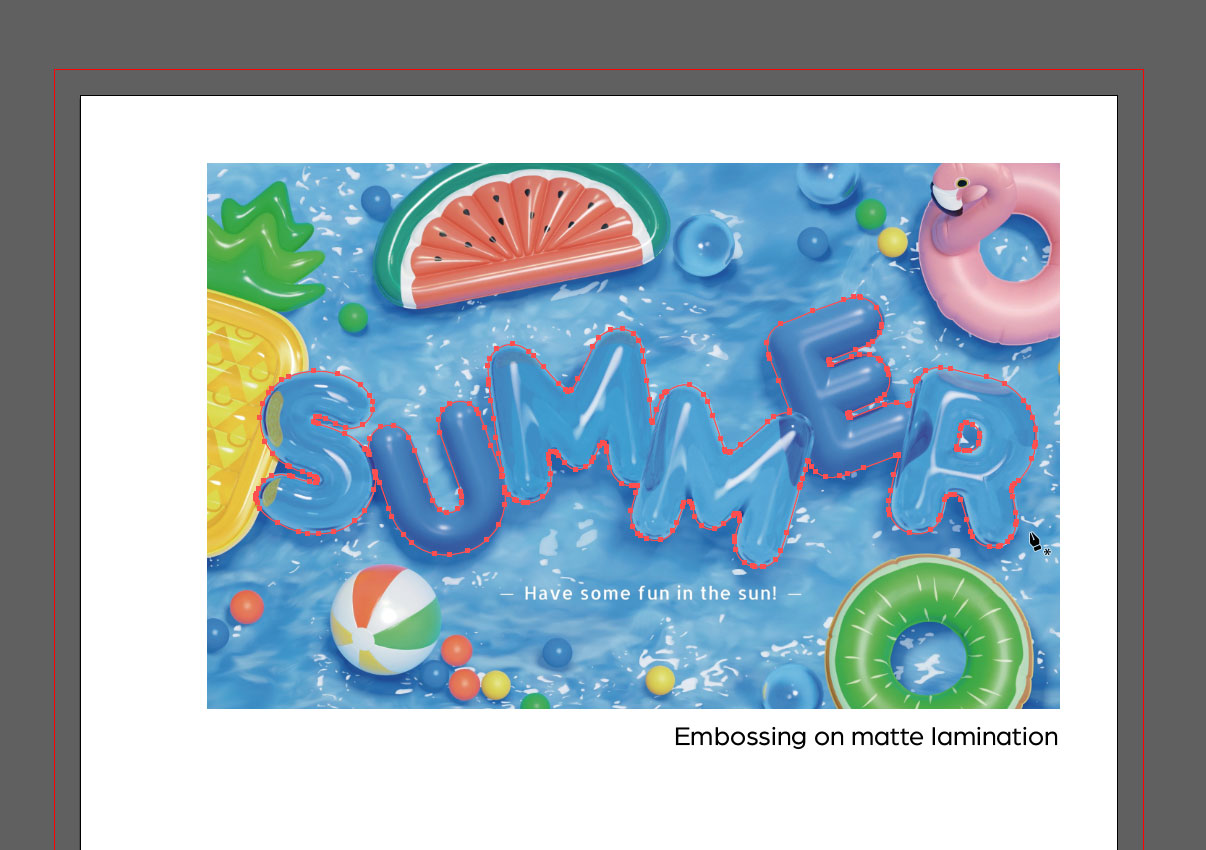
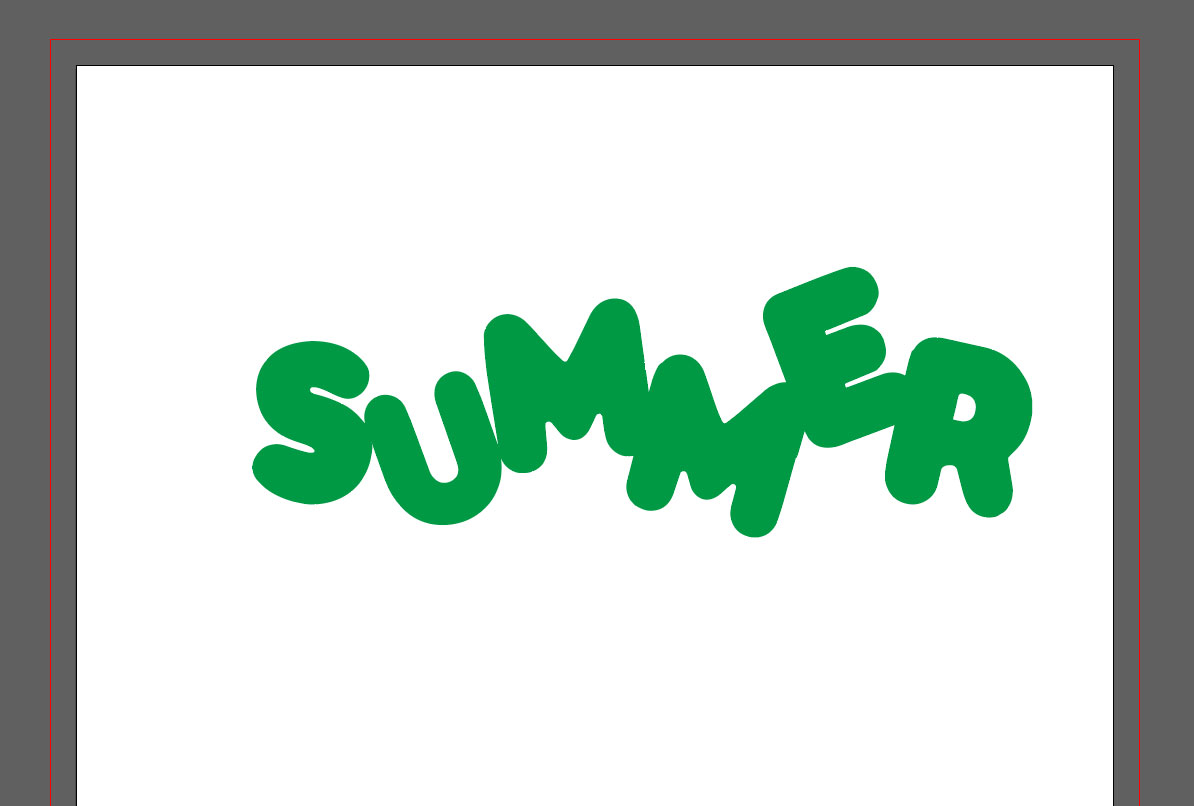
Step 4: Outline the Areas for Special Finish.
- On the new artboard, trace or copy only the parts of the design that require Spot UV, embossing, or debossing.
- If your design is an image, use the Pen Tool to trace relevant areas.
- Keep this on a separate layer for easy editing.
Step 5: Fill Shapes with Spot Color.
Fill all the selected areas with the corresponding spot color swatch created in Step 3.

Step 6: Remove All Other Elements.
Delete all content from this new artboard except the spot color artwork. Only the finish areas should remain.
Step 7: Repeat for Multiple Finishes.
If your design includes more than one special finish, repeat Steps 2–6 for each finish using a separate artboard and a unique spot color swatch.
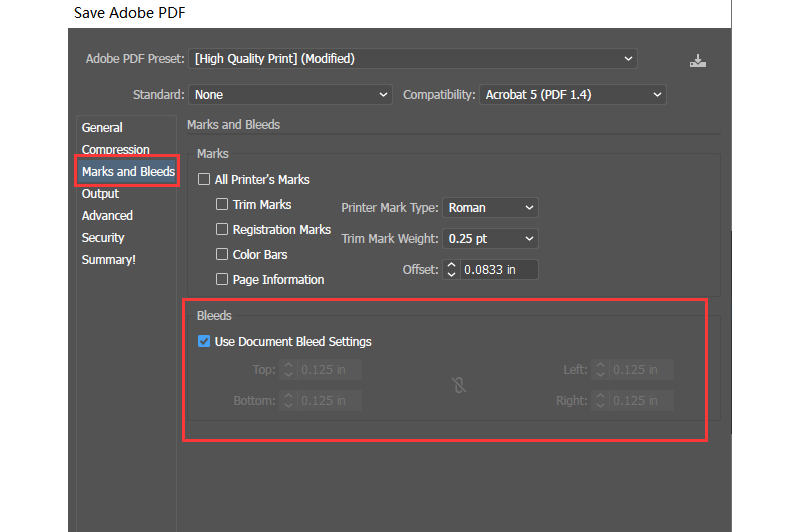
Step 8: Save as PDF.
- Go to File > Save As.
- Choose PDF format.
- Make sure to include bleed settings when saving.
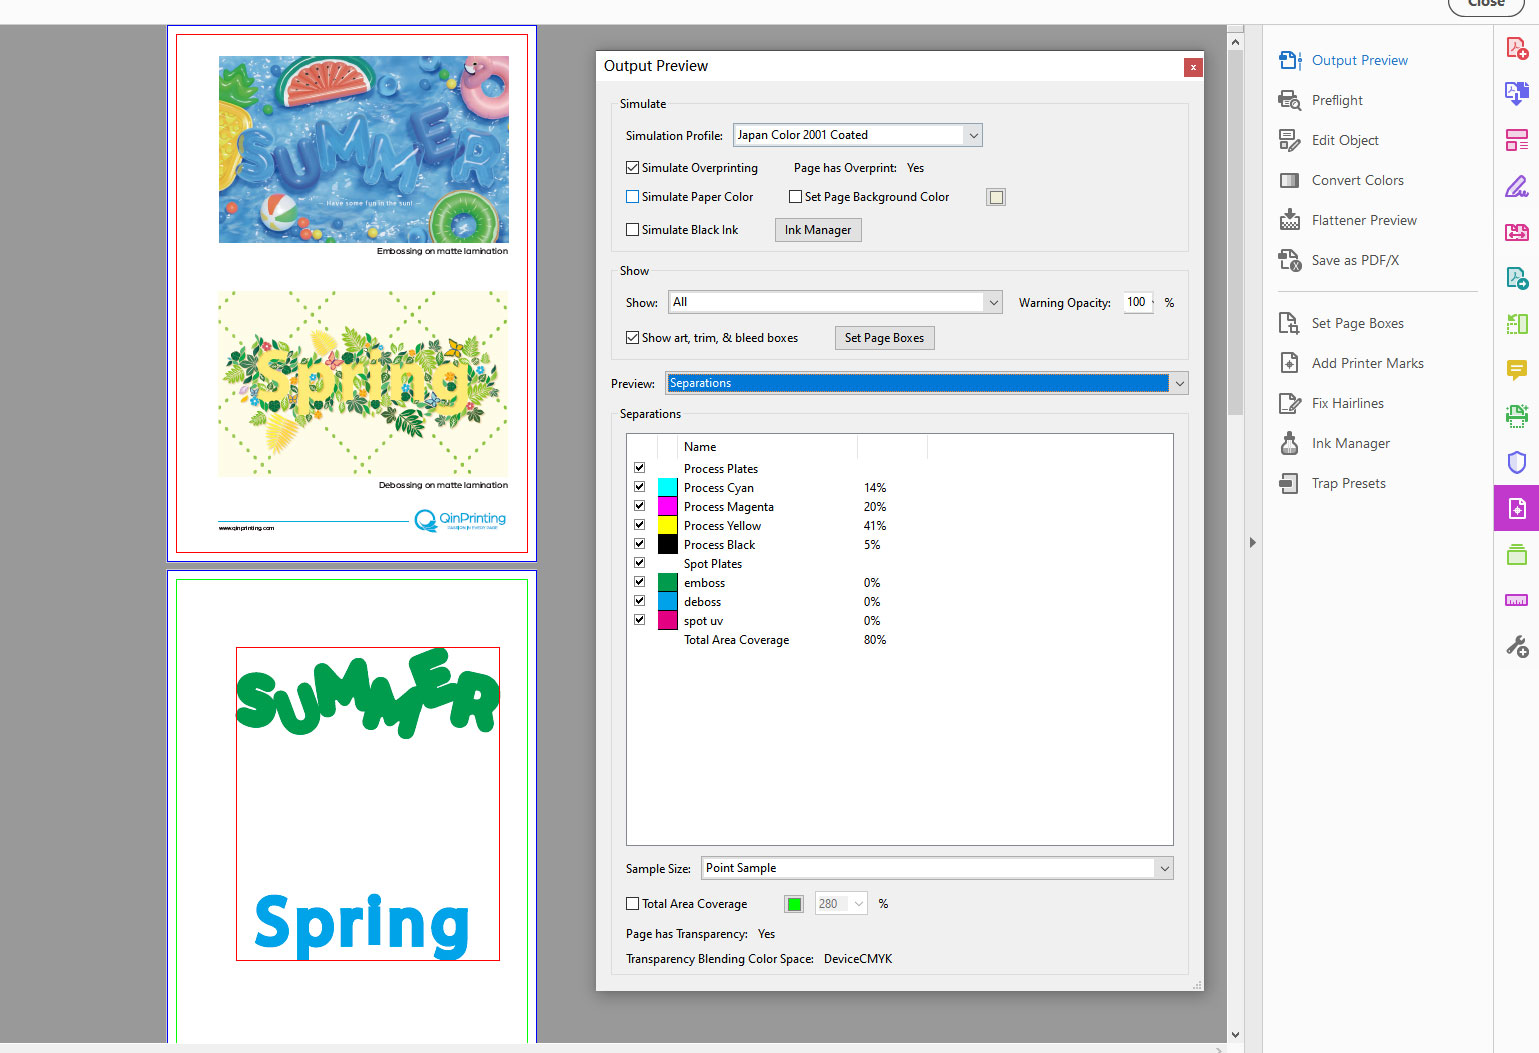
Step 9: You can use Adobe Acrobat Pro to check whether your file was exported correctly.
- Open the PDF in Adobe Acrobat.
- Go to Print Production > Output Preview.
- Make sure each spot color is correctly recognized as a Spot Color and named according to its specific finish—such as SpotUV, Emboss, or Deboss.
Important Tips for Special Finish Files
- Always keep the mask file and print file exactly aligned.
- Avoid using Spot UV or embossing on lines thinner than 0.5 pt, as they may not register clearly.
- Mask files must be vector files, not raster images.
If you have any questions or need assistance preparing your files, feel free to contact our experts. We’re here to help ensure your project turns out perfectly!
You May Also Like