Custom Card Decks
 Custom Holographic Cards
 Folding Cartons
 Rigid Boxes
 Corrugated Boxes
 Custom Board Game
 Kickstarter Print Solutions
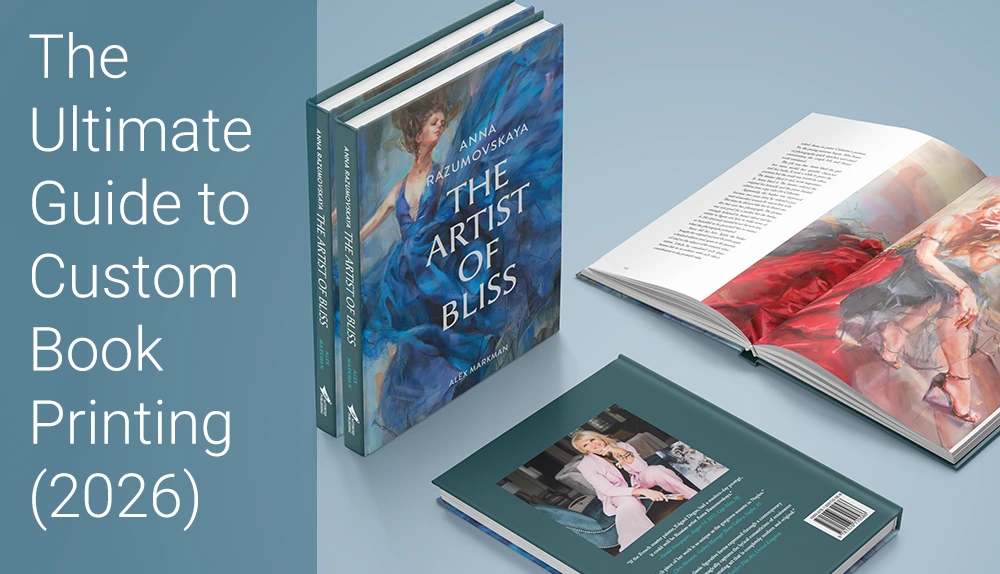
You’ve poured your heart into writing your manuscript. The illustrations are perfect. Now comes the most exciting (and sometimes terrifying) part: turning that digital file into a physical book.
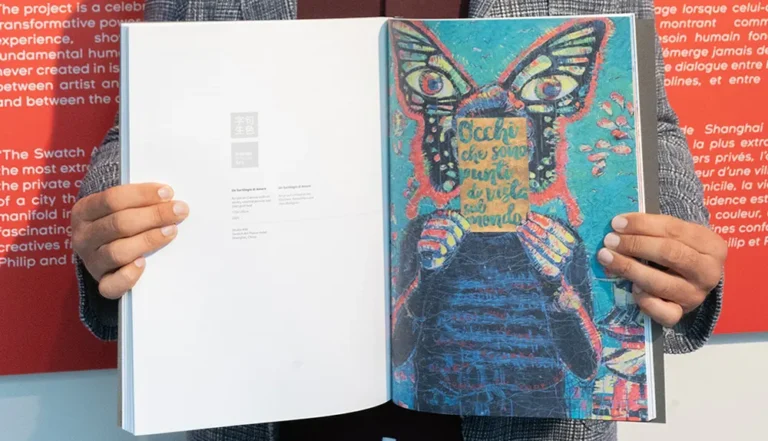
If you search for “how to get a book printed,” you’ll quickly find two main paths: Print-on-Demand (POD) and custom offset printing. Most first-time authors default to POD platforms such as Amazon KDP because they seem simple and risk-free. But if you want premium quality (hardcover, special papers, foil, and other finishes) or you’re planning a serious print run, custom offset printing often gives you much better results and a lower cost per copy.
In this guide, we’ll walk you through the essential steps to getting your custom book printed professionally—from preparing your files, to choosing specs, to unboxing your finished books.
Step 1: Prepare Your Files for Print (The Pre-Press Phase)
Before you even ask for a quote, your files should be as close to “print-ready” as possible. A common mistake is sending a regular Word document or a low-resolution PDF optimized for web use. Professional printing presses require high-resolution PDF artwork that includes bleed, safe margins, and correct color settings.
Getting the basics right at this stage helps you avoid delays, extra file correction work, and unexpected costs later.
1. Software and Templates
We suggest you use professional layout or design software such as Adobe InDesign, Adobe Illustrator, Affinity Publisher, or similar tools to prepare your files. Some projects—especially simple books—can also be designed in Canva if you use the correct PDF export settings.
To make things easier, you can download our free book templates and use them to set up your pages, margins, bleeds, and spine width. Working directly in the template helps you avoid common technical issues later.
2. CMYK vs. RGB
Computer screens display color in RGB (Red, Green, Blue), but offset presses print with CMYK inks (Cyan, Magenta, Yellow, and Key/Black). After you convert your photos to CMYK, those files become the actual color data the press will use.
Before you start designing your book, convert your images, photos to CMYK and artwork to CMYK. When you export the final files, make sure you export them as CMYK PDFs. This gives you a much closer match between your digital design and the printed book.
3. Resolution (300 DPI) and Vector Graphics
For sharp printing, all photos and raster images should be at least 300 PPI (pixels per inch) at the final print size. Web graphics are often only 72 PPI, which will look soft or pixelated on paper.
Where possible, use vector graphics for text, logos, and simple shapes. Vector artwork can be scaled without losing quality, so small text and fine lines will look much clearer in print.
4. Don't Forget the Bleed
“Bleed” is the extra 0.125 inches (3 mm) of artwork that extends beyond the final trim edge of the page. It ensures that when the guillotine cuts your book down to size, there are no unexpected white edges.
In our book templates, we clearly mark the bleed, safe zone, and trim lines. Please follow these guides when you set up your artwork. Keep all important text and logos inside the safe zone and extend background colors or images fully to the bleed line.
Pro Tip: At QinPrinting, our pre-press team provides a free manual file check. If your bleed or resolution is incorrect, we’ll let you know. In some cases, we can help you add bleed if the design allows it; in other cases, we’ll ask you or your designer to adjust the files. It’s always best to build the correct bleed and resolution into your files from the beginning—that saves both time and back-and-forth.
Step 2: Choose Your Specs (Customize Your Masterpiece)
This is where custom printing really shines. Unlike POD, which limits you to a few standard formats, offset printing allows you to customize almost every detail of your book: size, orientation, paper, binding, and finishing.

Trim Size and Orientation
Your trim size affects how your book feels in the reader’s hands and how efficiently it can be laid out on large offset press sheets.
Popular and cost-efficient trim sizes include:
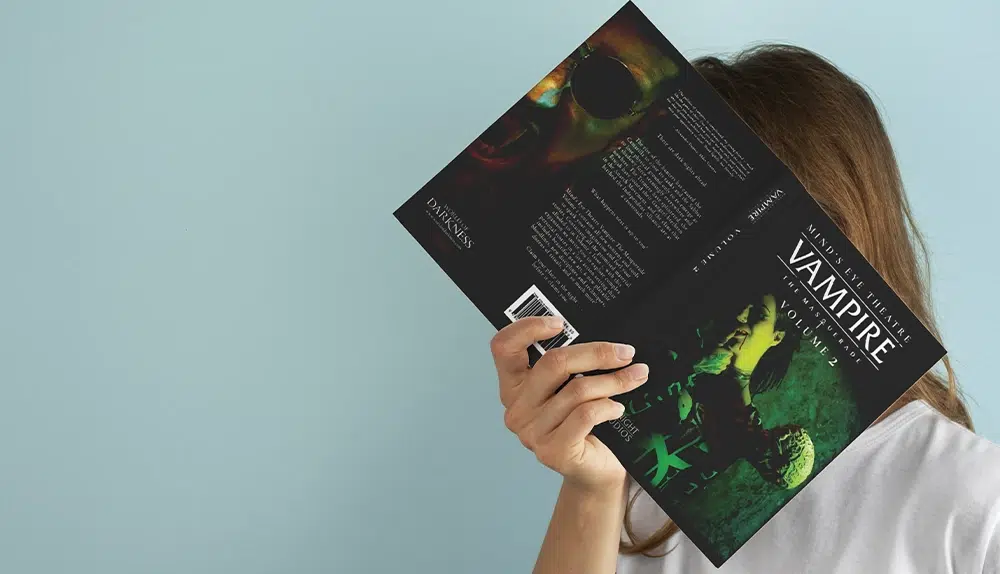
- 5.5″ × 8.5″ – a common choice for novels and non-fiction
- 6.625″ × 10.25″ – a classic size for comic books
- 8.5″ × 11″ or A4 – ideal for art books, cookbooks, manuals, and catalogs
- Square formats (e.g., 8.5″ × 8.5″) – perfect for children’s picture books and photo books
Choosing a size that makes efficient use of standard parent sheets helps reduce paper waste and lowers your unit cost.
Paper Options: Coated vs. Uncoated
Your paper choice influences both the look and feel of your book:
- Uncoated (Offset) Paper
Has a natural, slightly textured surface. It’s easy on the eyes and ideal for novels, poetry, journals, and text-heavy books. - Coated Paper (Gloss or Matte)
Has a smooth coating that gives sharper detail and more vibrant color. It’s often used for photography books, art books, children’s picture books, and any project where images are the star.
If you’re unsure what to choose, tell us your book type and we can recommend paper weights and finishes that balance aesthetics and budget.
Binding Styles
Binding determines how your book opens, how durable it is, and how “premium” it feels.
- Hardcover (Case Bound)
The most durable and prestigious option. We recommend smyth-sewn (section-sewn) binding for many hardcovers because it’s strong and allows the book to open more flat and comfortably. - Softcover (Perfect Bound)
The standard for paperbacks. It offers a clean, square spine and a professional appearance at an economical price. - Wire-O / Spiral Binding
Ideal for workbooks, cookbooks, planners, and manuals that need to lie flat on a desk. - Other Options
Saddle-stitched (stapled) binding for thin booklets, and other specialized bindings depending on the project.
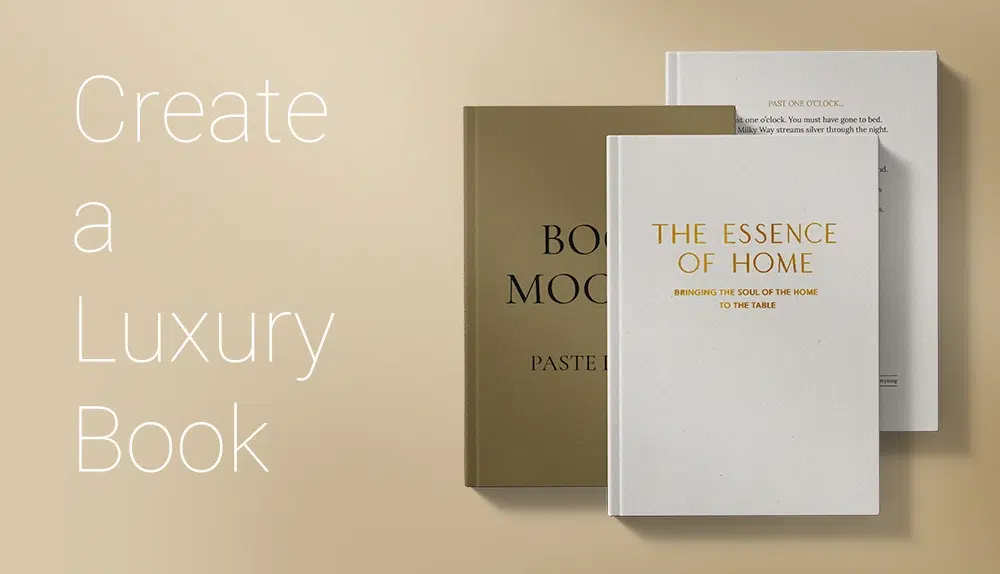
Special Finishes
To make your book stand out on the shelf, you can add special finishes to the cover:
- Foil Stamping – metallic gold, silver, or custom color foils for titles or logos
- Spot UV – a glossy coating on selected areas for contrast and shine
- Embossing and Debossing – raising or pressing a design into the cover for a tactile 3D effect
- Laminations – matte, gloss, or soft-touch coatings for protection and a refined feel
These options are especially effective for high-end art books, special editions, and gift books.
Step 3: Find the Right Printer (POD vs. Custom Offset)
Choosing between print-on-demand (POD) and custom offset printing mostly comes down to quantity, budget, and how serious you are about selling your book.
- POD – Best for 1–50 copies, market testing, and very low upfront cost. Unit prices are higher, options are limited, and quality is fine for simple black-and-white or light color.
- Custom Offset – Best for 100+ copies, Kickstarter projects, wholesale, and ongoing sales. You get much lower unit costs at higher quantities, more control over size, paper, binding, and finishes, and more consistent color.
Bottom line: If you only need a few copies, start with POD. If you plan to sell and reorder 100+ copies, custom offset printing is usually the smarter long-term choice.
Step 4: Review Your Proofs (Digital vs. Hard Copy)
Once you choose a printer, never approve full production without seeing a proof. Proofs give you a chance to check layout, text, and colors before the full run is printed.
Digital Proof (PDF)
A digital proof is typically a PDF of your interior and cover. It’s excellent for checking page order, margins, bleeds, and text errors. It’s fast and usually free.
Hard Copy Proof (Physical)
For many projects—especially image-heavy or color-critical books—a physical proof is worth the extra time and cost. There are two common approaches:
- Option 1: Hard Proof + Dummy (Recommended for Color-Critical Books)
We use a GMG color-proofing system to produce a hard proof on high-quality proofing paper.
The hard proof color is around 95% of the final offset mass-production result.
We also make a blank dummy book using your real materials and binding, so you can check thickness, weight, and how the book opens.
The hard proof is used to check color; the dummy is used to check materials, thickness, and binding feel.
- Option 2: Digital-Printed Sample Book
We can also make a sample printed on a digital machine. This gives you a good idea of the content and overall look and is useful when you mainly want to confirm layout and general appearance.
Please note that the mass-produced books will be printed on offset presses, so there will be some color differences between the digital sample and the final offset run.
Choosing the right proof option depends on your budget, your tolerance for color variation, and how critical color accuracy is for your project.
Step 5: Production and Shipping (No Stress)
Many authors worry about printing overseas because of production timing, shipping, and customs. In practice, with a reliable partner, the process can be straightforward and predictable.
Understanding Lead Time
Once your proof is approved, production usually takes around 1–4 weeks, depending on quantity, binding type, and any special finishes. After production, shipping time depends on the method you choose:
- Sea freight is the most economical option for large runs, often taking around 5–8 weeks to major ports and then additional time for ground delivery.
- Air freight is faster but more expensive, used when deadlines are tight or quantities are smaller.
Planning ahead and sharing your target delivery date with us at the beginning helps us recommend the best combination of schedule and cost.
The DDP Advantage (Delivered Duty Paid)
At QinPrinting, we can offer a DDP (Delivered Duty Paid) service to many destinations. With DDP:
- We arrange the ocean or air freight
- We handle customs clearance in the destination country
- We pay the import duties and taxes as agreed
- UPS Ground or FedEx Ground delivers the boxes directly to your door
With DDP, you don’t need to hire a customs broker or deal with complicated import paperwork. You simply receive your books at the delivery address you specify.
FAQ: Common Questions About Getting a Book Printed
How many copies should I print?
For custom offset printing, 100 copies is a common starting point. The unit price drops a lot once you print 500–1,000 copies in one run.
How much does it cost to print a book?
Price depends on size, page count, paper, binding, finishes, and quantity. The easiest way is to use our instant calculator or ask us for a custom quote.
Do I need print-ready files?
Yes, we need print-ready PDFs for the interior and cover. If you’re not sure, our pre-press team can check your files for free and tell you what to fix before production.
Ready to Get Your Book Printed?
Getting a custom book printed doesn’t have to be complicated. By preparing your files carefully, choosing suitable specs, and partnering with an experienced offset printer, you can produce a book that looks and feels like it came from a traditional publishing house.
Don’t settle for generic options if your book deserves more. If your manuscript is ready, we’d be happy to help you turn it into a printed book you’re proud to share.
Need a price? Use our Instant Online Calculator to see how much you can save on your print run.
Have questions or need advice? Contact our team for a free consultation and file check.