Custom Card Decks
 Custom Holographic Cards
 Folding Cartons
 Rigid Boxes
 Corrugated Boxes
 Custom Board Game
 Kickstarter Print Solutions
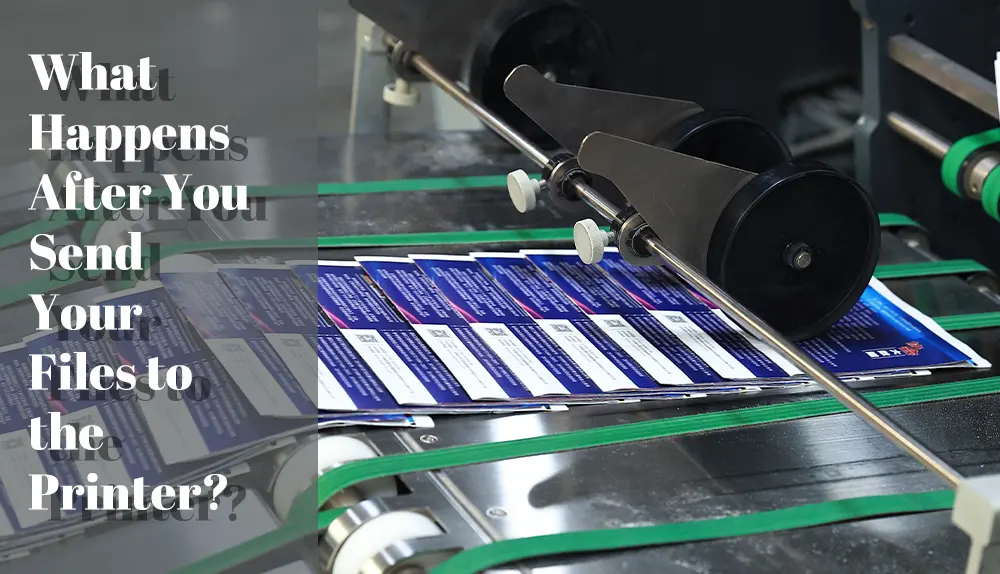
You’ve spent months — maybe years — on your project. You’ve written the manuscript, designed the cover, laid out every page. You’ve triple-checked the bleed settings, converted everything to CMYK, and exported a print-ready PDF.
Then you hit send.
What follows isn’t radio silence. Our sales team is with you from the start — reviewing your files, flagging any issues, and working through the details until everything is exactly right. That back-and-forth is part of the process, and most clients find it reassuring rather than surprising.
Before Production: File Checking and Client Approval
Before any production begins, we go through a careful file checking process — and this stage is not counted in your production time.
When you confirm your order and upload your files, our design team reviews everything within 24 hours. A real person opens your files and checks:
- File format and structure — we work exclusively from print-ready PDFs
- Page dimensions — do they match your quoted trim size exactly?
- Bleed — is there 3mm of bleed on all four sides?
- Resolution — are all images at least 300dpi at final print size?
- Color mode — is everything in CMYK, or are there stray RGB images in the file?
- Fonts — are they embedded, or will we see a substitution error on press?
- Safety margins — is any critical text or artwork dangerously close to the trim line?
Once the check is complete, our sales team sends you a marked-up PDF showing exactly how your file looks on our end, along with your invoice. You review, request any changes, and when everything looks right — you give us your final approval.
That sign-off is when production officially begins. That’s when the clock starts — and when the real mystery begins. So here’s exactly what happens after you give us the green light — from the moment your project enters our production floor to the day your order arrives at your door.
Day 1–3: Imposition and the Hard Proof
Once you’ve given us the green light, the first thing our prepress team does is imposition — something most clients have never heard of, even though it affects every single page of their book.
Offset printing doesn’t print one page at a time. It prints large sheets that are folded and cut into sections called signatures — typically 16 or 32 pages each. Imposition is the process of arranging your individual pages onto those large sheets in exactly the right order and orientation so that, after folding, trimming, and binding, every page falls in the correct sequence.
It sounds simple, but it requires precise calculation. A page placed even slightly out of position results in misaligned content after folding. The gutter margins have to account for how much paper is consumed by the binding. Our prepress team builds the imposition plan specifically for your trim size, page count, and binding method.
Once imposition is complete, we print a hard proof — a physical sample produced on our equipment using your actual file as it will go to press. This is not a digital rendering on a screen. It’s ink on paper.
The hard proof serves two purposes. First, it lets our production team verify that the imposition is correct — pages are in order, margins are consistent, and the layout reads properly when folded and trimmed. Second, for color-critical projects, it gives everyone a physical reference for exactly how your colors will look in print. No monitor, no matter how well-calibrated, perfectly reproduces offset ink on paper.
We review the hard proof internally before anything moves to plate making. If we spot an issue — a page out of order, a margin that’s tighter than expected, a color that processed differently than anticipated — we resolve it here. It’s far cheaper to catch a problem at this stage than after plates are burned.
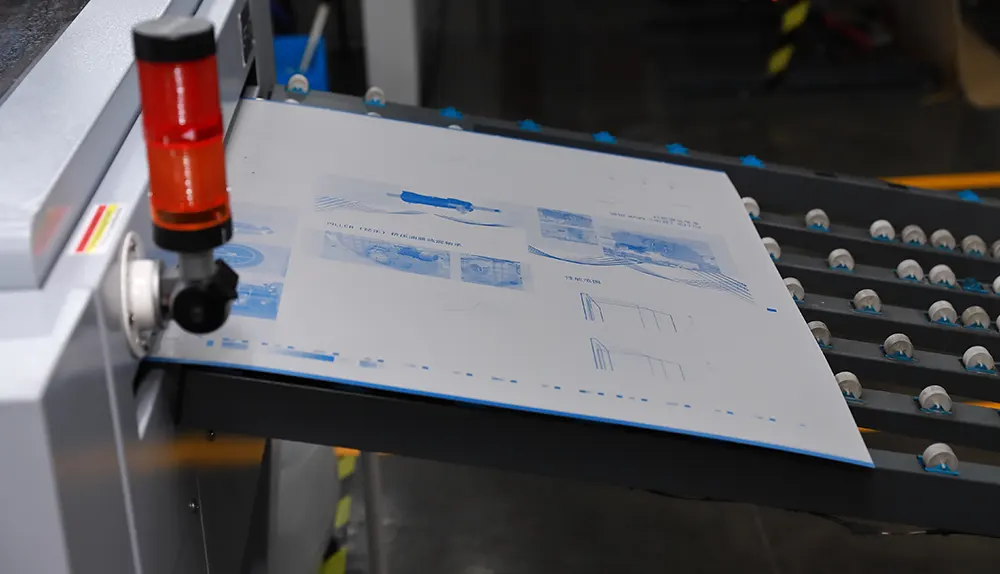
Day 2–5: CTP Plate Making
With the imposition approved and the hard proof signed off, we move to plate making.
In offset printing, every job requires custom aluminum printing plates — one for each color. For a standard full-color (CMYK) job, that’s four plates: cyan, magenta, yellow, and black. If your cover includes a Pantone spot color or a UV varnish layer, there may be five or six plates, each corresponding to a separate ink or process.
These plates are the physical bridge between your digital file and the paper. Our CTP (Computer-to-Plate) system exposes each plate using a laser that burns your approved, fully imposed image directly onto the aluminum surface — no intermediate film step. The plates are then chemically processed to create the ink-receptive surface that transfers your design to paper on press.
Plate making for a typical book takes a few hours. It’s largely automated and verified by our plate room technician before anything goes to press.
One important thing to understand: once plates are made, any error that wasn’t caught in the earlier stages becomes expensive to fix — new plates have to be burned, and press time may be lost. This is exactly why we invest so heavily in file checking, proofing, and imposition before we ever reach this point.
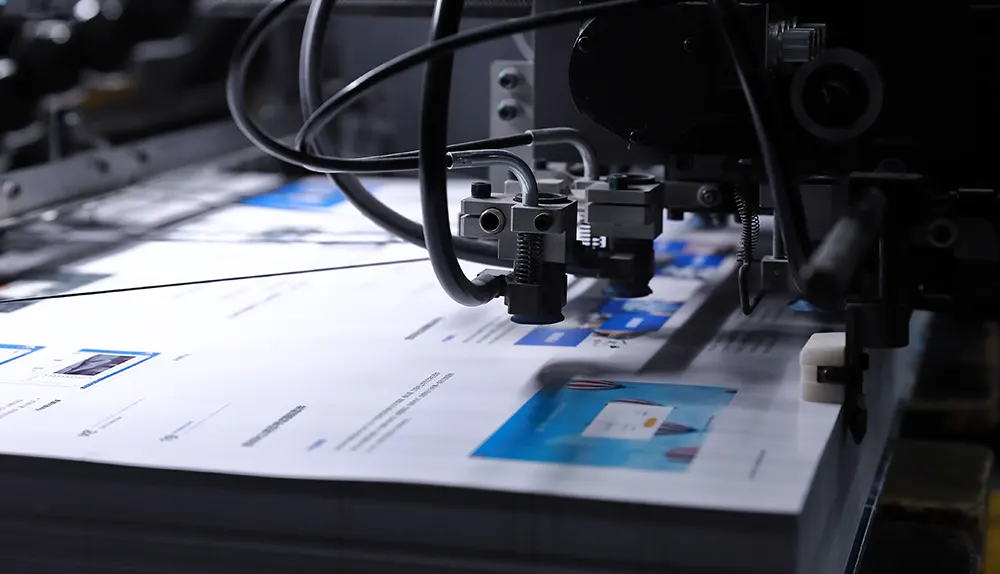
Day 3–7: Paper Cutting, Press Run, and Signature Folding
Before the press starts, the paper for your job is cut to the correct sheet size. Offset printing uses large parent sheets, and the cutting has to be precise — even slightly miscut paper translates to misregistered printing. Our cutting department works from the imposition specifications, and cut sheets are inspected before they reach the press floor.
At QinPrinting, we run large-format offset presses — Heidelberg and Komori machines that print sheets large enough to contain 8, 16, or 32 pages at a time, depending on the format and page size of your project.
The makeready. Before the print run starts, our press operators mount the plates on the press cylinders, load the cut paper, set ink densities for each color unit, and check registration — the precise alignment of all four color plates relative to each other. They pull test sheets and examine them under controlled lighting. Makeready takes 30 minutes to a couple of hours. It’s the investment that ensures every sheet in your run is consistent with every other.
The press OK. Before the full run begins, our press operator compares press sheets against the approved hard proof using a densitometer and a spectrophotometer — instruments that measure ink density and color values with scientific precision. When the readings are within tolerance, the operator signs off and the full run begins.
The press run. Once the press OK is signed, the machine runs. A large offset press can print 10,000–15,000 sheets per hour. Your interior pages are printed in signatures, each requiring its own pass through the press. After printing, each signature is folded into the page sections that will eventually become your book.
Our press operators monitor the run continuously, pulling random sheets at regular intervals. Offset printing is a dynamic process — temperature, humidity, ink viscosity, and paper moisture all change subtly during a long run, and skilled operators compensate in real time. An unmonitored press run drifts. A well-monitored one stays consistent from sheet 1 to sheet 10,000.
Day 5–20: Finishing — Lamination, Foil, Die-Cutting, and Binding
Once the sheets come off press and are folded into signatures, they move to the finishing department. This is where a lot of the character of your finished product gets built.
Lamination comes first, applied to cover sheets before any other finishing. The printed cover passes through a lamination machine that bonds a thin plastic film to the surface under heat and pressure, protecting the ink from scuffing and moisture.
Foil stamping, spot UV, embossing, and debossing follow lamination. Spot UV is applied through a precisely registered screen using UV-cured varnish. Foil stamping presses metallic or pigmented foil onto the surface using a heated die. Embossing and debossing use a matched die and counter-die to press the paper into a raised or recessed relief. Each process requires its own tooling, made specifically for your job.
These finishes look effortless in the final product, but each requires careful registration, precise temperature and pressure control, and quality checks at every step. A foil that’s off-register by 0.5mm is visible to the naked eye.
Die-cutting, when specified, happens at this stage — scoring folding lines, cutting custom shapes, or creating windows and structural elements in the cover or packaging.
Binding follows finishing. The process varies by type:
- Glue perfect binding (standard paperbacks): the folded signatures are gathered in order, the spine edge is roughened by a milling machine to improve adhesion, hot-melt adhesive is applied, and the laminated cover is wrapped around and pressed tight. The books cure under pressure, then go through a three-knife trimmer that cuts all three open edges simultaneously.
- Sewn perfect binding: the interior signatures are sewn together along their folds — stitching that passes through each signature and links them all. The cover is then glued onto the interior block, and the book is trimmed on three sides.
- Hardcover (case binding with Smyth sewing): the interior signatures are sewn together — the most durable binding available and the reason hardcover books can lay flat when opened. The sewn block is then glued and backed. Headbands and ribbon markers are attached if specified. The case — boards wrapped in printed paper or cloth, with any foil or embossed elements applied — is made separately, then joined to the page block with endsheets and pressed flat to cure.
- Saddle-stitch (stapled booklets): sheets are collated, folded together, and stitched through the spine fold with wire staples, then trimmed on three sides.
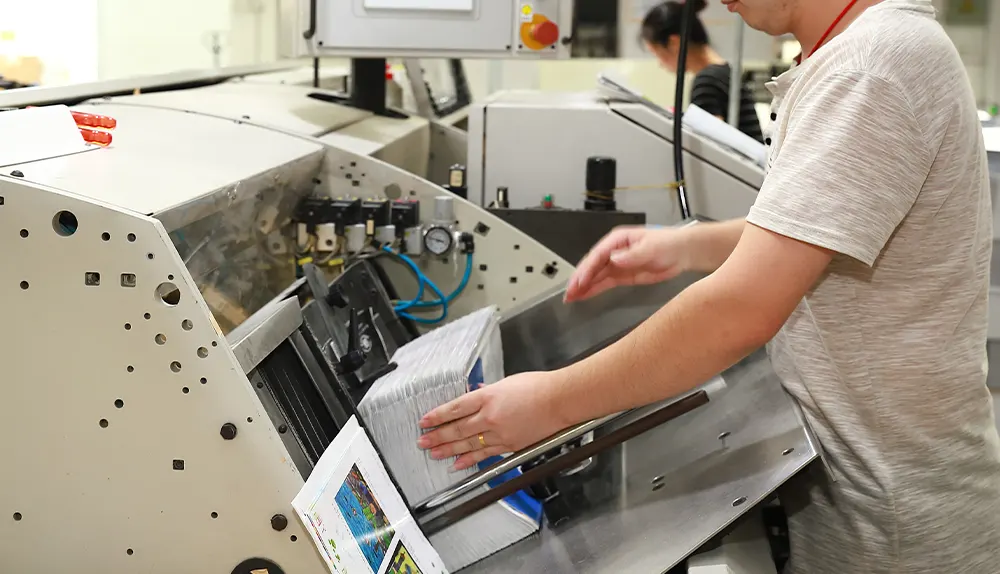
Day 6–22: Quality Control and Packing
QC begins while binding is still underway — we don’t wait for the last book to come off the line. As finished books emerge from the bindery, our QC team pulls samples from throughout the run and works through a detailed checklist: print quality, color consistency, binding integrity, trim accuracy, cover alignment, and the presence of all specified elements such as headbands, ribbon markers, and endsheets.
We check books from the beginning, middle, and end of the production run. Quality can drift over a long run, and we need to know the whole batch holds up — not just the first hundred copies.
For most orders, we shoot a video of the finished goods and send it to you before we ship. You’ll see your actual books opened to random pages, fanned through, and examined for visible defects. Many clients tell us this is the moment the project finally feels real — the first time they see their work as a physical object.
If QC turns up a problem — low ink density on a batch of pages, covers that laminated unevenly, anything outside our quality standard — that portion is reprinted. We don’t ship substandard work.
Once QC is passed, books are packed into double-walled cartons with protective padding. For master carton shipments, cartons are individually labeled and sealed. For pallet shipments, cartons are palletized, shrink-wrapped, and labeled. We prepare all customs and export documentation in-house — commercial invoice, packing list, and any certificates required for your project — and arrange freight collection.
Day 8–80: Freight and the Journey to Your Door
Once your order leaves our facility, the timeline is determined by your destination and shipping method. Your master cartons or pallets are transported to the port in Shanghai and loaded into a container — dedicated for very large orders, or consolidated with other cargo for standard shipments.
Approximate sea freight transit times from Shanghai:
- US West Coast (Los Angeles / Long Beach): approximately 11–18 days
- US East Coast (New York): approximately 21–33 days
- Northern Europe (Rotterdam, Hamburg): approximately 28–35 days
- Australia (Sydney, Melbourne): approximately 18–22 days
We provide an estimated delivery schedule after the vessel sails. At your destination port, customs clearance is handled by our freight partner’s customs broker and typically takes 3–5 business days.
After clearance, master carton shipments are sent via FedEx Ground or UPS Ground to your door — typically around one week for US shipments. Pallet shipments are trucked to your delivery address, typically 5–9 business days for US destinations.
The Full Timeline
Here’s how the stages stack up from your final sign-off to your door. Note that many production stages overlap — for example, QC begins before binding is complete, and plate making for later sections can begin while early sections are already on press. The day ranges reflect this parallel workflow.
| Stage | Duration |
|---|---|
| Before production: File checking & client approval | Not counted in production time |
| Imposition + Hard Proof | Day 1–3 |
| CTP Plate Making | Day 2–5 |
| Paper cutting, press run, signature folding | Day 3–7 |
| Finishing (lamination, foil, embossing, die-cutting) + Binding | Day 5–20 |
| Quality control + packing | Day 6–22 |
| Sea freight + customs + final delivery | Day 8–80 |
| Total (US West Coast) | ~8–11 weeks from sign-off |
For US West Coast clients, your total timeline from sign-off to delivery typically runs 8–11 weeks. For East Coast, European, or Australian clients, plan for 10–14 weeks.
Two things within your direct control affect this significantly: how quickly you respond during the file checking phase, and whether your files are clean on first submission. Clients who turn around approvals within 24 hours and send files that pass the first check move into production faster. Delays at the front end are rarely recoverable on the production side.
What This Means for Your Planning
If you have a launch event, a conference appearance, or a retail deadline, count backwards from that date. Allow 10–12 weeks minimum for a US West Coast delivery, 12–14 weeks for anywhere else. Then add buffer at the front for file preparation and the checking phase. If your files aren’t ready when you need to place the order, the deadline probably won’t hold.
It also changes how you read our communications. When we come back to you about a file issue, we’re not creating friction — we’re the people standing between you and a pallet of misprinted books. When we ask you to review the hard proof carefully, we mean it — because you know your content better than we do, and you’re the last qualified set of eyes before plates are burned.
And when the tracking number goes quiet for a few weeks while your order crosses the Pacific, you now know exactly what’s happening: your books are on the water, the process ran as it should, and they’re on their way.
Have a project in mind? If you’d like to talk through timelines, file requirements, or anything else before you commit, reach out. We’re always happy to walk you through the process — before you place an order.