Custom Card Decks
 Custom Holographic Cards
 Folding Cartons
 Rigid Boxes
 Corrugated Boxes
 Custom Board Game
 Kickstarter Print Solutions
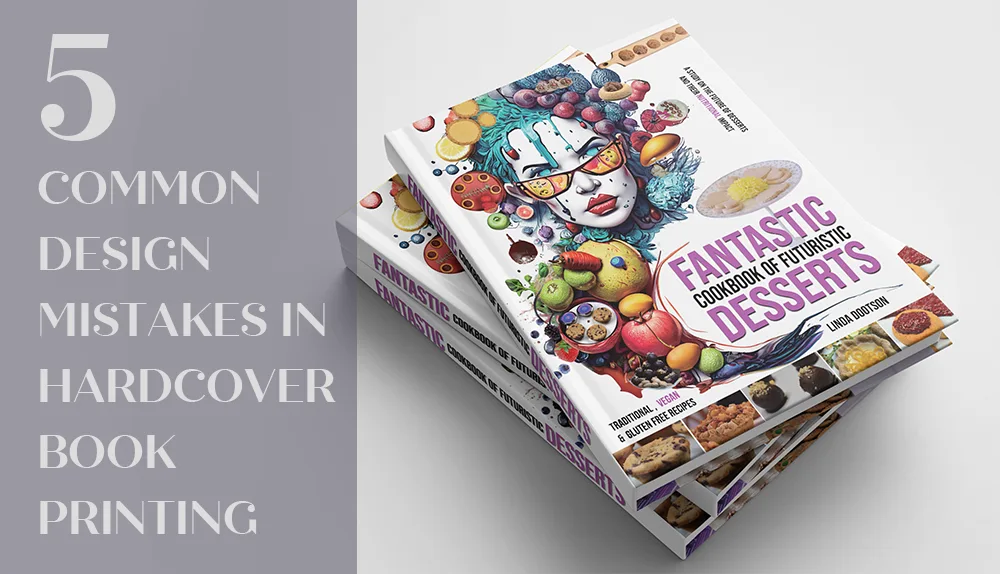
You’ve spent months writing, editing, and designing your book. The cover looks stunning on screen. The layout feels perfect. Then the files go to pre-press, and the email comes back: “We found some issues with your files.”
It happens more often than you’d think. At QinPrinting, we’ve helped thousands of creators produce hardcover books over the past 10+ years, and our pre-press team manually checks every file before it goes to print. We catch the same handful of design mistakes again and again—mistakes that delay projects, increase costs, and cause unnecessary stress.
The good news? Every one of them is completely avoidable once you know what to look for. Here are the five most common errors—and exactly how to fix them.
Mistake #1: Missing or Incorrect Bleed
This is the single most common reason we send files back. In offset printing, pages are printed on large press sheets, folded into signatures, gathered, and trimmed to the final size with an industrial cutter. That cutting process has a tolerance of up to 1 mm—tiny, but enough to cause visible problems.
If your background image stops exactly at the page edge, a slight shift during trimming exposes a thin white line of unprinted paper. Across an entire book, it looks unprofessional. Conversely, text sitting too close to the edge may get partially cut off.
How to fix it:
- Add bleed: Extend all background images and colors 3 mm (0.125″) beyond the trim line on all four sides.
- Respect the safety zone: Keep all critical text, page numbers, and logos at least 5 mm (0.2″) inside the trim line.
- Use a template: Download one of our free book printing templates with bleed, trim, and safety zones pre-marked—no guessing required.
For a detailed walkthrough of setting up bleed in InDesign, Illustrator, Photoshop, and Canva, visit our bleed guide.
Mistake #2: Designing in RGB Instead of CMYK
Your screen creates colors by emitting light in Red, Green, and Blue (RGB). Offset printing uses four translucent inks—Cyan, Magenta, Yellow, and Black (CMYK). The range of colors achievable with CMYK inks is significantly smaller than what an RGB screen can display. Vivid neon greens, electric blues, and deep violets simply don’t exist in standard CMYK.
If you submit RGB files, the printing system converts them automatically—often shifting colors in unpredictable ways. Bright blues turn purple. Greens go olive. Rich colors look flat and washed out. The worst part? You won’t see the problem until the books are printed, and at that point, the only fix is to correct the files and reprint.
How to fix it:
- Convert early: Set your design software to CMYK color mode before you start. Convert all photographs to CMYK before placing them in your layout.
- Handle blacks correctly: Use 100% K (black ink only) for body text and fine lines—it prints crisply with no risk of misregistration. For large black areas like full-page backgrounds, use Rich Black (e.g., C:60 M:60 K:100) to achieve a deep, saturated black instead of dark gray.
- Check your exports: Verify that your final PDF is in CMYK mode. Some export settings can accidentally revert to RGB.
Our CMYK and RGB guide explains the difference in more detail.
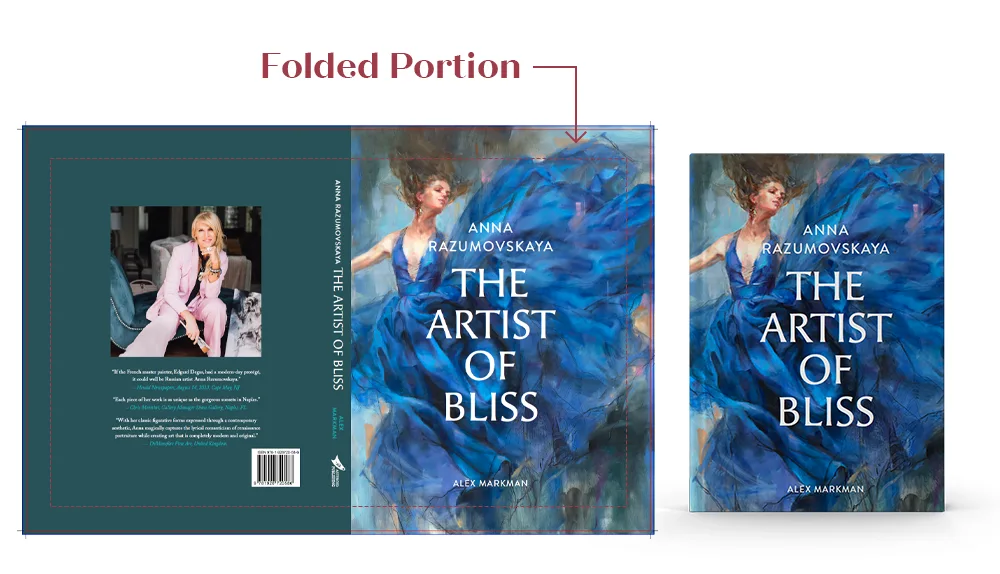
Mistake #3: Designing the Hardcover Case Like a Paperback Cover
Even experienced designers make this mistake if they haven’t produced a hardcover before. A paperback cover is a single printed sheet wrapped around the text block. A hardcover case is fundamentally different: three rigid greyboard panels (front, spine, back) wrapped in a printed sheet, with the excess paper folded over the edges and glued to the inside. This folded portion is called the “turn-in.”
On top of that, the hardcover case is physically larger than the page block—the boards extend a few millimeters beyond the pages on all sides to create a protective overhang.
If you submit a cover file at paperback dimensions, two things go wrong. First, there’s no material for the turn-in—the factory literally cannot construct the case. Second, the dimensions don’t account for the overhang or the hinge joints (the narrow grooves between the spine board and the cover boards) that allow the cover to open properly.
How to fix it:
- Request a custom template: The spine width, hinge positions, and turn-in allowances depend on your exact page count, paper stock, and board thickness. Contact us for a hardcover cover template with every measurement marked to the millimeter.
- Extend artwork into the turn-in zone: Your background image or color must extend 15–20 mm beyond the board edges. This area folds over and is hidden inside, so don’t place any important elements there.
- Don’t design the spine yet: Wait until you have the confirmed template—see Mistake #5 below.
A real-world example:
Just a couple of months ago, we were preparing a hardcover book for a client in the United States. During our pre-press file check, we noticed that the cover title had been positioned based on paperback cover dimensions. Had we not caught the error, the first letter of the title would have landed directly on the groove (hinge joint) of the finished book — pushing the title too close to the left and right edges of the cover. Because our team flagged the issue before production, the client was able to adjust the layout and avoid a costly reprint.
Mistake #4: Misunderstanding How Endsheets Work
Endsheets (or endpapers) are the heavy paper sheets that physically connect the interior page block to the hardcover case. Every hardcover has two sets—front and back—and each has a specific structure:
The pastedown is glued directly to the inside of the hardcover board, hiding the raw turn-in edges. The flyleaf is the free page facing the pastedown—the first (or last) page the reader sees when opening the cover.
The most common mistakes we see: including endsheet pages inside the interior PDF (they’re structurally separate and printed on different, heavier paper), forgetting endsheets exist entirely (so they default to plain white), or getting the page count confused because endsheets add visible pages at the front and back of the book.
How to fix it:
- Submit endsheets as a separate file: Clearly label them “Front Endsheet” and “Back Endsheet” so there’s no ambiguity during production.
- Learn the structure: The front endsheet consists of one single page (pastedown) plus one spread; the back endsheet mirrors this. Our endsheets guide illustrates the layout in detail.
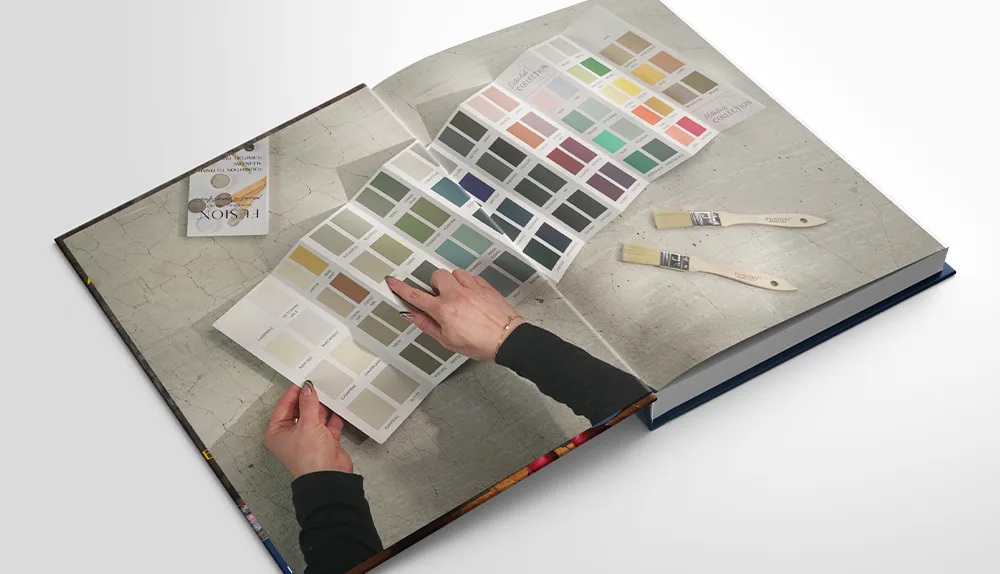
- Consider custom printing: Endsheets don’t have to be plain white. A custom pattern, a map, or a solid color that complements your cover adds a premium feel at minimal additional cost. Just let us know when you request your quote.
Mistake #5: Getting the Spine Width Wrong
The spine width of a hardcover book depends on three variables: your page count, the physical thickness (bulk) of your chosen paper stock, and the greyboard thickness. Different papers of the same GSM weight can have very different bulk—a 120 GSM uncoated sheet is often physically thicker than a 120 GSM coated sheet. Even a 1–2 mm error in the final spine width is immediately visible: the cover artwork shifts to one side, or blank gaps appear along the spine edges.
This mistake usually happens because the designer finalizes the cover before the page count and paper choice are locked down. A last-minute decision to add an appendix, switch from 120 GSM to 140 GSM paper, or remove a chapter will change the spine width—and invalidate the entire cover file.
How to fix it:
- Finalize your interior first: Lock down the page count and paper stock before touching the cover design.
- Use our calculation, not a generic online tool: We calculate spine width from the actual bulk measurement of your specific paper, not industry averages. The exact figure is included in your cover template. See our spine width guide for more on how this works.
- Design the spine last: Start with the front and back cover; add spine artwork only after the width is confirmed.
Pre-Submission Checklist
Run through this list before sending your files. Catching issues at this stage saves days of back-and-forth:
- All images are 300 PPI and in CMYK color mode
- Bleed of 3 mm on all sides; critical content at least 5 mm inside the trim line
- Cover designed from an official hardcover template with correct spine width, hinge positions, and turn-in allowances
- Endsheets submitted as a separate, clearly labeled file
- Spine width matches the confirmed calculation from your printer
- All fonts embedded or converted to outlines
Ready to Print?
Avoiding these five mistakes will save you time, money, and unnecessary back-and-forth. But even if something slips through, our pre-press team reviews every file for free—checking bleed, color mode, spine width, endsheets, and cover construction before anything goes to press. If we spot an issue, we’ll explain exactly what needs fixing.
If you’re still exploring your options for paper, binding, and finishes, our book printing page covers the full range of formats available. And when you’re ready to move forward, you can get detailed pricing in minutes.
Have a project in mind? Get a free quote and let’s bring your book to life.