Custom Card Decks
 Custom Holographic Cards
 Folding Cartons
 Rigid Boxes
 Corrugated Boxes
 Custom Board Game
 Kickstarter Print Solutions

You finished your first volume. The lineart is clean, the screen tones are placed, the cover illustration is glowing on your screen. Now comes the part nobody warned you about: turning that finished file into 500 or 5,000 actual books that look as good in a reader’s hands as they do on your monitor.
This guide is for indie manga creators, comic artists, graphic novelists, and Kickstarter campaign runners who are printing in bulk for the first time (or the tenth time and still figuring it out). We’ll walk through the decisions that actually matter—trim size, file preparation, binding, paper, cover finishes, cost, and the timeline you need to hit if you’re fulfilling a Kickstarter campaign.
If you want to skip ahead and get an instant quote for your project, our comic book printing calculator lets you build a custom spec and see pricing in seconds. Otherwise, read on.
Manga, comic, graphic novel, doujinshi: which one are you printing?
These terms get used loosely, but they describe genuinely different products with different production conventions. Knowing which category your project falls into makes every downstream decision (size, binding, paper, page count) easier.
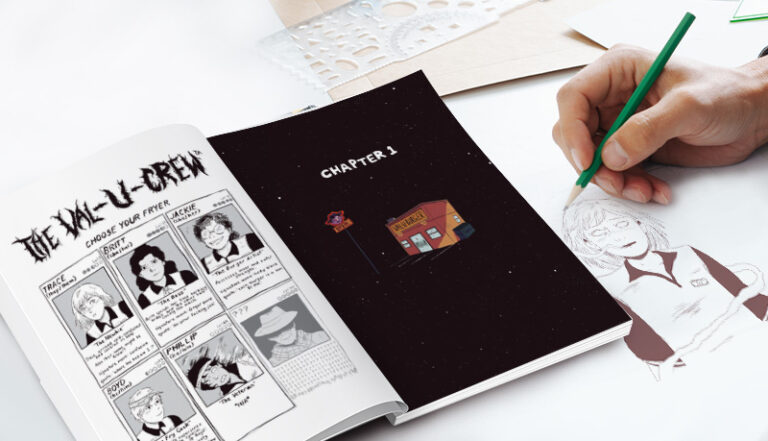
Manga is the Japanese-style format—usually black-and-white interior pages, right-to-left reading direction (though many indie English-language manga read left-to-right), serialized storytelling, and trim sizes around 5×7.5 inches. Almost always perfect bound.
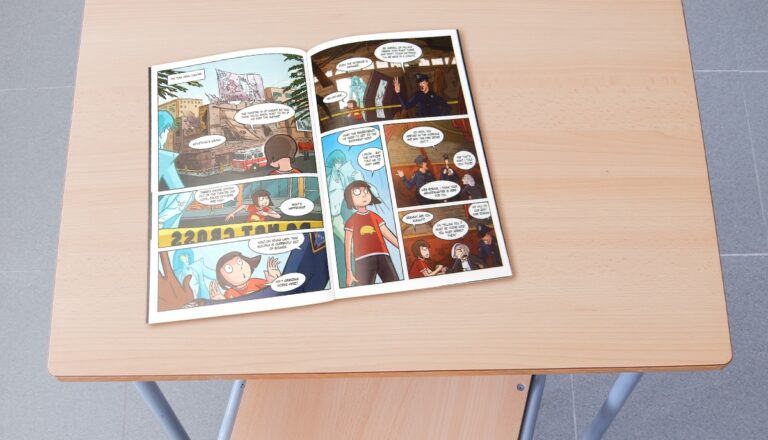
Comic books are the Western single-issue format—full color, 24-32 pages, saddle-stitched, typically 6.625×10.25 inches. Think Marvel and DC monthly issues.
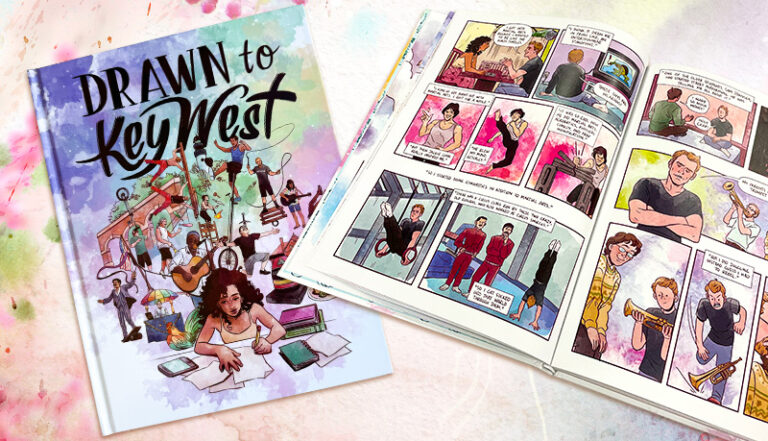
Graphic novels are longer standalone works (or collected comic editions). Full color or black-and-white, 64-200+ pages, perfect bound or hardcover. Trim sizes vary widely from 6×9 to 8.5×11 inches.
Doujinshi are fan-made or self-published works in the manga tradition, often produced in small print runs (100-500 copies) for conventions and direct sales. Usually saddle-stitched or perfect bound, with paper specs scaled to a tight budget. If you’re producing doujinshi, the same printing principles apply—just with smaller runs and tighter cost discipline.
Most of this guide focuses on manga and graphic novels because they share more production decisions, but Western comics and doujinshi creators will find most of it directly applicable too.
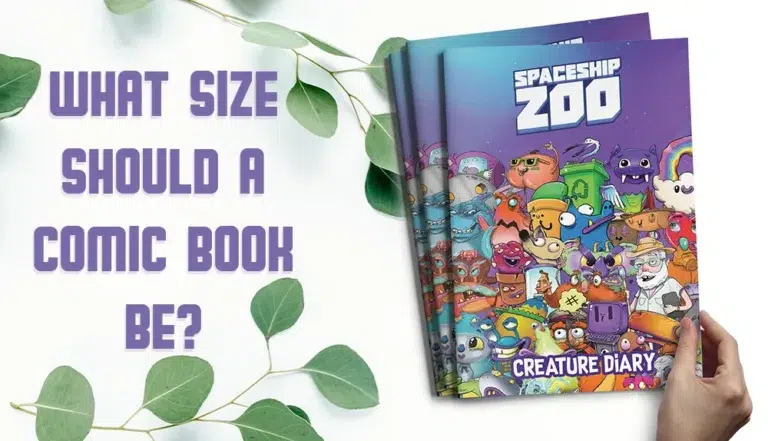
Choosing your trim size
Trim size is the finished size of your printed book. It affects per-unit cost, how your panel layouts read, where the book sits in a retail context, and even whether your art looks cramped or breathing. Here’s how to think about the most common options:
5 × 7.5 inches — the standard manga size. This is the size used by most Japanese tankōbon volumes and the majority of English-language indie manga. Compact, affordable, fits comfortably in one hand. If you’ve designed your panels with manga conventions in mind, this is almost always the right choice.
6.625 × 10.25 inches — US comic standard. The traditional Western comic book size. Larger panels, more dramatic spreads, but per-unit cost is higher and the format reads as Western superhero comic rather than manga. Choose this if your work is genre-Western or you want the classic comic book retail presence.
5.5 × 8.5 and 8.5 × 11 inches — the economical sizes. These match standard paper formats, which means lower per-unit cost because they cut from full press sheets with minimal waste. 5.5 × 8.5 is great for low-budget indie projects; 8.5 × 11 works well for art-heavy graphic novels where panel detail matters.
6 × 9 inches — the alternative. A middle-ground size used by some indie graphic novels. Slightly larger than manga standard, slightly smaller than US comic, and hits a niche if your work doesn’t fit neatly into either tradition.
Custom dimensions are also possible—we support most non-standard sizes from 3.74×3.74 inches up to 12×14.5 inches. The manga printing calculator lets you enter custom dimensions and see how the price changes.
Preparing your interior files: the part most indie creators get wrong
This is where projects most often go sideways. The good news: file requirements for manga and comic printing are actually simple. The bad news: getting them wrong means muddy black ink, jagged screen tones, or page sizes that don’t match what you ordered.
The four rules for print-ready manga interior files
- Submit a high-resolution PDF at 300 DPI. Not 150, not 200, not 600 (the file becomes huge for no quality gain). 300 DPI at final print size is the standard for sharp linework and clean tone reproduction.
- Use grayscale color mode for black-and-white interiors. Don’t submit RGB and assume the printer will convert it—the conversion can shift your blacks and grays in ways you didn’t intend. Convert to grayscale yourself in Photoshop or Clip Studio Paint before exporting.
- Add 3 mm (0.125 inch) bleed on all sides. Any artwork that runs to the edge of the page must extend into the bleed area. Without bleed, you’ll get thin white slivers on the trimmed edges where the cutter wasn’t perfectly aligned.
- Embed your fonts. Always embed fonts in your final PDF (or convert text to outlines/curves).
We print directly from the PDF you supply, so the file you upload is the file we print. We don’t modify your grayscale levels, screen tones, or line weights—what you send is what you get. This means file preparation is on you, but it also means there are no surprises. If you want help, we offer free file checking and our prepress team will flag issues like missing bleed, low resolution, or incorrect color mode before production starts. Get a quote through our comic book printing page, and our team will follow up to receive your files for a free check.
A quick note on screen tones
Screen tones (those dot patterns used for shading in manga) need to be exported at the resolution that preserves their dot pattern cleanly. If you’re working in Clip Studio Paint or similar software, export to PDF at 300-600 DPI grayscale and review the file at 100% on screen before sending. Flatten your file before exporting to avoid layer-based rendering surprises.
Choosing the right binding
Binding affects how your book opens, how durable it is, and how much it costs. For manga and comics, the choice usually comes down to three options:
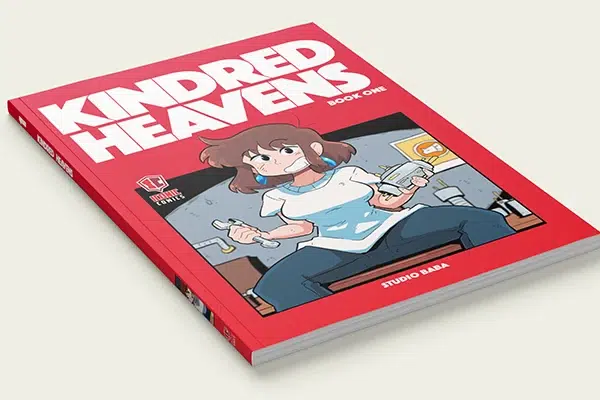
Perfect binding is the standard for manga, doujinshi over 64 pages, and most graphic novels. Pages are glued to a wraparound softcover. Looks professional, sits well on a bookshelf, suitable for 32-800 pages. This is what 90% of indie manga projects choose.
Sewing and perfect binding (sewn-perfect) adds sewn signatures inside a perfect-bound cover. More durable than glue-only perfect binding, and the book lays flatter when open. Recommended if your manga is 100+ pages or you’re using heavier interior paper. Costs slightly more but the quality difference is visible.
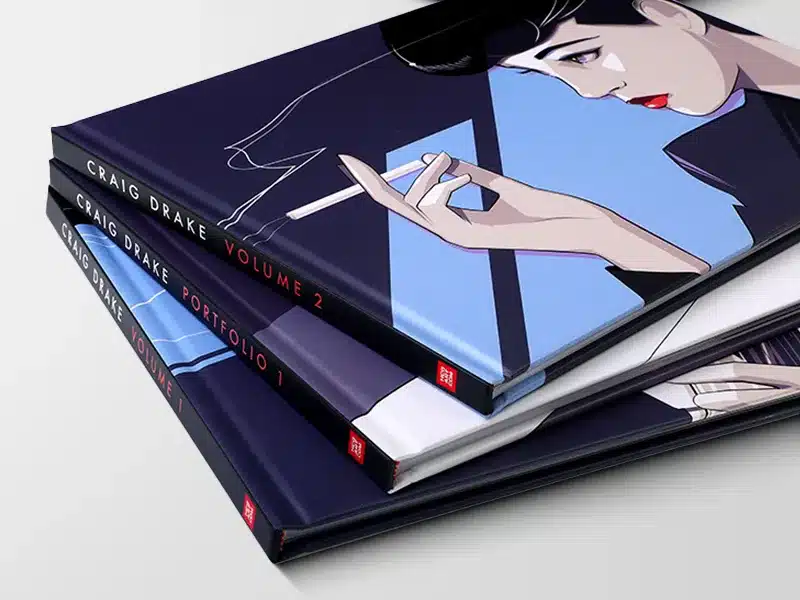
Hardcover binding is for collector’s editions, premium Kickstarter tiers, and graphic novel printing volumes that are meant to live on a shelf for decades. Pages are sewn into signatures and cased into a hard cover. Significantly more expensive (typically 35-50% more per copy than perfect binding) but adds genuine retail value.
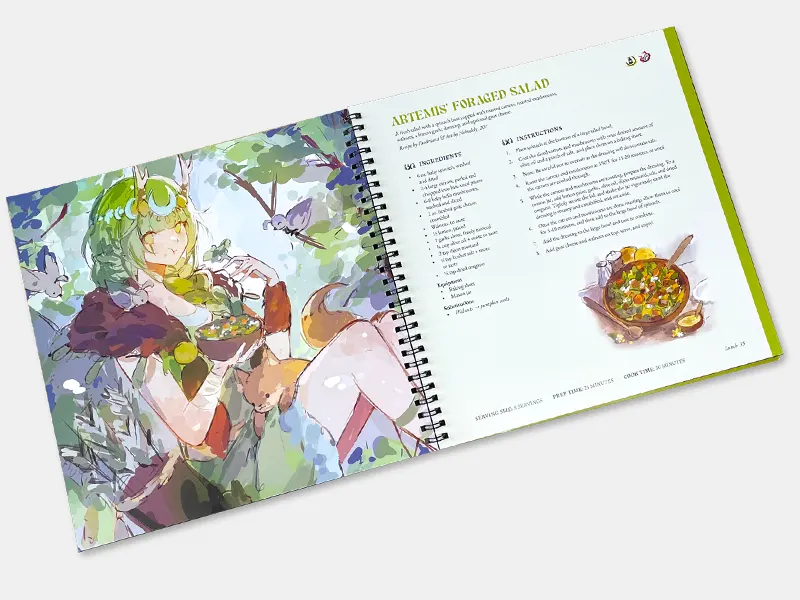
Wire-O and spiral binding are also available but rarely chosen for narrative work—they’re better suited to art reference books, sketchbooks, or technique guides where lay-flat reading matters more than book-shelf presence.
Paper choices for manga interior and cover
Interior paper
For black-and-white manga interiors, lighter paper is the convention. Most commercial manga uses uncoated woodfree paper in the 60-80 gsm range—it’s inexpensive, gives the book a familiar manga feel, and keeps shipping weight down. For full-color graphic novels or premium editions, coated paper (gloss or matte) at 105-157 gsm reproduces color and detail much better.
Quick guide:
- Black-and-white manga, budget-conscious: uncoated 70-80 gsm
- Black-and-white manga, premium feel: matte coated 105 gsm
- Full-color comic or graphic novel: gloss coated 128-157 gsm
- Art-heavy graphic novel, museum-quality: matte coated 157-200 gsm
Cover paper
Covers use heavier stock—typically 200-300 gsm coated paper—because the cover takes more handling than interior pages. For perfect-bound and hardcover books, choose 250-300 gsm with lamination. For saddle-stitched short runs, 200 gsm is sufficient.
If you want to keep costs as low as possible, use the same paper for the cover as for the interior. This is called a self-cover and is common in budget doujinshi and short-run zines.
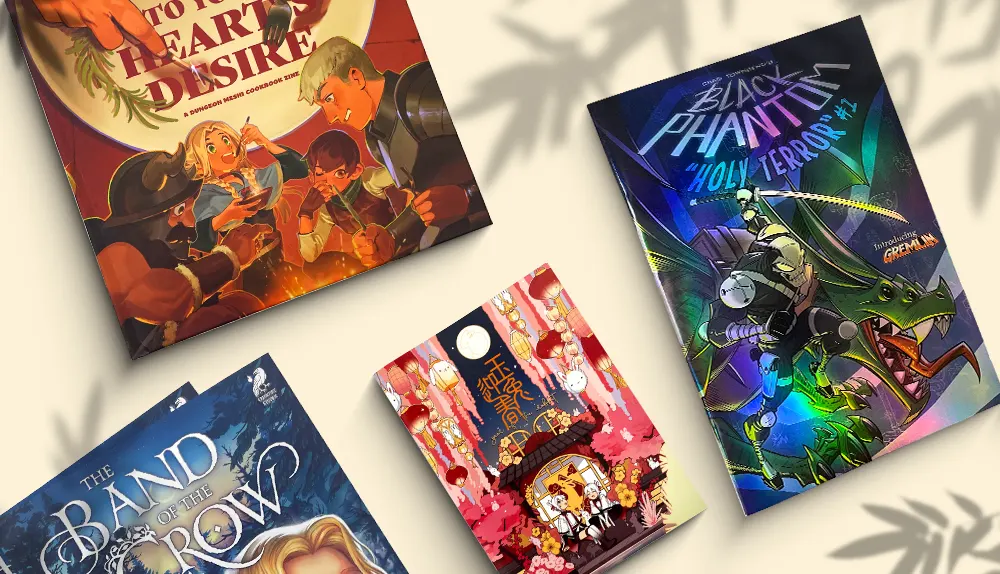
Cover finishing for manga that stands out
In a crowded indie market, the cover is your one chance to catch a reader’s attention before they decide whether to flip the book over. Cover finishes don’t add much to your per-unit cost (usually $0.10-0.50) but make a visible difference on retail tables and in unboxing photos.
Lamination is the baseline. Three choices:
- Matte lamination — sophisticated, soft, low-glare. Most common for indie manga.
- Gloss lamination — vibrant, reflective, makes color pop. Common for action and shōnen-style covers.
- Soft-touch lamination — velvety to the hand, premium feel. Popular for atmospheric titles and mature narratives.
Spot UV applies a glossy coating to specific elements—a logo, a character silhouette, the title—creating contrast against a matte or soft-touch laminated cover. Inexpensive but visually striking.
Foil stamping uses metallic or pigmented foil for titles, edition numbers, or design accents. Gold and silver are standard; other foil colors are available. Especially powerful on dark covers.
Embossing and debossing create raised or recessed elements in the cover. Tactile, premium, and reads as a special edition.
Gilded or painted edges. Apply metallic foil or printed designs to the trimmed edges of your text block. This is a standout feature for limited editions and Kickstarter premium tiers—the kind of detail that drives backers to upgrade.
All of these can be combined. A typical premium manga cover might use soft-touch lamination plus spot UV on the title plus gold foil on the volume number—a combination that costs maybe $0.40 extra per copy and looks $5 more valuable on a shelf. See the comic book printing page for the full range of cover finishes available.
How much does it actually cost to print a manga?
Per-unit cost drops dramatically as quantity increases. This is the fundamental economics of offset printing: setup costs (plate-making, press setup, ink mixing) are fixed, and they get spread across the print run. Three example data points to set expectations—all-in landed costs that include sea freight to the US and current US import tariffs:
- 100 copies of a 32-page 5×7.5 manga: about $4.50 per copy. Suitable for a doujinshi run or a personal proof print.
- 500 copies of the same 32-page 5×7.5 manga: about $1.10 per copy. Suitable for a small Kickstarter campaign or convention stock.
- 5,000 copies of the same 32-page 5×7.5 manga: about $0.40 per copy. Suitable for a serious indie publisher or a high-tier Kickstarter campaign with retail distribution plans.
Notice the pattern: going from 100 to 500 copies cuts your per-unit cost by 75%. Going from 500 to 5,000 cuts it by another 64%. The lesson is that if you can find the demand, larger print runs are dramatically more economical—and a Kickstarter campaign is exactly the mechanism that lets you find that demand before paying for the print run.
Pricing varies with size, page count, paper, binding, and finishes—and shipping and tariffs change over time, so the figures above are current estimates rather than fixed quotes. The manga printing calculator lets you build a complete spec and see your exact price in seconds—no email required.
The Kickstarter creator's timeline
If you’re funding your manga through Kickstarter or another crowdfunding platform, the printing timeline determines when your backers actually get their books. Here’s the realistic schedule for an indie manga creator working with an offshore offset printer:
Before launching the campaign (4-8 weeks out)
- Get a quote and confirm specifications. Lock down trim size, binding, paper, page count, and cover finishes. Use this to set your funding goal.
- Request artwork templates. We provide free manga templates with correct bleed and safety zones for any size.
- If you want a physical proof for your campaign page, order a sample run (typically 1-3 copies) at small-quantity pricing.
Campaign launch (live for 30 days typically)
- Use the campaign weeks to finalize interior files. Don’t wait until the campaign ends—use this window to polish and proof your final PDF.
- Communicate realistic delivery dates to backers. Offset printing plus international shipping means books arrive 8-14 weeks after files are approved, depending on shipping method.
After campaign ends
- Week 1: Finalize and submit print-ready files. Free file check from our prepress team.
- Week 2-3: Sign off on digital and physical proofs. Address any issues before production starts.
- Week 3-5: 5-10 business days for paperback offset printing.
- Week 5-13: Sea freight is most economical for bulk orders (4-9 weeks to US/EU); air freight is faster but more expensive (1-2 weeks); express courier for sample shipments.
- Week 8-14: Fulfillment to backers. If you’re handling fulfillment yourself, factor in time to repack and ship individual orders.
This is exactly why we created our Kickstarter Creator Program—dedicated support, special pricing, and timeline coordination for creators running crowdfunding campaigns. If you’re planning a Kickstarter manga, talk to us before you launch, not after.
Five common mistakes indie creators make (and how to avoid them)
- Underestimating shipping time. Sea freight from China to the US or EU takes 4-9 weeks, not 4-6 days. Build this into your Kickstarter delivery dates from the start.
- Submitting RGB files for grayscale interiors. Convert to grayscale yourself before exporting. Your blacks and grays will look exactly the way you intended.
- Forgetting bleed. If any artwork touches the edge of your page, you need 3 mm of bleed. This is the single most common file issue we see.
- Choosing the wrong quantity. Printing 50 copies because you’re nervous about demand is more expensive per copy than printing 500. If you have any reasonable confidence in your demand—especially if you’re running a Kickstarter—go bigger. The math almost always favors it.
- Skipping the physical proof. Digital proofs catch layout issues; physical proofs catch paper feel, color shifts on the actual stock, and binding quality. For any project over 500 copies, request a physical proof. The few extra days are worth it.
Ready to print your manga, comic, or graphic novel?
Whether you’re a first-time indie creator running your first Kickstarter, a seasoned doujinshi producer scaling up to a 5,000-copy convention run, or a graphic novelist preparing your first hardcover edition, offset printing in China gives you the quality, cost, and finish range that indie creators need to compete on a professional level.
At QinPrinting, we’ve printed manga, comics, and graphic novels for indie creators, Kickstarter campaigns, and small publishers worldwide for over 10 years. Our prepress team checks every file for free, our calculator gives you instant pricing, and our Kickstarter Creator Program is built specifically for crowdfunded projects.