Custom Card Decks
 Custom Holographic Cards
 Folding Cartons
 Rigid Boxes
 Corrugated Boxes
 Custom Board Game
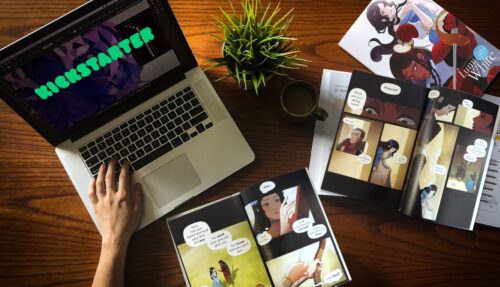
 Kickstarter Print Solutions
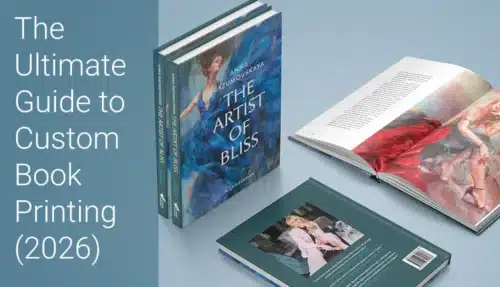
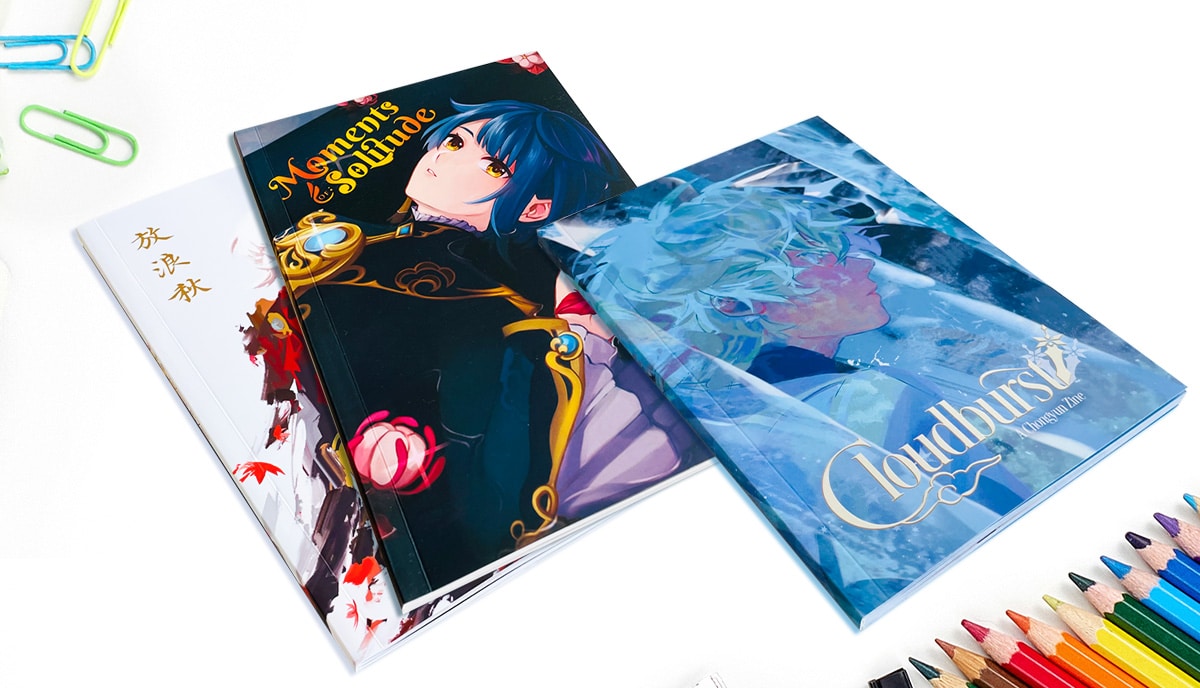
If you’re self-publishing your book and designing your own cover, it’s vital to make your cover design indistinguishable from a professional job. We walk you through the seven essential steps to a professional-looking cover design.
If you’re one of the 81% of Americans who, according to the writer, Joseph Epstein, feel that they have a book inside them, well, you’re obviously not alone. America is, after all, a country of dreamers. But if you’re one of the relatively few who’ve had the creativity, stamina, and staying power to actually get down to it and write that book, you deserve a resounding round of applause. It’s no straightforward task by any measure. The nation’s bottom drawers are stuffed to capacity with unfinished manuscripts! Manuscripts that never get close to professional book cover design.
But, if you’re reading this, you’re almost certainly a member of an even more exclusive group: those who have the self-confidence, the hope, and the determination to realize the dream of publishing — and selling — their book. And you’ve most likely chosen the self-publishing route. It’s also likely that you’ve done a fair whack of research and found out that in order to give yourself a fighting chance in the modern marketplace, you’ll need to make sure that your self-published book is indistinguishable from any published by the “big five” publishing houses.
If that’s the conclusion to which you’ve come, then you’re right. Many self-published authors who can afford to do so choose to outsource their book design to a professional freelance book designer. That’s a good route to go, but it’s not the only one.
Other writers prefer to do everything themselves. Maybe that’s because they can’t afford a book designer if it’s their first book; or often, it’s because they’re deeply creative people who want to have complete control over their work; others again are autodidacts, more than happy to invest the money and time that’s needed to learn new skills.
Whatever the reason, if you’re going to design your own book cover, you have quite a steep learning curve to climb. Here, we’ll share with you our top five tips for successful, professional book cover design. We hope it will help to lower the gradient of that learning curve. Let’s dive in.
1. Market-based design
Aside from the content of your book and your own artistic inclinations, your cover design should largely be guided by market demands. At least, if you want to sell your book. So, the first step in good professional book cover design is always market research.
What that means is to look at lots of covers in your genre, focusing on the top 20 bestsellers. Make notes about whether they’re paperback or hardback, the dimensions of the books, whether they have dust jackets, the colors used, the size and placement of the title and the author’s name, and so on. You don’t want to copy the design of a pre-existing book — which would be plagiarism and potentially a breach of copyright — but you’ll discover that each genre has clear, representative norms and standards by which you should abide.
2. Work with a custom-made template
If it’s your first time designing a book cover, you’ll save yourself a lot of time and heartache by using a custom book cover template. Contrary to popular opinion, this won’t limit your creativity. The creative side is entirely up to you. What the template does is guide you through the technical needs of your design and make sure that you don’t miss out anything important, such as bleeds, margins, trim lines, and so on. At QinPrinting, we’ve developed a series of first-class design templates to help you. If you’re going to print your book with us, then we strongly recommend that you use one of our templates as your starting point. Other templates are available!
One of the best reasons to use our templates is precisely in order to free up your creativity by lifting some of the anxiety about getting the technical details right. A good template also helps make sure that you are following fundamental and proven design principles relating to image sizing, font size for the titles and your author’s name, location of the barcode and ISBN, and a dozen other important factors which are otherwise so easy to get wrong.
3. Creating cover art and selecting ready-made images
If you have the skills, there’s no reason you shouldn’t create your own cover art. You can either generate the artwork from scratch in a suitable program or application or you can change and adapt pre-existing photographs or illustrations to which you have purchased, or already own, the rights. Sourcing ready-made images as the basis for your cover art is a perfectly acceptable option. Many self-publishers create beautiful cover designs with no modification of the original photograph other than overlaying it with the title, author’s name, and so on. The important thing is to make sure that you don’t plagiarize or breach copyright.
It’s a common misunderstanding that any image you find online — via a Google search, for example — is fair game. But nothing could be further from the truth. International copyright law automatically protects photographs, graphic designs, artwork, and indeed any other original creative work, as soon as it’s created.
That the creator — or someone else, with or without permission — has posted the image online does not mean it is free from copyright. There are several ways that you can make sure the image you’re using is legal for commercial purposes. We’ve written in-depth about how to do this in another blog post, which you can find here. But in short:
- you can approach the owner and ask permission to use the image, perhaps for a small fee or a royalty deal
- you can source your image from one of the many stock image sites such as Unsplash, Pixabay, Pexels, Shutterstock, and others, usually in exchange for a fee and/or correct attribution of the original artist
- or you can source an image in the public domain and therefore out of copyright
In the latter case, the best place to start is with the Creative Commons. But even then, don’t assume all Creative Commons images are free to use for commercial purposes. Check first, to be on the safe side.
4. Keep it simple
One mistake we often see first time cover designers make is to overcomplicate their design by trying to use every trick and possibility their software has available! Our best advice is to keep it simple. A single, genre appropriate, legally sourced image overlaid with the book title, and the author’s name is more or less all you need for a professional book cover design.
5. Don't forget the spine
But don’t forget the spine area and the back. In fact, these are more complicated to get right. Again, our best advice to you is to look at successful novels in your genre to see how they’ve been designed and follow similar ideas. One of the easiest methods is to use a single piece of artwork which wraps across the entire cover, front, spine, and back. The back need only be overlaid with your blurb, any review quotations you want to include, the name of your publishing company if you have one, ISBN and barcode, and, of course, the retail price. The spine, similarly, can carry the title, author’s name, and a logo if you have one. And that’s it.
6. Choose only one special finish
This is something that many self-publishers overlook when trying to develop a professional book cover design. Sometimes, it’s because they haven’t yet realized the huge advantages that they can enjoy by publishing their print editions with an offset printer, and so they’re limited to the reduced range of opportunities on offer from digital and print-on-demand services.
But a good offset printer — hello, that’s us! — can offer a vast array of special finishes to make your book cover really stand out from the crowd at very little added expense. Again, however, the secret of good design is often simplicity. That’s why, even though we can varnish, laminate, emboss, deboss, spot UV, foil stamp, and die-cut your cover, we strongly recommend that you choose just one — maximum, two — of these special finishes. Often, for example, a foil stamped award badge is a great idea, or an embossed title; but a foil stamped and embossed title, with a debossed author name, a spot UV coated badge and a varnished cover would be overkill!
If you’re not sure what these finishes look like, ask us for our paper sample catalog, which we will happily send to you for nothing more than the cost of mailing it. While it may not be necessary to add a special finish, it can help catch the reader’s eye in an overcrowded marketplace. Anything that gives your book an advantage is probably a worthwhile investment, after all.


7. Spell check and proof read
Finally, it’s common to focus so much on the visual and artistic side of your cover design that you neglect to check simple things like spelling, grammar, and punctuation. You’d be amazed how often we see an otherwise truly professional book cover design with the author’s own name spelled wrong! When you’ve been working for hours or even days on getting your cover just right, you can become blinded to the simple things, so we strongly recommend getting a second pair of eyes to check and proof read the written content of your book’s design. That needn’t be a professional proof reader — although, why not if you can afford it? — but just someone who knows how to spell and where a comma should and shouldn’t go!
Talk to us!
At QinPrinting, we’ve enjoyed over 25 years of success in the offset printing industry and helped thousands of self-published writers and independent creatives just like you to create beautiful and successful print editions of their books. If we can help you realize your self-publishing dreams, we will. We always say that it’s never too soon to talk to your printer.
We have a huge amount of experience and expertise which we can put at your disposal. And we’ve made it super-easy to get in touch with us, either by telephone, email, the live chat, Skype, or the online contact form. We look forward to hearing from you and seeing all your hard work finally wrapped in a beautiful, professional book cover design.