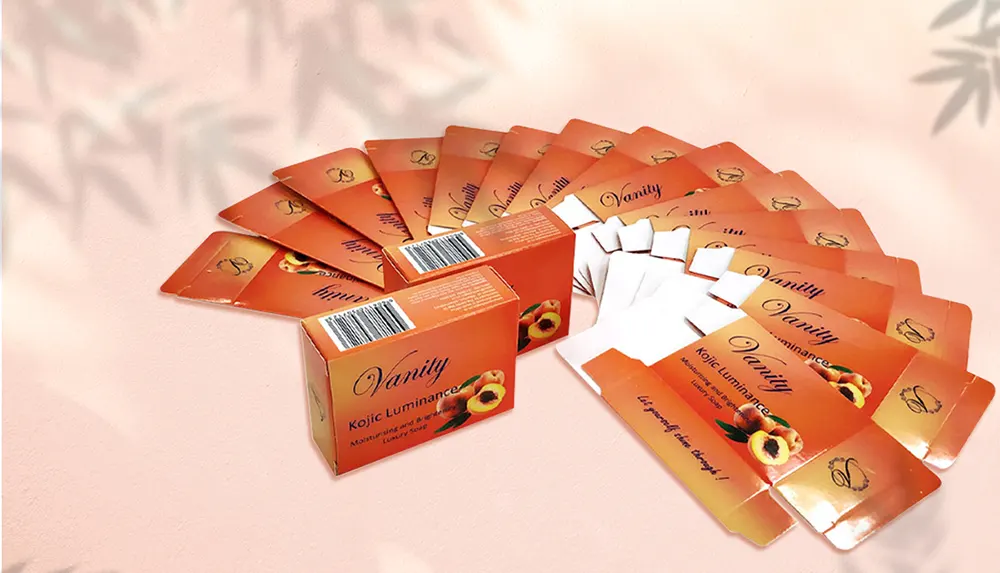
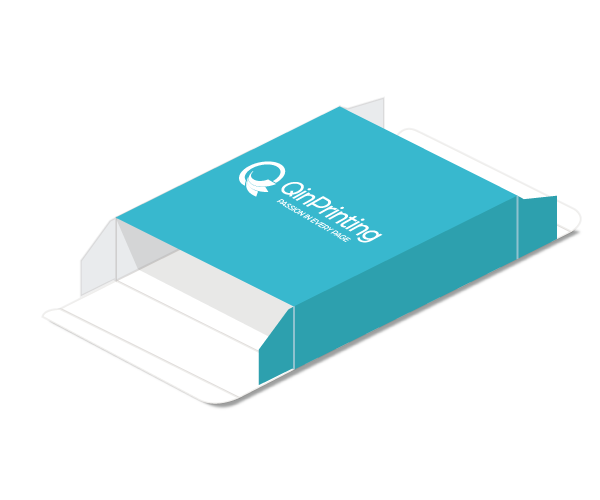
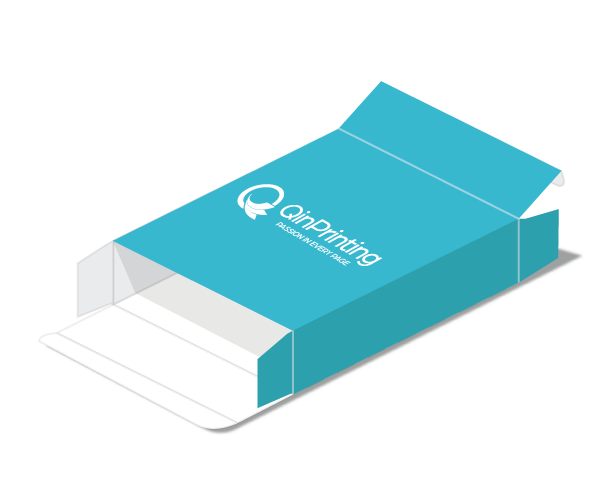
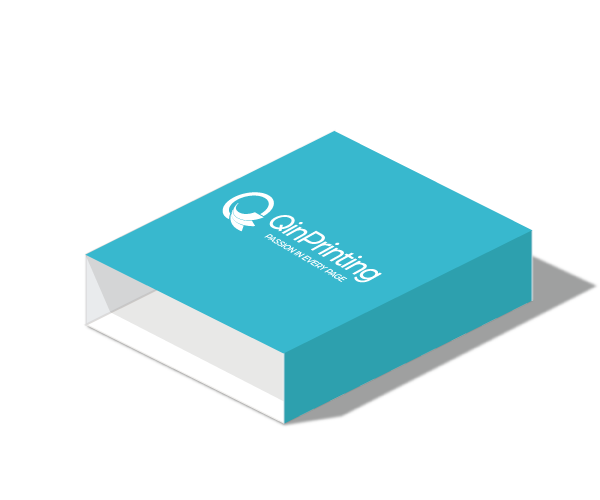
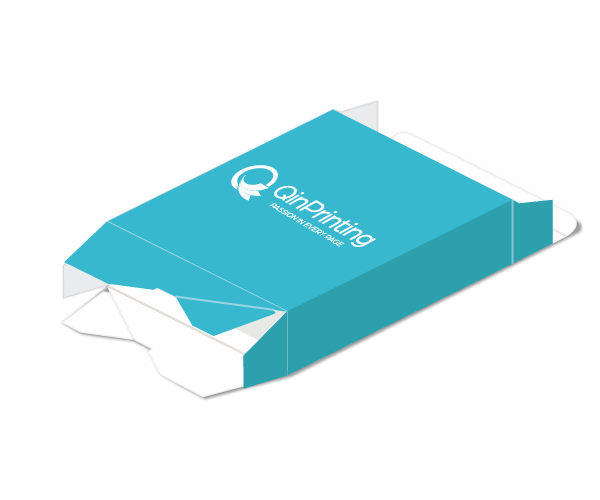
After all the creative work and satisfaction of researching and developing a new product to bring into the marketplace, it’s easy to overlook the importance of custom product packaging and the impact it can have on sales. A first-class product deserves an excellent packaging solution designed at the structural level to protect the product and be robust and reliable during handling and transit; and at the aesthetic level, to look good, appeal to your target customers, and attract attention on display.
If you’re handling your design process in-house, it’s important to make sure you’ve covered all the key areas to guarantee a perfect packaging solution that’s functional, fit-for-purpose, economical, and looks great. At QinPrinting, we’ve been helping companies just like yours to develop and print world-class packaging for over 25 years now. Several of our customers have held active accounts with us for at least half that time. So, we like to think we know what we’re talking about when it comes to packaging.
There’s a lot to consider when it comes to packaging design. You need to think about everything from branding, to product protection, materials, printing, inserts, box styles and closures, the customer experience, and more. To help you cover the bases, these are our top ten professional tips for successful package design.
1. Branding
We often see situations in which the product development people, the marketing department, and the box designer aren’t communicating well. This can result in a mis-match between the product, the promotional campaign, and the box design. If you want to create a successful packaging, then you need to join up the dots so that the style, colors, messaging, and branding are all coherent with the supporting marketing and promotional strategy and, of course, reflect the product itself. Make sure that these departments talk to each other and that the designer is given a full, clear brief that takes all three aspects into account.
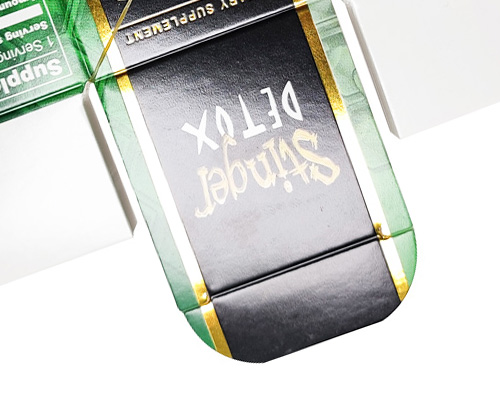
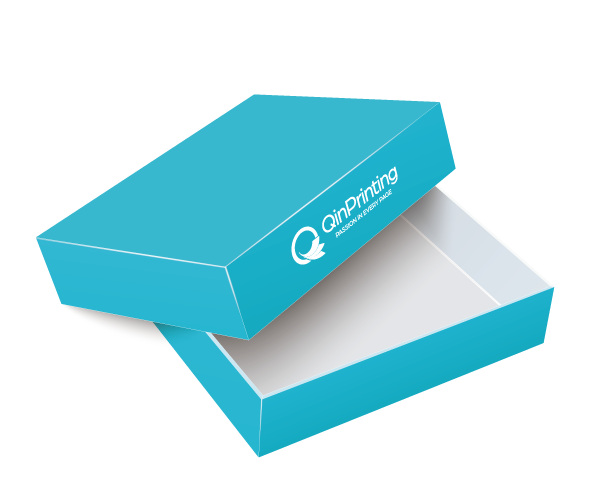
2. Product protection
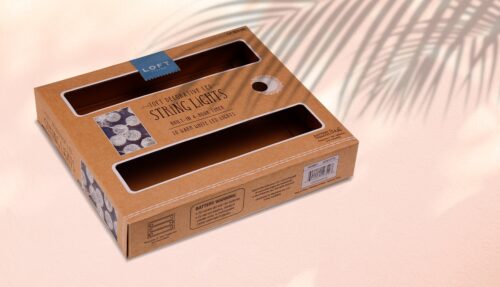
The first function of any product packaging is to protect the contents during storage, in transit, and on display. So, before you get into the artwork and text, you must think about the structural engineering of your box. To get this right, the designer needs to know specific details about the product such as its dimensions, weight, what it’s made of, if there are any components sensitive to impact, moisture, sunlight, and other factors. Every product has different requirements. So, heavier items will need a more robust structural design with a sealed bottom, and may be made from a corrugated cardboard rather than thinner C1S paperboard, for example. For another product that’s light but delicate, a lighter cardstock with a foam insert may be the answer. And with certain products that may be at risk of tampering, such as certain electronics or pharmaceuticals, a lockbox may be indicated.
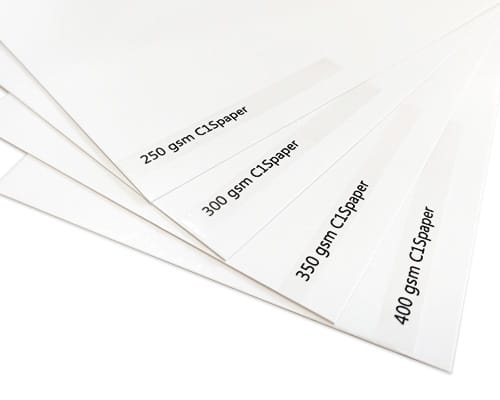
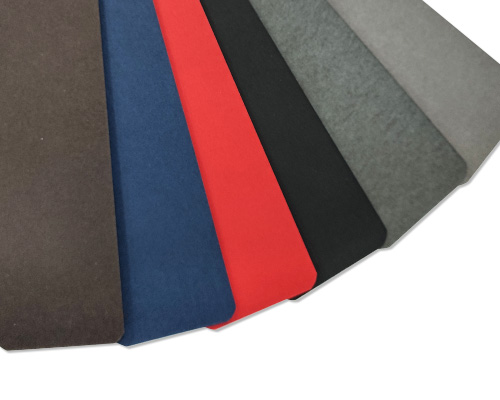
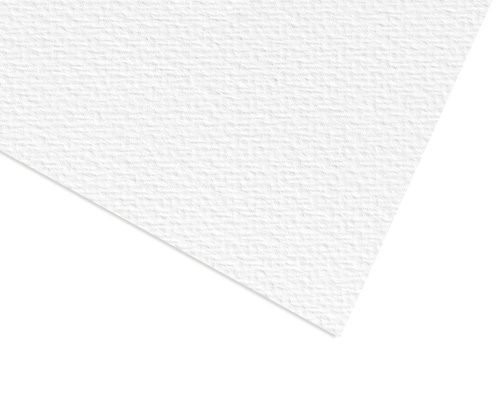
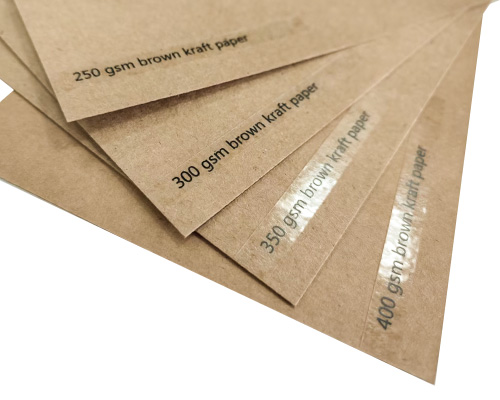
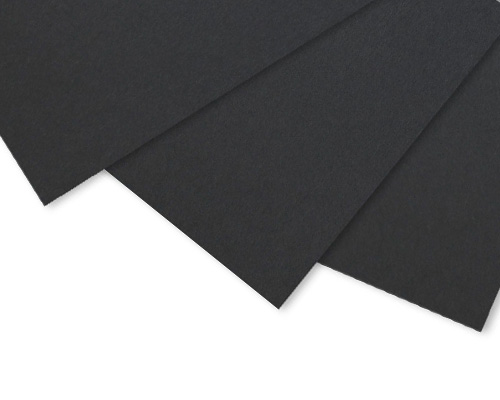
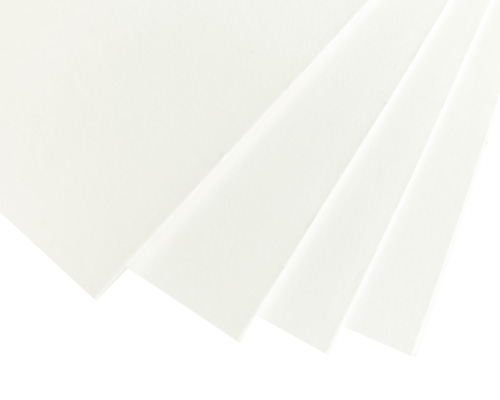
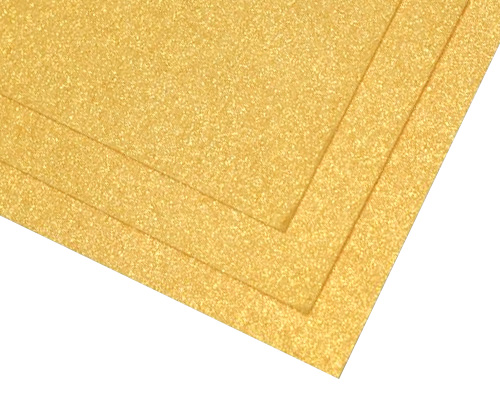
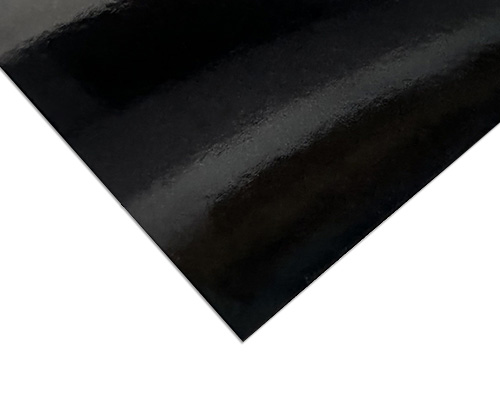
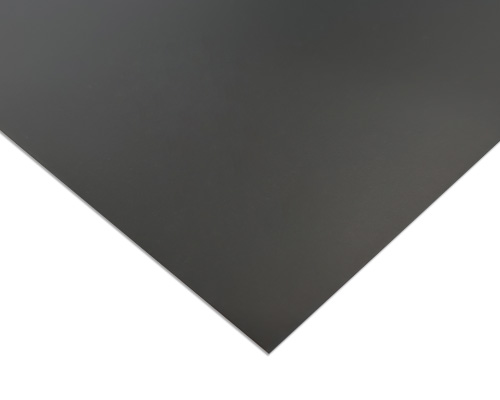
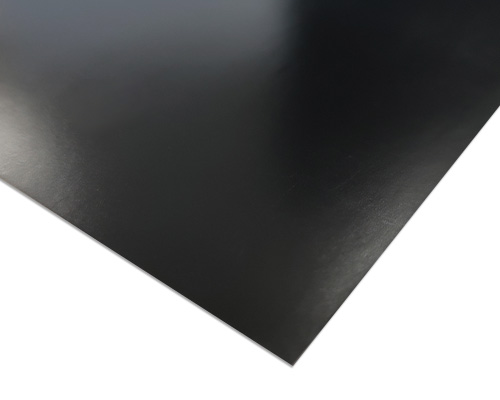
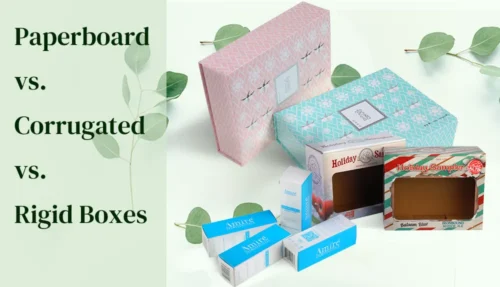
3. Paper and other materials
There’s a vast range of paper from which to choose to design your box. As we’ve seen, structural considerations and the specifics of the product will influence your choices here. But so will branding, the look and feel you’re aiming for, and how resistant the package needs be to environmental conditions and handling. The retail context can play a large part in these choices. Will the box be printed on the outside only? Both outside and inside? Is the package designed for display as well as housing? Will the box be rigid, self-assembly, a folding carton, a gable end tuck box, or some other design?
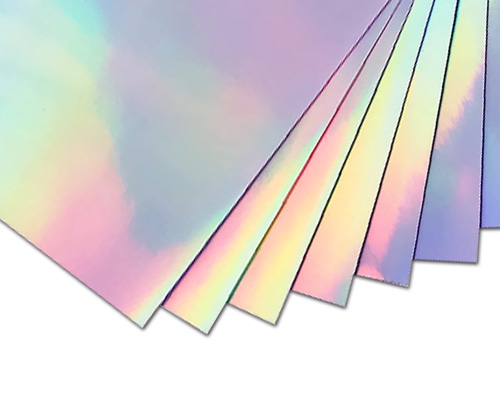
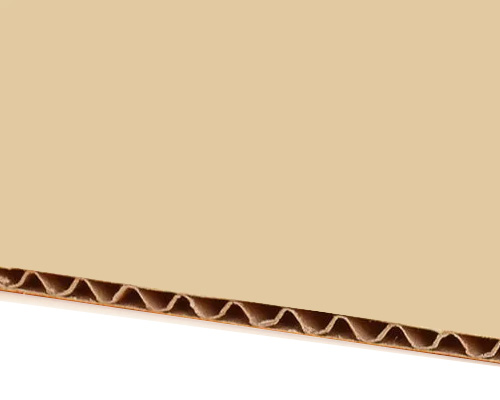
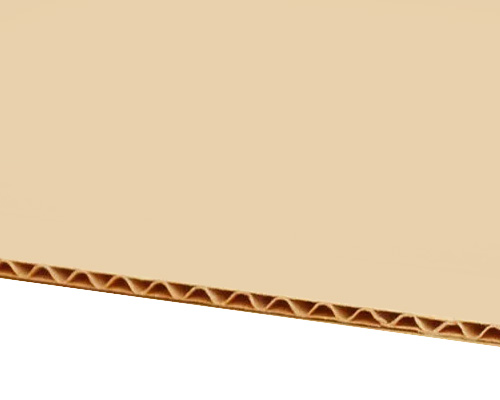
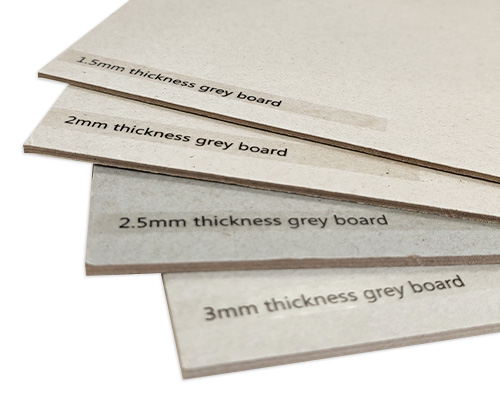
Popular paper and cardboard materials for packaging design include:
If at any stage you’re uncertain about the best choice of materials for your needs, just get in touch and talk to us. We’ll listen with care to the scope and purpose of your packaging project and advise you about the best material options to suit your budget.
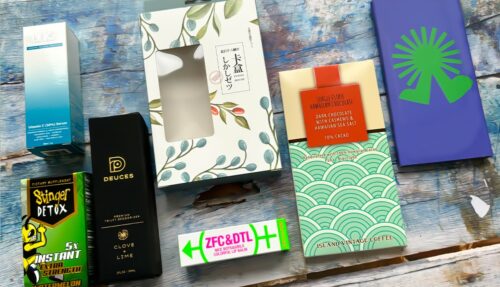
4. Printing
While plain boxes have been known, it’s a missed opportunity for brand promotion and marketing. Most custom packaging solutions involve printing at least the outer surface of at least one side of the box. The artwork—including your logo, images, graphics, and text—must fit within the available spaces on your package layout. So, to your structural template, you’ll need to add dielines, trim lines, safe zones, and bleed to make sure your print is positioned correctly on each panel and nothing gets cut off. You may understand perfectly well what all that means and how to do it. If so, all well and good! If not, talk to us and we’ll make a custom box template for you, complete with the dielines, folds, trim, bleed, and so on, which you can then open in your design software and follow the instructions. And if you’re using a template we’ve made for you, then our design support team will be happy to answer any questions you have at any stage and check all your print files to make sure it’s all in order before going to press.
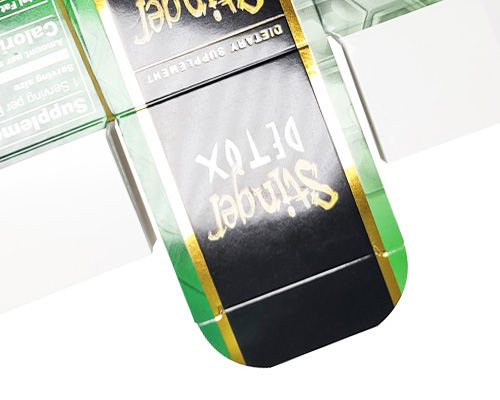
5. Special finishes
Besides the basic box structure and the printed surface paper, you may want to add a few special touches to make your packaging really unique and attractive. We offer a range of special finishes, including:
While you shouldn’t overdo it with the special finishes, certain combinations work very effectively together. For example, a matte or soft-touch laminated surface with a single element, such as your logo, highlighted with UV spot coating or an embossed text with a metallic foil stamp.
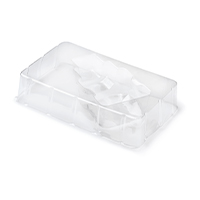
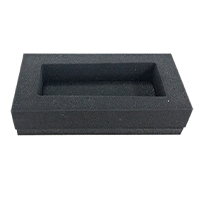
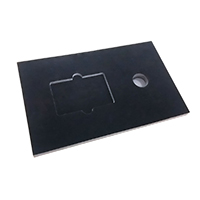
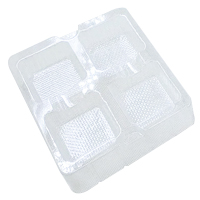
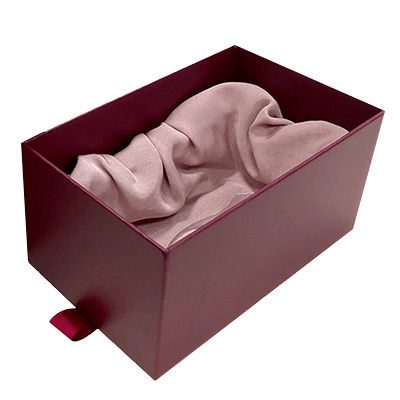
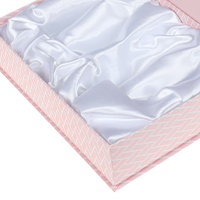
6. Inserts
If you’d like molded inserts, the best way forward is to send us a sample of your product, and we’ll create the design, the mold, and manufacture the inserts for you. Again, just get in touch to discuss your needs with our friendly, expert team.
If you’d like molded inserts, the best way forward is to send us a sample of your product, and we’ll create the design, the mold, and manufacture the inserts for you. Again, just get in touch to discuss your needs with our friendly, expert team.
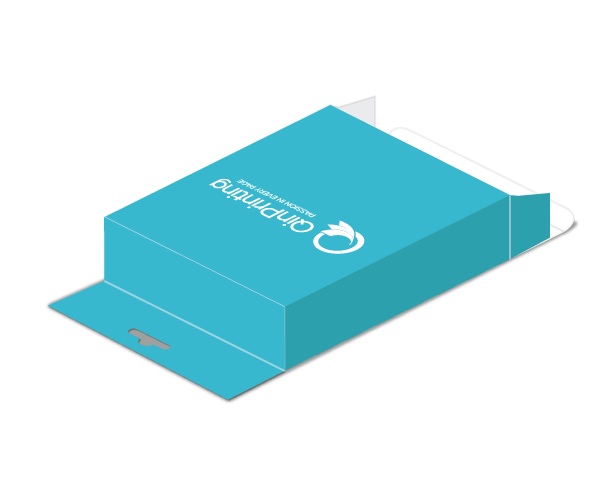
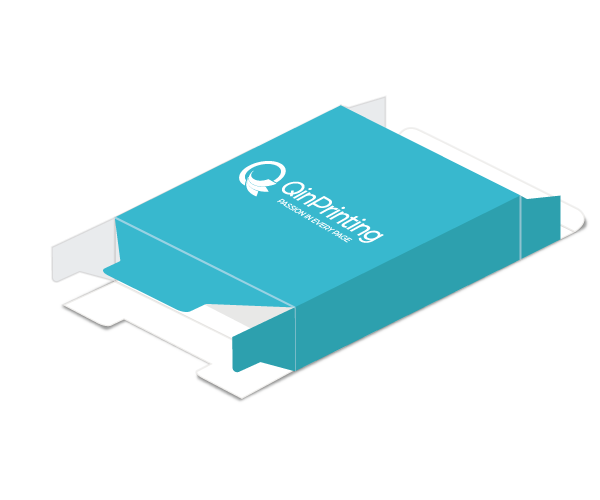
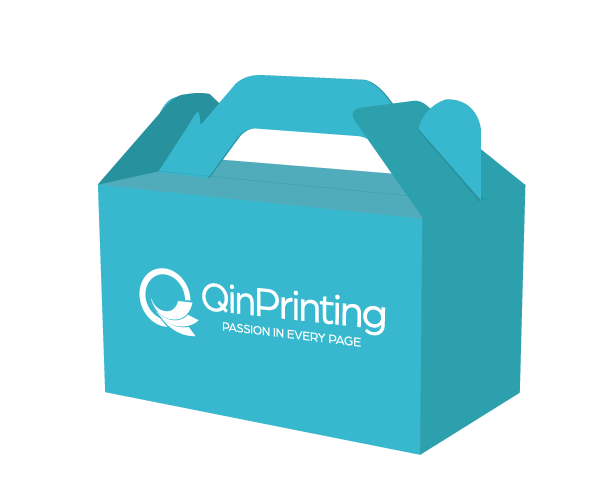
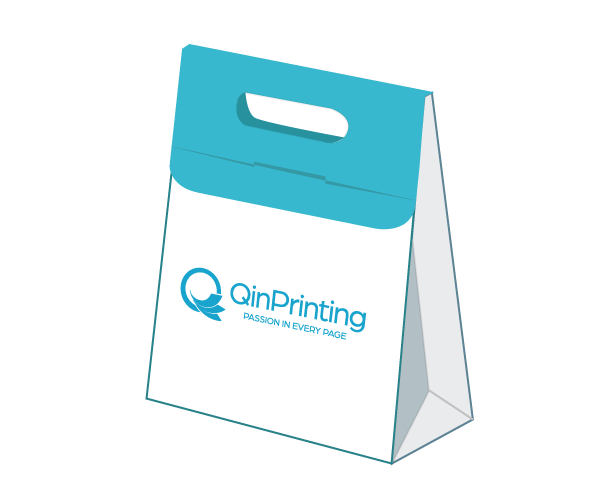
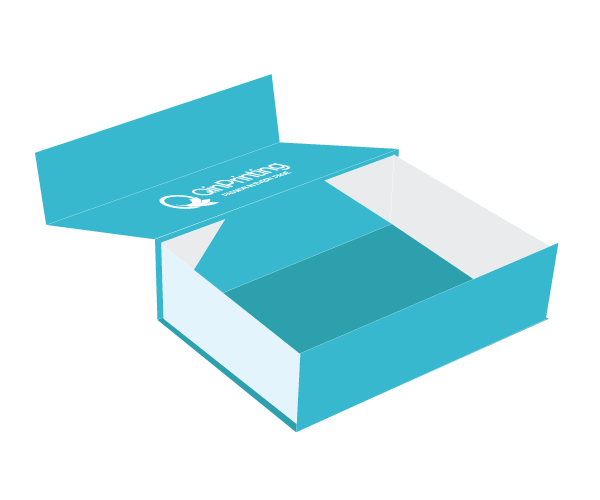
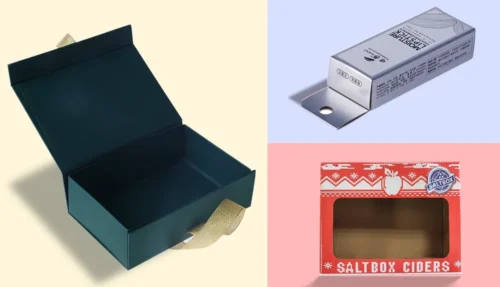
7. Box styles
Before fixing on a box style, give careful thought to the needs of the customer and the type of product it will contain. Will it need to be sealed? Will the box be discarded once opened or resealed and used again? How will it be stored? If it’s a retail box, do you need it to flat pack for space-saving storage or will it be delivered ready-assembled? Must it be robust, water-resistant, or UV protected? Our most popular basic box styles are:
Matching the box style to the end user is a vital aspect of successful packaging design.
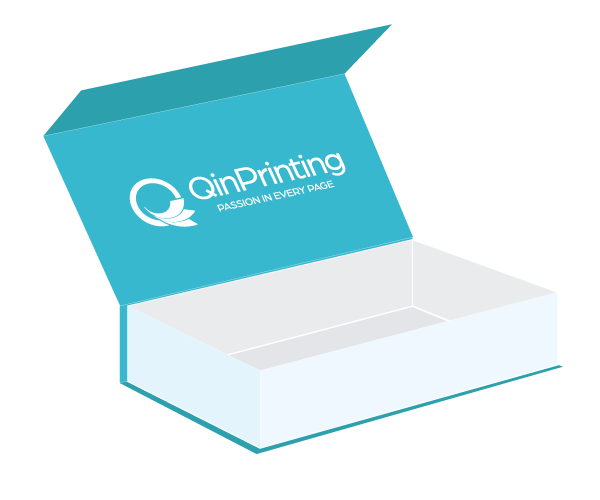
8. Closures
Another key aspect—not always built in to the structural style—is closures. Besides the standard tuck-end tab and seal boxes, you may want to consider ribbon-tie closures, magnetic closures, full seals, and overlocks. For gift boxes especially, ribbon and magnetic closures are a popular design option.
9. Software and templates
We recommend the Adobe suite, especially Adobe Illustrator for designing boxes and packaging. As we mentioned above, unless you are a trained professional packaging designer with plenty of experience, we suggest that you ask us to create a custom template for you to work with. Using our templates is super-easy if you follow these simple instructions:
- Open the template directly in the software. It will work in exactly the same way as any other .ai extension file.
- Assign the template to the top layer and always keep it separate from your other layers for artwork, logo, foil stamping, embossing, etc.
- As you add your artwork, remember to fill out to the full extent of any bleed zones we’ve incorporated
- To export, select high-quality printing and save your files in PDF format.
If there’s anything you need help with or don’t understand about your template, just get in touch and one of our design experts will be happy to help. Now, let’s look in more detail at how to prepare your artwork files for printing your custom product packaging design.
10. Preparing files for print
Again, if you’re qualified and experienced, this should all be “old hat” to you. But if you’re doing the artwork yourself, you may find the following tips helpful.
- When working with rasters — for photography or fine art images, for example — design them and export them in high resolution of 300 dpi.
- Otherwise, for logos, text, and special features, design in vectors.
- Make sure you use the CMYK color system, not RGB.
- Separate everything into layers—template, logo, artwork, text, special finishes.
- Specify dieline orientations on both the inside and outside of the box.
- Export everything as a high-resolution PDF file.
Make sure to match the structural and artwork designs with care and attention to detail in order to avoid accidentally reversing images on different sides of the box, for example, or getting text and logos upside down on the final product. If you have any doubts or difficulties while preparing your product packaging design — with or without one of our templates to guide you — please talk to us. We’re always here to help.
Let's talk!
If you’re ready to explore the exciting possibilities of custom product packaging design, we should talk. With a quarter of a century of success in the business and going from strength to strength, we’re confident that we can help you to design and build the packaging solution of your dreams. Get in touch to discuss your needs or ask us for a no-obligation quote.
 Custom Card Decks
 Custom Holographic Cards
 Folding Cartons
 Rigid Boxes
 Corrugated Boxes
 Custom Board Game
 Kickstarter Print Solutions